Charm Patterns, Tutorials
Make Your Own Western Bow Tie!
12
Jan
Jan
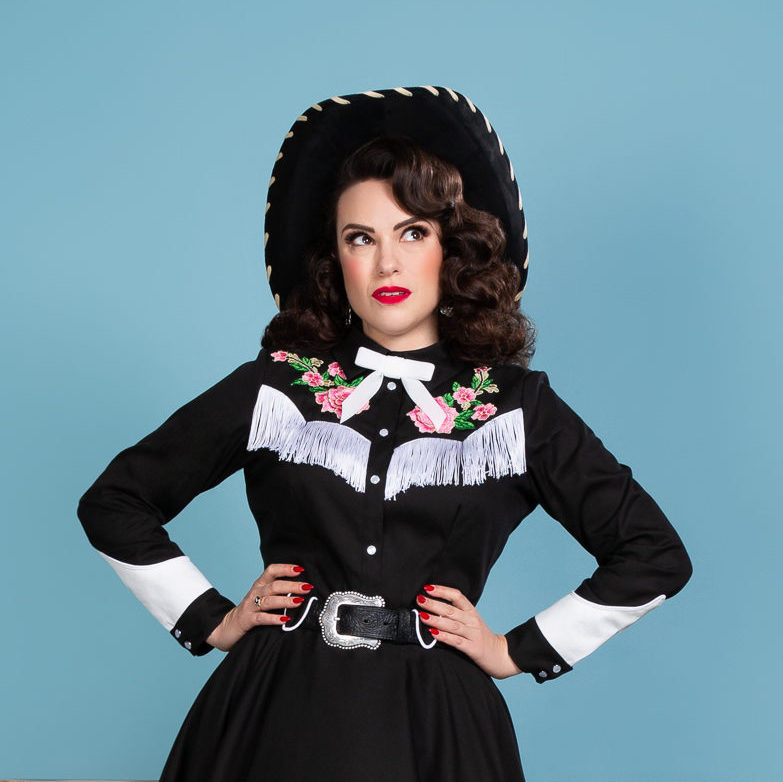
Hi everyone! I’m so pleased to bring you our Western Bow Tie tutorial. Add a bit of Western flair to your wardrobe with this quick and easy project! It pairs wonderfully with our Patsy Blouse, or even try it with our Night and Day Dress for a fun, chic look. The beauty of this accessory is that it goes with so many different vintage styles. I’ve included a video tutorial as well as written instructions below!

 Supplies:
- One yard velvet ribbon – opt for 3/4″ to 1″ width
- Glue gun
- Rotary cutter or scissors
- Pin/brooch backing
Instructions:
- Cut your ribbon into three lengths:
- One 8-½ inch (in) long strip
- One 3 in long strip
- One 10 in long strip
- Create a loop with your 8-½ length of ribbon, overlapping the ends by ½ in. Glue between the layers.
- Divide your 10-in strip of ribbon in half lengthwise. Pinch it in the middle and turn the ends down to create the tails of your bow. Ensure they point downwards rather than outwards. Position it behind your ribbon loop from step 2, centering it on the back of the loop. Glue to attach.
- Create the bow’s knot by wrapping your 3-in strip of ribbon around the center of the bow loop and between the bow’s tails. Glue in place and trim any excess ribbon on the back of the bow.
- Cut the ends at an angle with a rotary cutter for a pretty shape.
- Add a strip of glue to attach your pin backing on the back of the bow. Allow to dry.
I can’t wait to see how you wear your Western Bow Tie. Happy sewing!
Xoxo,
Gertie