Charm Christmas
Santa Hat Pattern

Dec
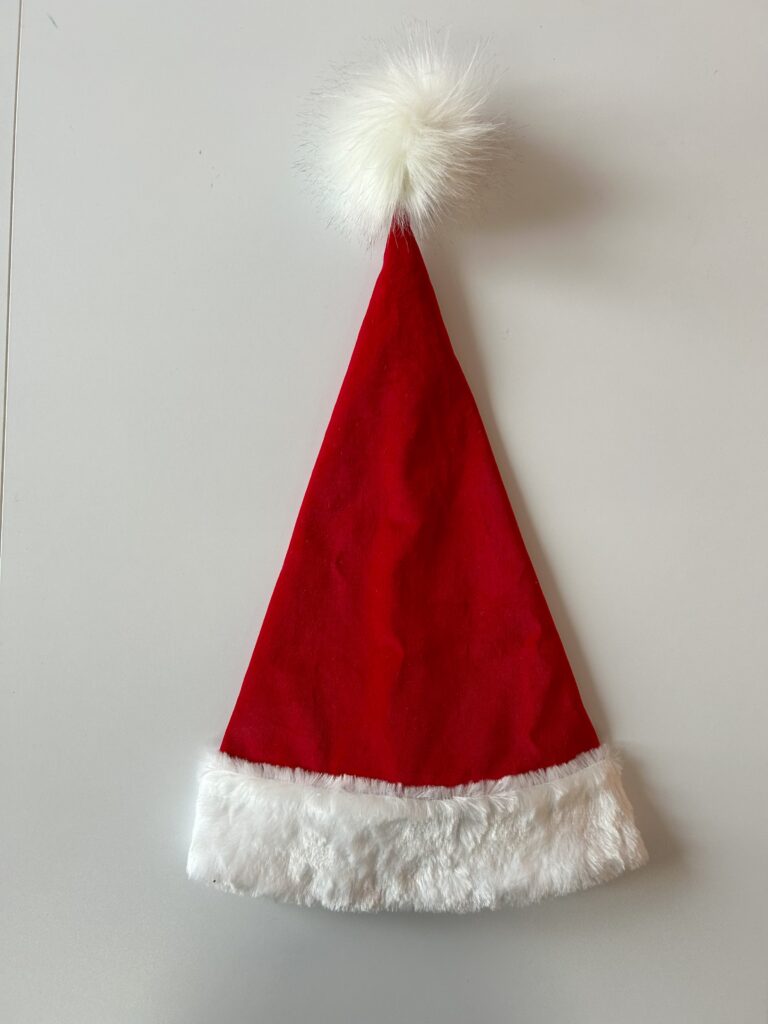
You can’t have a Santa Baby outfit without a matching Santa Hat! Here’s how to make your own, with this very simple pattern drafting tutorial, so you can make hats to fit everyone in your family (fur babies included!).
Supplies Needed
- Lush red velveteen fabric
- Red lining fabric
- White faux fur fabric
- White lining fabric
- Polyfil (or extra faux fur fluff)
- Thread to match
- Pattern drafting or tracing paper
- Large French curve or curved ruler
- Straight ruler measuring at least 24 inches long
- Pencil or marker
Santa Hat Pattern Drafting
Begin by measuring the circumference of your head and the length that you want your Santa hat (from brim to pompom). For my hat, I wanted it to sit back on my head while wearing a vintage hairstyle, so I measured a circumference of about 26 inches (66 cm) and a length of 20 inches (50 cm)
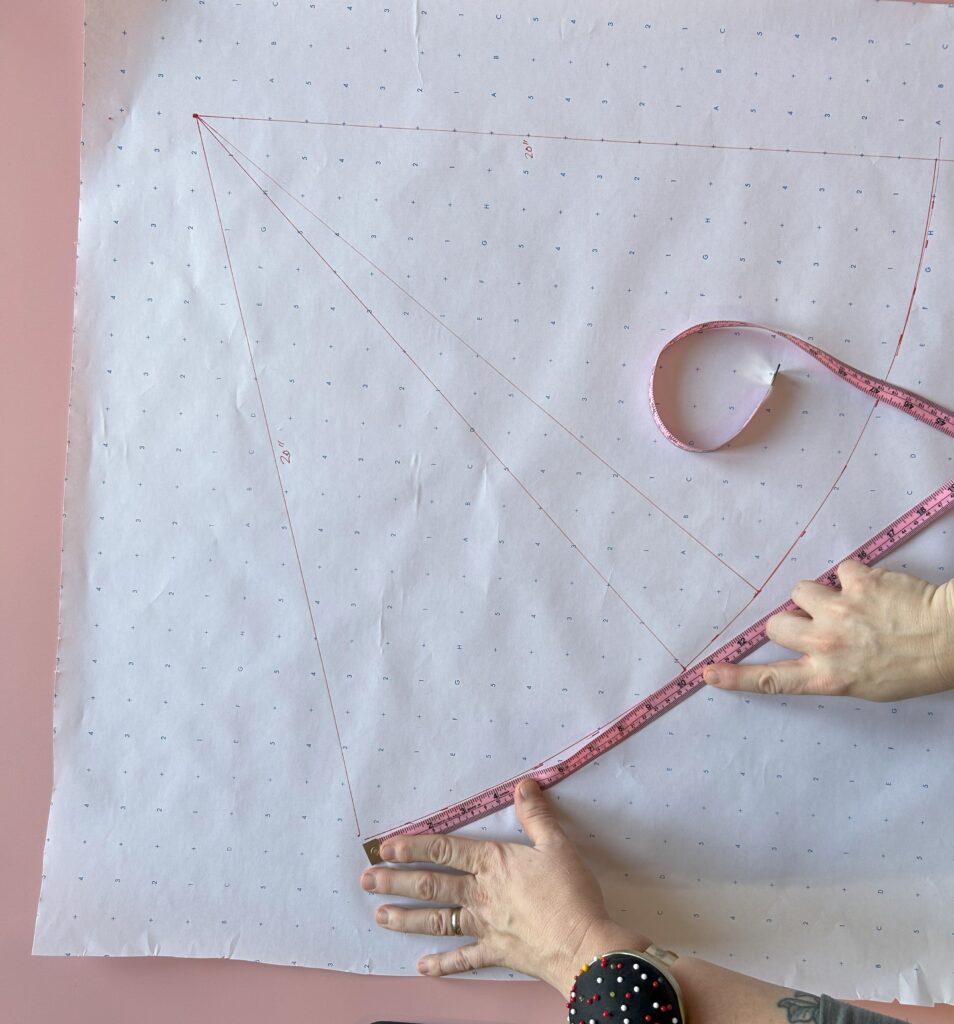
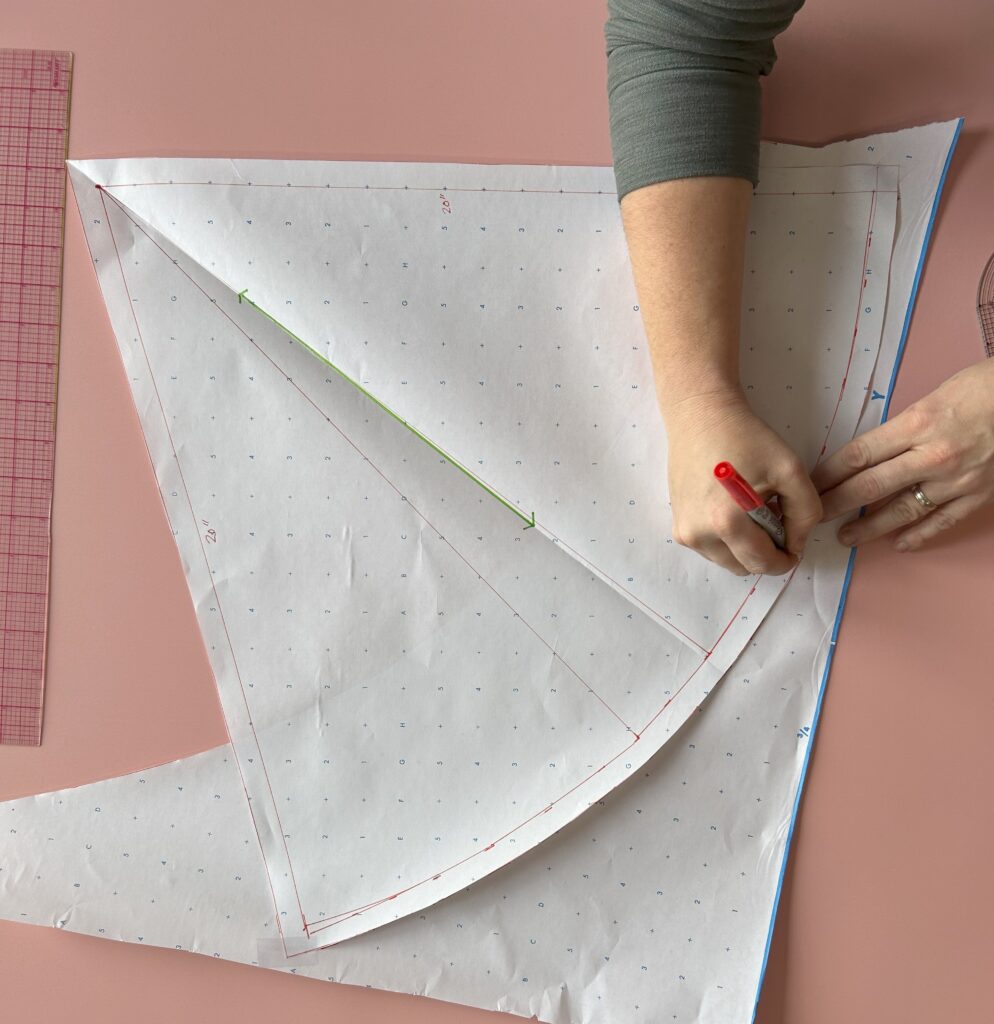
Draw a line equal to the length of your hat (from brim to pompom) on your pattern drafting paper. I drew a line 20 inches long. From one end of your line, swing your ruler down and measure another 20-inch-long line. Do this a few times, to create a triangle shape, like below. The more lines you add, the easier the next step will be!
Use your curved ruler to smooth out the bottom edge of the triangle shape. Then, starting at one side of the curved edge, measure along the curved edge a length equal to your circumference measurement (about 26 inches in my case). You may need to add more straight lines to extend the sides of your triangle, or you may have already made it large enough. Once you have the correct circumference length measured along your curved edge, draw a line from that measurement to the point, creating the final shape of your hat.
Add a 5/8-inch (1.5 cm) seam allowance to all sides of the hat and cut out your pattern piece.
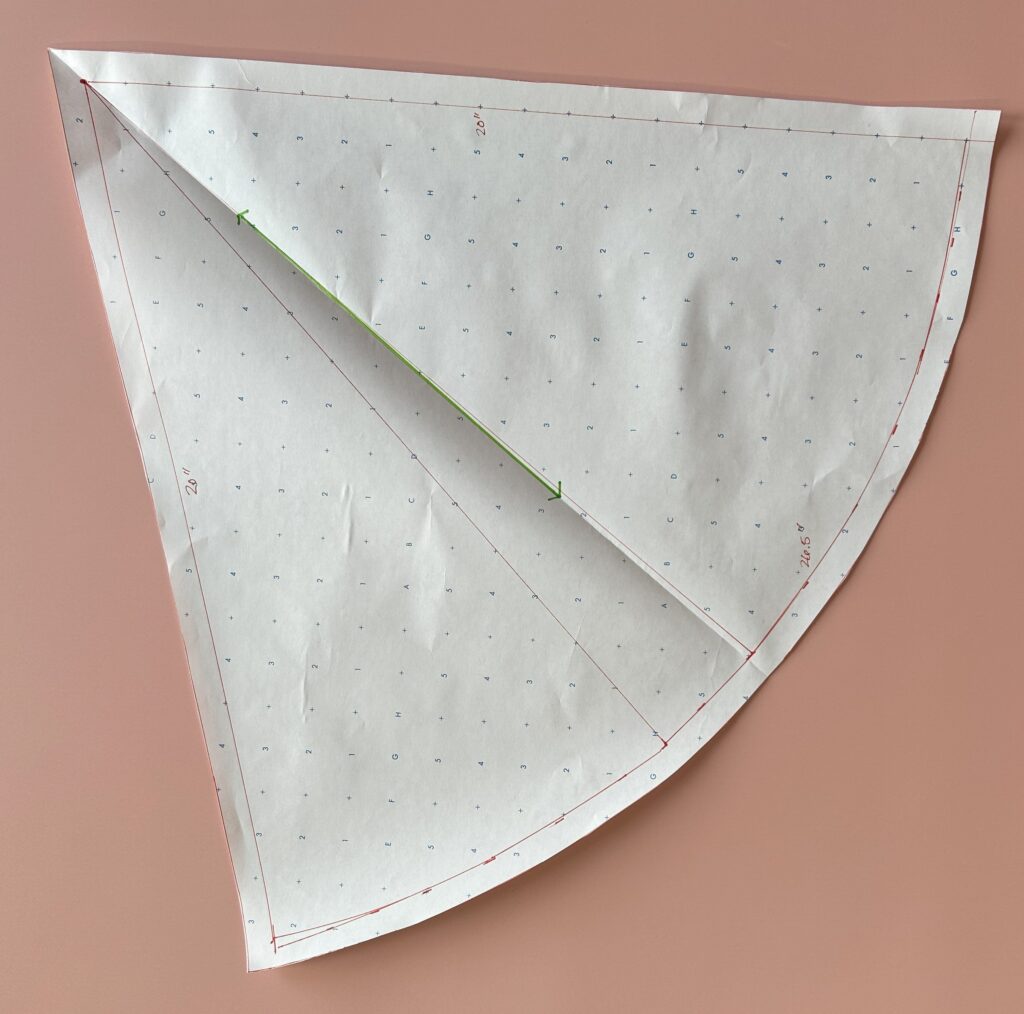
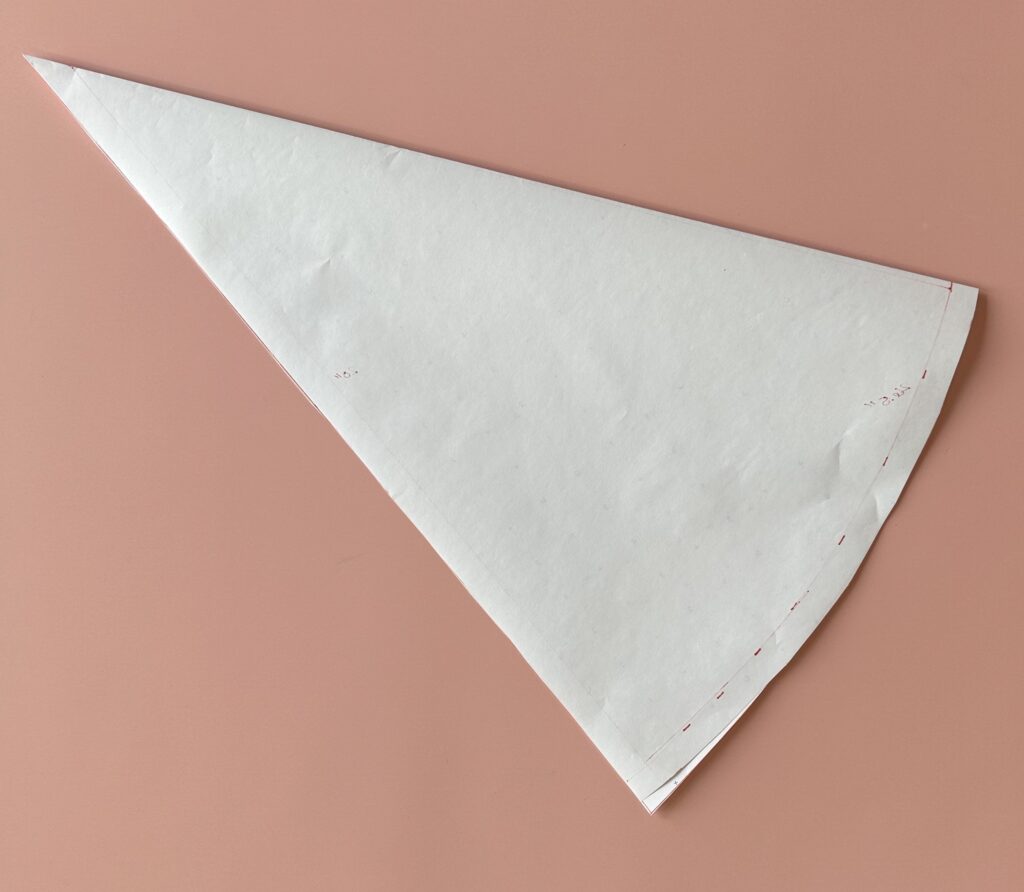
Fold the pattern piece in half. This will be the ultimate size of your hat, so you may want to try it on to see how it works!
And just like magic, your fold line becomes the fabric grainline. Mark it on your pattern piece (like we did here in green).
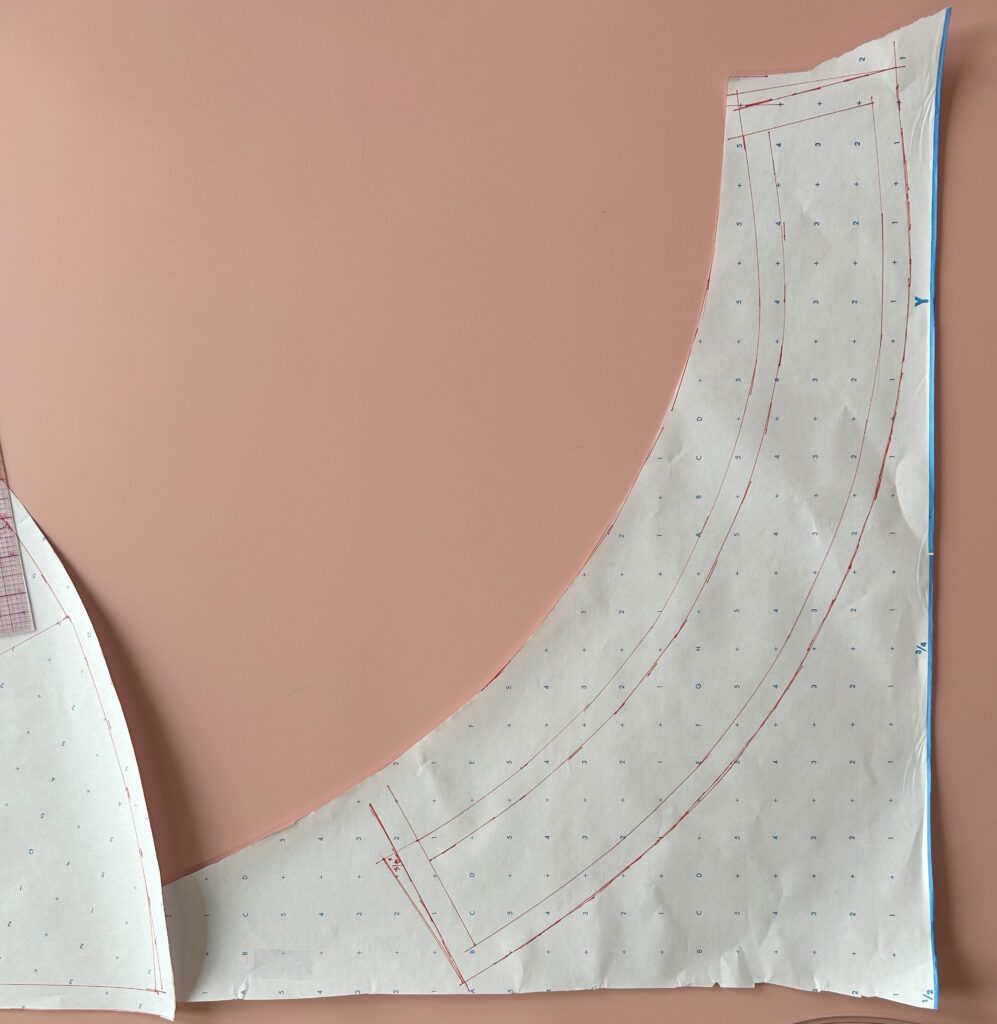
To draft the faux fur brim, lay the hat over a scrap of pattern making paper, and trace out the bottom edge. Trace up both straight sides a little ways.
We wanted our final brim to measure 2-1/2 inches (6.3 cm), so we added two 5/8-inch seam allowances (1-1/4 inch or 3.2 cm) to that measurement for a total of 3-3/4 inches (9.5 cm).
Using the lower edge as a guide, measure 3-3/4 inches up from the curved lower edge and draw the upper edge of your pattern piece. Your curved ruler will help!
Once you have the four sides of the brim pattern, draw in the sew line, 5/8 inches inside the outer edge of your pattern piece.
Cut out your pattern piece and fold in half as you did for the hat. Draw in your fabric grainline along the fold.
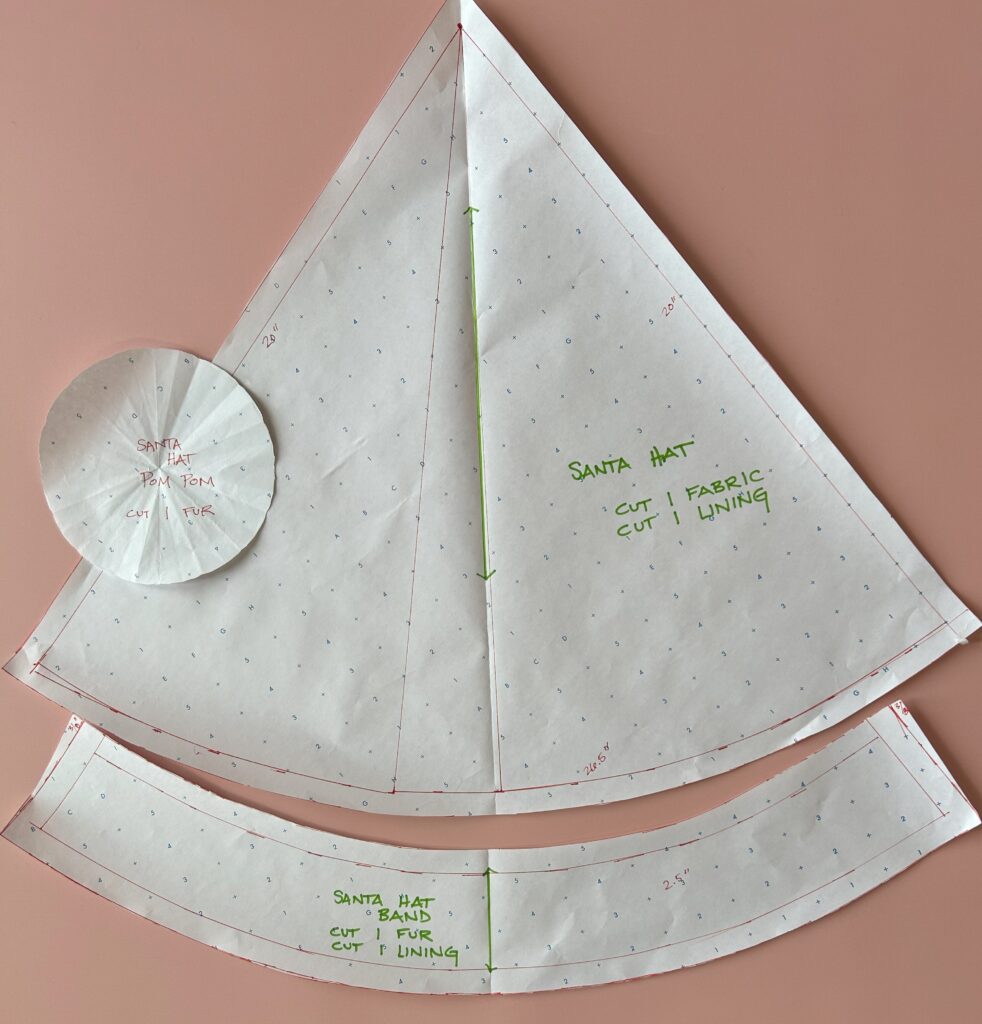
For the pompom, create a circle of fabric measuring about 7 inches in diameter.

And here’s your three final pattern pieces! Be sure to label them with the name of the pattern, today’s date, and your cutting instructions like we did below.
Santa Hat Construction
Cut out your pattern pieces following the cutting instructions in the image above.
Fold the hat right sides (RS) together, pin, and sew the vertical seam using red thread. Repeat for the hat lining, but leave an opening about 4 inches wide at the point.
Fold the faux fur brim RS together, pin, and sew the vertical seam using white thread. Repeat for the brim lining.
Pin the faux fur brim to the brim lining, RS together, and sew along the shorter curved edge. Grade your seams and turn the brim RS out.
Pin the brim to the hat, with the white lining (not the fur) next to the red velveteen. Turn the red lining inside-out and pin along the hat brim so the RS of the lining is facing the faux fur and red velveteen. You’re sandwiching the brim inside the lining and the red velveteen.
Stitch completely around the hat opening. Grade the seams, and using the opening in the lining, turn the hat RS out.
Slipstitch the opening in the lining closed (by hand, or just edge stitch the opening with your machine).
To make the pompom, sew a line of long gathering stitches around the outside of the circle by hand. Place polyfil or a scrap of faux fur inside the circle, and pull up your gathering stitches to enclose it inside the pompom. Tie off your gathering threads to secure. Attach the pompom to the point of the hat by handsewing through all layers of the hat at the tip.
Enjoy your new Santa Hat!