Halloween Extravaganza
Rockford Peaches Halloween Costume, Part Two: Sewing!
08
Oct
Oct
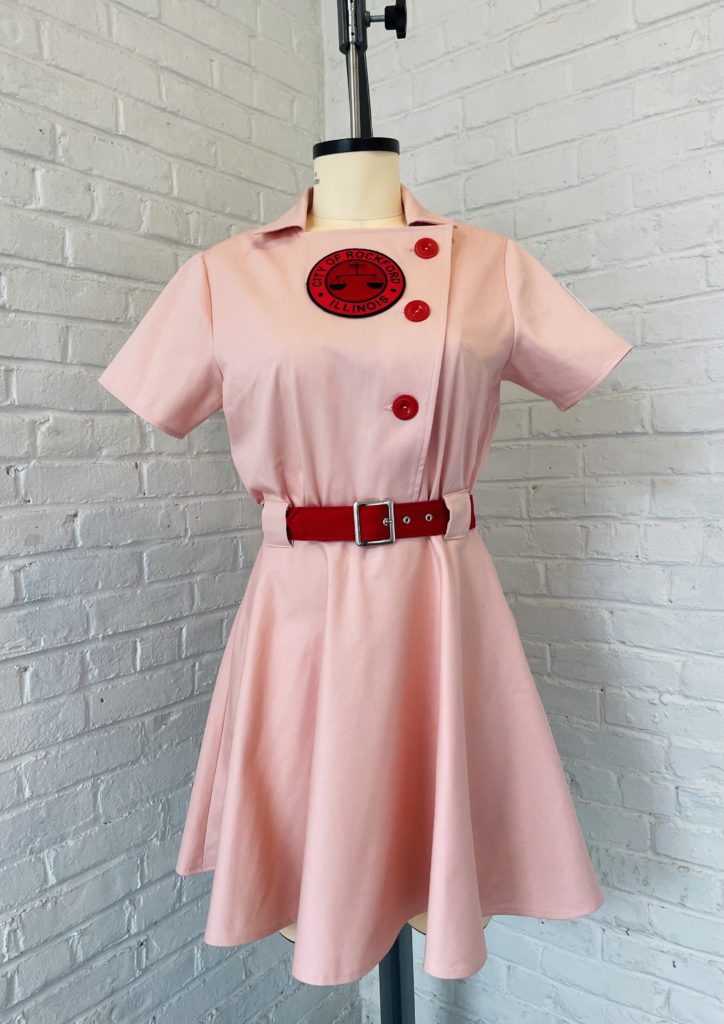
Welcome back to our tutorial series for our Charm Rockford Peaches hack! In Part One, I showed you how to adapt the Presley Shirt pattern and a flared skirt to make this adorable sporty look. Make sure to read that post for supplies and pattern adaptations!
Follow this video to see how it’s done!
Step-by-Step Sewing Instructions
Use the Presley Shirt pattern instructions (available on Patreon) to guide your sewing. Construct the bodice as for the Presley with these exceptions:
- Sew the bust dart (if you added one to the pattern) and press down.
- Reinforce the inner neckline corner on the right front bodice by stay stitching at 1/2 inch. Clip to collar match point.
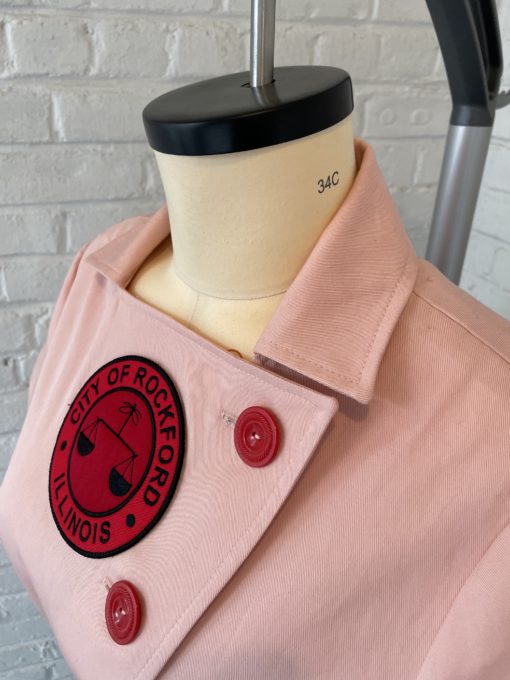
- Stitch the circular patch to the center of the right shirt front, 1 ¼ inches down from the neck opening.
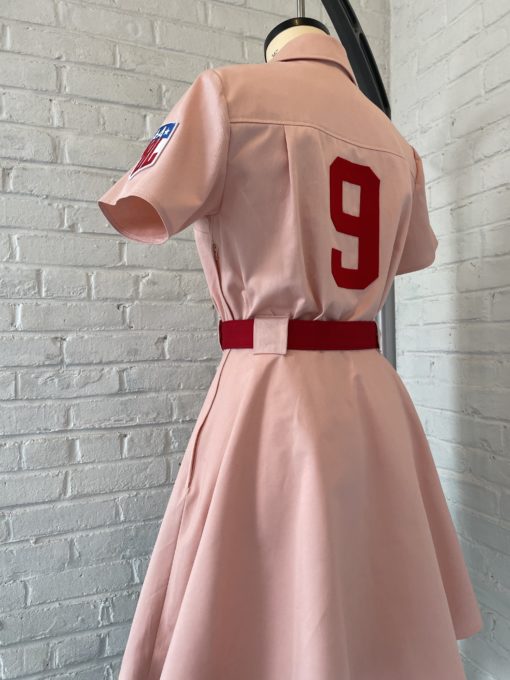
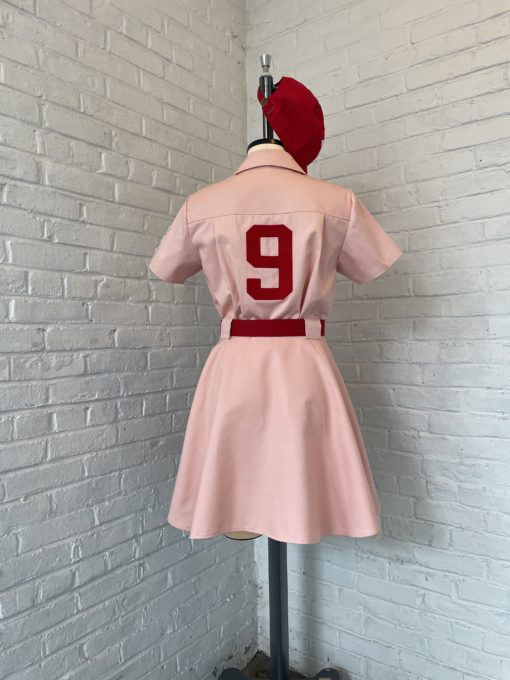
- Apply the player number to the center of the back bodice, 1 inch down from the yoke seamline. I made my number 4 ½ inches wide by 7 inches tall from wool felt, using my Cricut. Edgestitch all around the number if using felt.
- Leave the left side seam unsewn from 1 inch below the armhole. This is where you will insert the zipper.
- After sewing the right side seam, sew gathering stitches on front and back bodice waistline, starting 1 inch from side seams. Pull bobbin threads, concentrating the gathers underneath back yoke pleats in the back and the bust apex points in the front.
- Omit the sleeve cuff. Hem the sleeve using a ¼ inch seam allowance instead.
- Sew the patch to the left sleeve, 1 ½ inches above the sleeve hem. Set in sleeves to bodice.
- Top stitch the collar using ¼ inch seam allowance. Apply the collar as for the Presley Shirt, with collar circles matching new collar end points on the shirt fronts.
- Apply facings as usual, clipping into the inner corner on the right front facing. Turn RS out and press, then topstitch ¼ inch from the edge.
- Overlap the right shirt front (overlap) and left shirt front (underlap), and baste along the waistline.
- Try on the garment and mark your button placement. I put my top button at the upper corner, the bottom button about 4 inches above the waistline, and centered the middle button between the two. Sew buttonholes on the right shirt front (overlap), and buttons on the left shirt front (underlap).
- Make buttonholes on the bodice right front, and sew corresponding buttons to the bodice left front.
- Construct the skirt, leaving the skirt left side open 8 inches below the waist for the zipper.
- Sew the bodice to the skirt, matching side seams and evenly distributing gathers in front and back.
- Insert a lapped zipper along the dress left side. Hem the skirt.
- Sew belt loops by cutting a piece of fabric 4 ½ inches wide by at least 13 inches long. Fold in half lengthwise and pin RS together. Stitch long end with a ¼ inch seam allowance. Turn RS out and press flat. Cut strip into four 3-inch-long pieces. Finish short ends and press ends under ½ inch. Stitch two strips to the front, centered over the waist seam, approximately 2 inches from each side seam. Repeat for the dress back.
- Pin the belt loops to the dress to test the placement. Edgestich the belt loops in place at the top and bottom.
- Make a fabric-covered belt following the instructions in this blog post. Do not cover the belt buckle.
- Apply the R patch to the cap, and slide into home in your new Rockford Peaches uniform!