Sew Along
Rita Blouse Sew Along 3: Cutting, Marking, and Serging
Sep
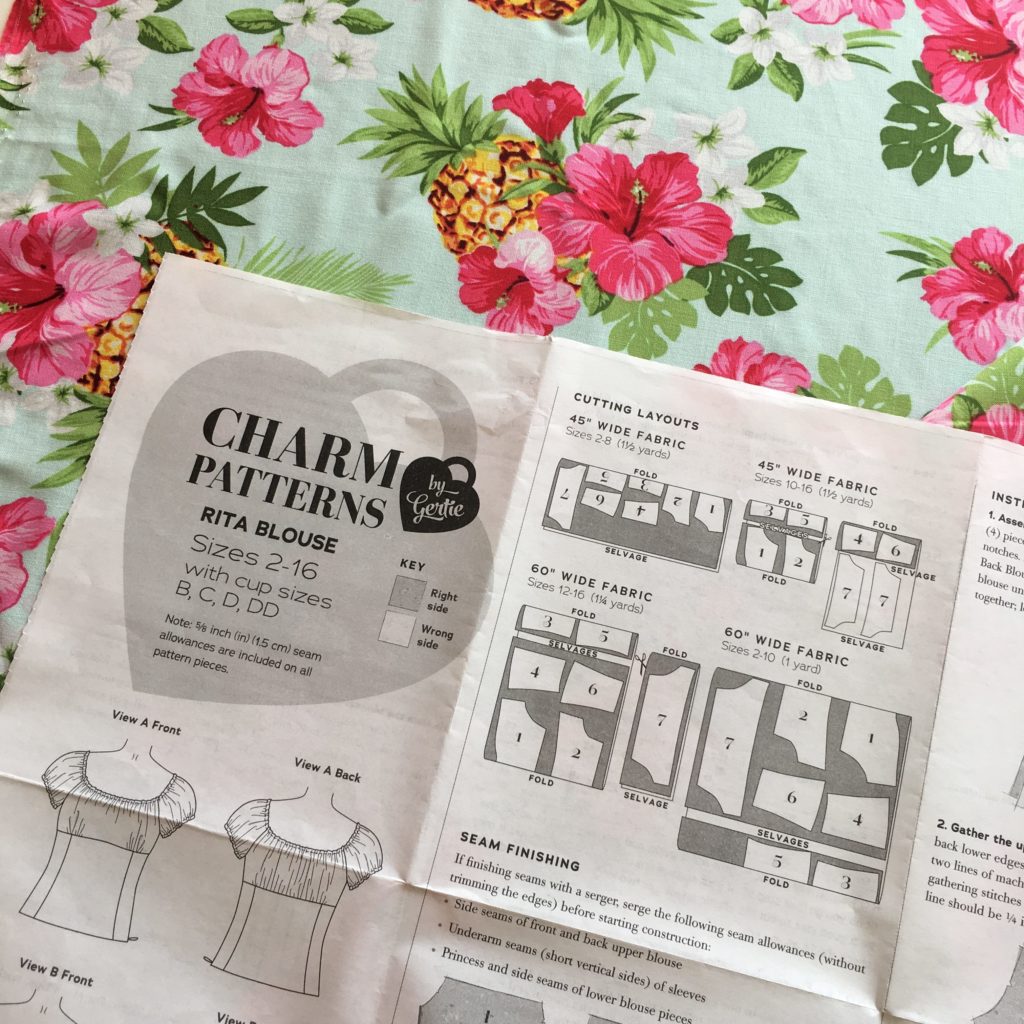
It’s time to cut our fabric! I’m excited to be making my Rita from this tropical print rayon challis.
Prepping to Cut
First, a note on pre-washing: If you intend to wash your garment in the washing machine, it’s important to pre-wash your fabric the same way. So before you cut, throw that yardage into the wash! (I serge my raw edges first.) For rayon, which is what I’m using, I hand wash the final garment, and it’s not a bad idea to hand wash your yardage first. (I’ll admit that I usually skip this step though since I wash in cold water. I also don’t mind any shrinkage that occurs after sewing since rayon tends to stretch a bit with wear.)
You’ll also want to cut out around each of your tissue pieces before laying it on your fabric. With tissue, I just cut roughly around each piece. For printer paper, I cut on the line exactly since thicker paper is harder on fabric shears.
Cutting Your Fabric
Definitely take a good look at the cutting layouts before you start. This blouse doesn’t take much fabric (hallelujah!) and the cutting layouts were designed to minimize your fabric usage.
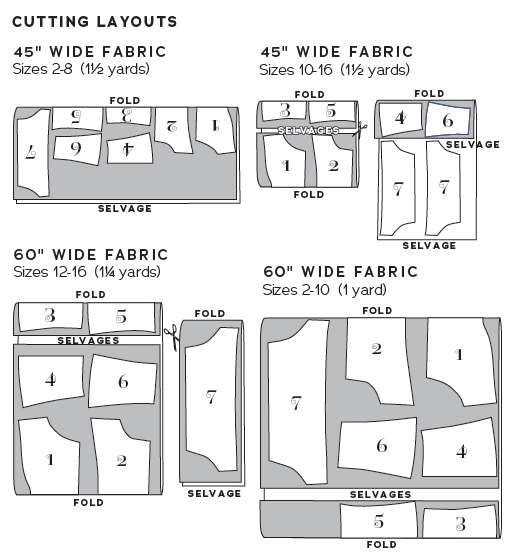
You’ll notice that some of the layouts have you fold the selvages in toward the middle of the fabric. This is to create more than one fold, since several of the pieces are cut on the fold.
Here is an example of my cutting layout.

When laying out your fabric this way, make sure that each side is even. I measured the smaller fold of fabric to be sure it was folded in the same amount consistently. (If it’s not, your fabric will be cut off-grain.)
When laying out your fabric, keep a few things in mind:
- First, make sure your cut ends of the fabric are on grain. The easiest way to do this is to cut into the selvage and then rip the fabric.
- When laying out a piece on the fold, make sure that the “cut on fold” bracket mark is exactly on the fold of fabric.
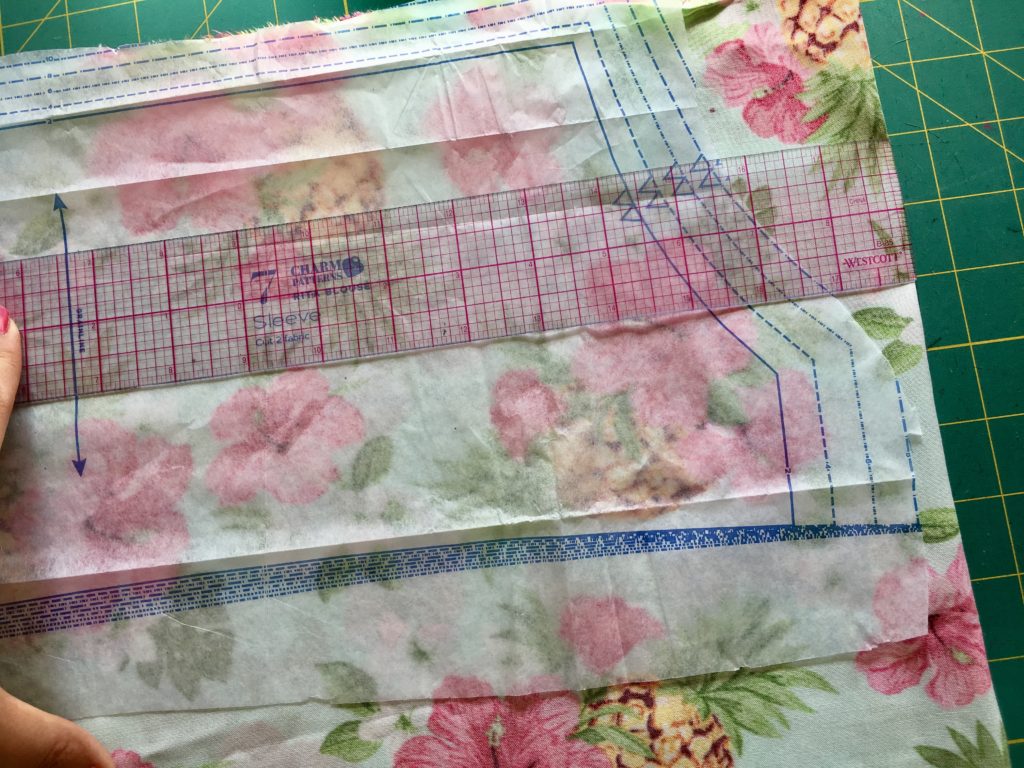
- When laying out a piece with a grainline mark (as opposed to cut on fold), be sure to measure the grainline to the fold or the selvage. Measure from both sides of the grain line to make sure the line is straight, and that your piece is consequently laid out with the grain of the fabric. Here I am measuring the grain line of the sleeve to the fold of the fabric with a clear ruler:
Pin all around your tissue pieces and cut with sharp shears or a rotary cutter.
Marking and Notching
Now that your pieces are cut, it’s time to notch and transfer any markings. I made a little video to guide you.
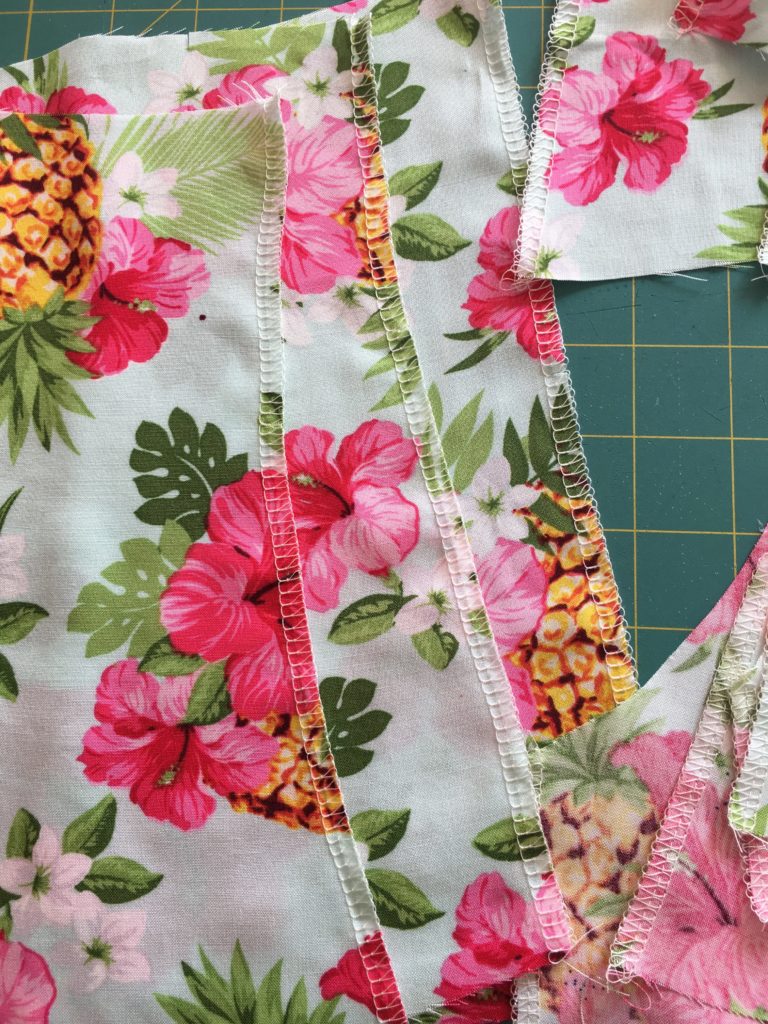
Serging
Finally, if you are using a serger to finish your seam allowances, please check out the seam finishing guide in the pattern instructions.
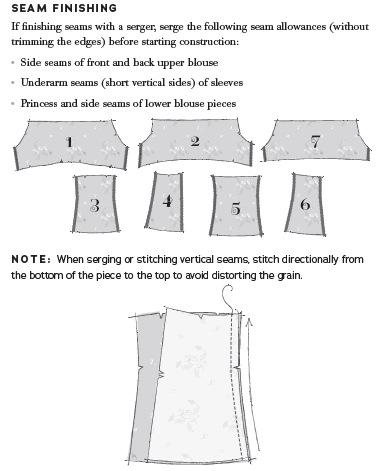
You’ll want to unpin your tissue from your pieces and finish those edges. (I still keep them grouped by front/back so I don’t confuse the pieces though.)
Other Seam Finishing Methods
If you don’t have a serger, don’t worry! Just finish your seams as you go with another method of your choice. Two nice options for this blouse are pinking and zigzagging.
See you back here next week for the first sewing steps!