Sew Along
Rita Blouse Sew-Along 4: Steps 1-5

Oct
It’s finally time to really start sewing! We’re going to do steps 1-5, which will get us all the way to inserting the zipper.
Seam Allowances
First, please note that a 5/8″ seam allowance is included on all pattern pieces.
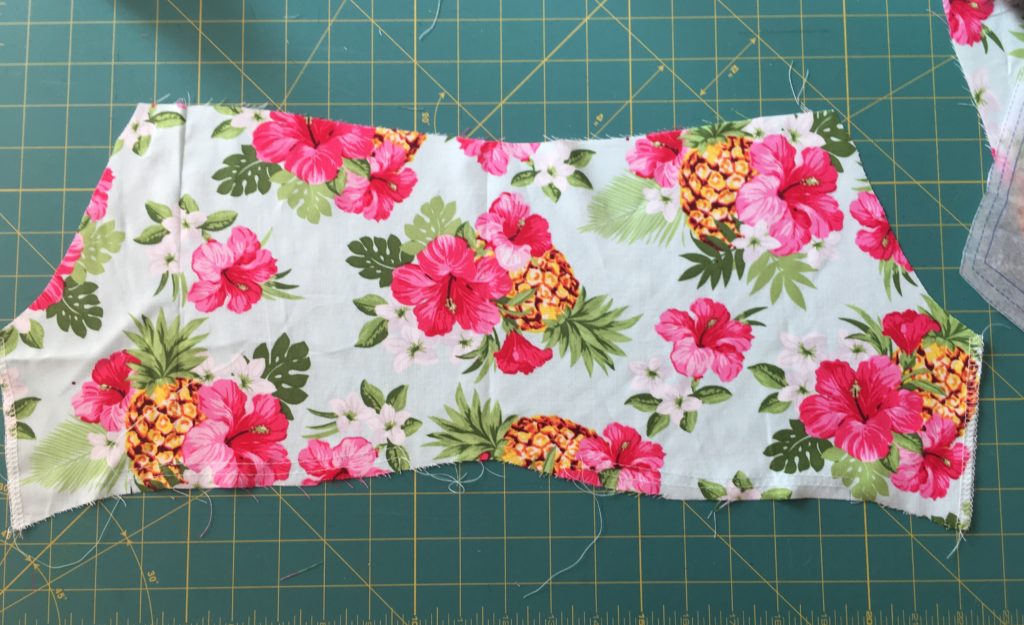
The Princess Panels
This blouse has midriff princess seams, meaning it’s broken up into six panels below the bust. The first thing we’re going to do is sew those panels on the front. You have the Lower Center Front Blouse (Piece 3) in the middle and two of the Lower Side Front Blouse (Piece 4) on the sides. Remember that you have notches on each piece, which will help you match them in case anything gets turned around!
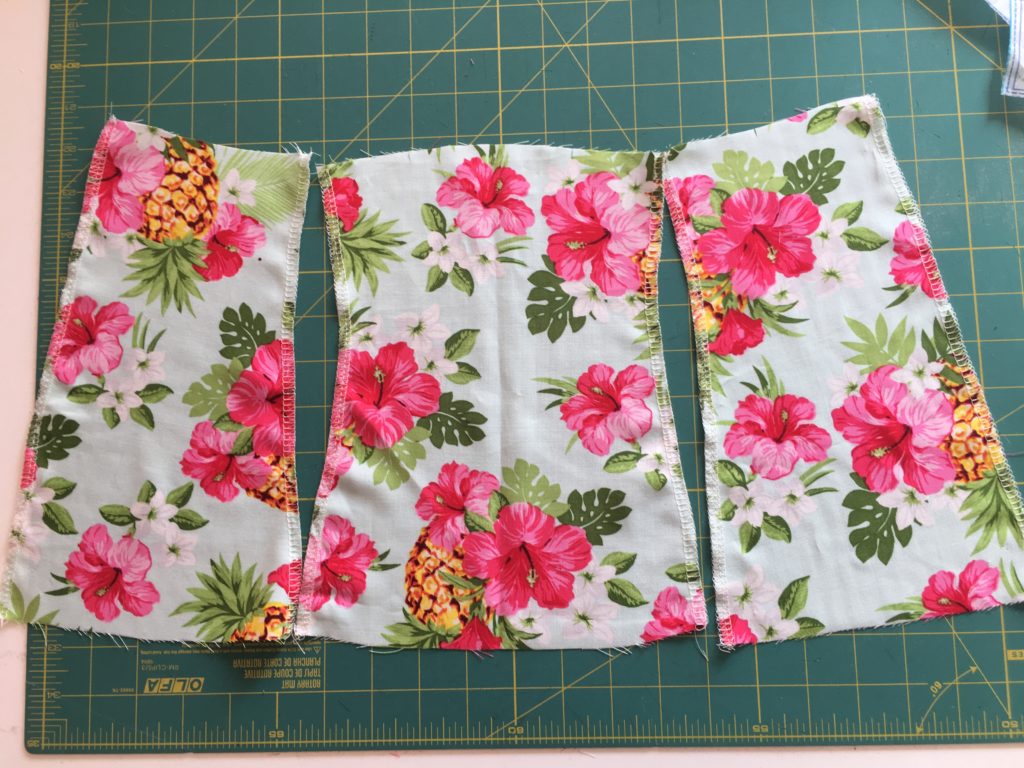
Pin those pieces together on the seams, right sides together. I always pin with my pin heads sticking out so I can pull them out easily when I’m at the machine.
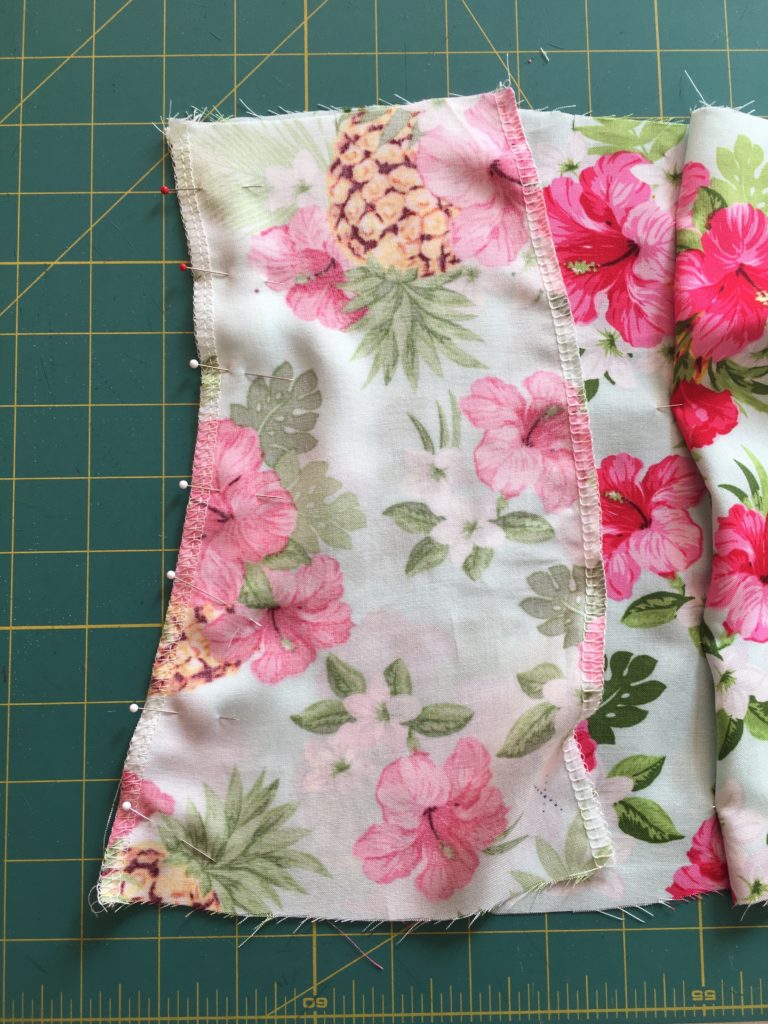
Stitch from the bottom to the top on all these pieces. There is a flare at the hem, and stitching directionally towards the top helps avoid stretching the piece out where it flares.
Repeat the pinning and stitching on the back panels (pieces 5 and 6). Press the seams open. You now have two pieces with three panels each.
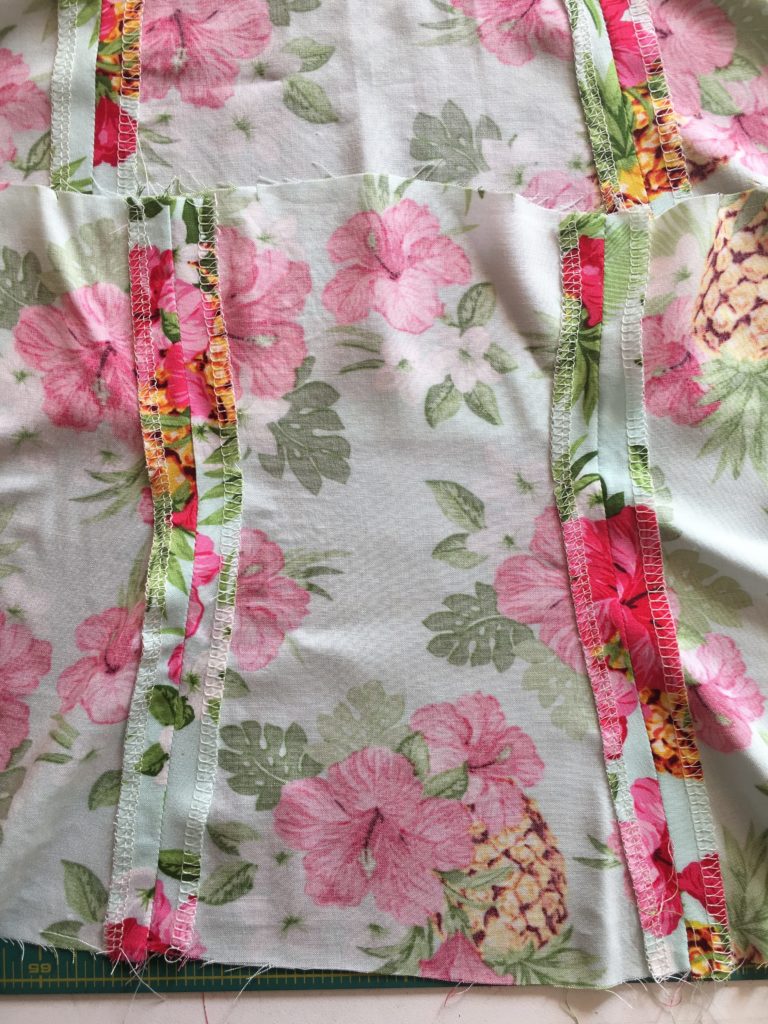
Next, stitch the front and back units together, right sides together, at the right side seam only. Keep in mind that this is the right side as you wear it! I always have to hold the pieces up to me to figure out which side to sew. Press the side seam open.
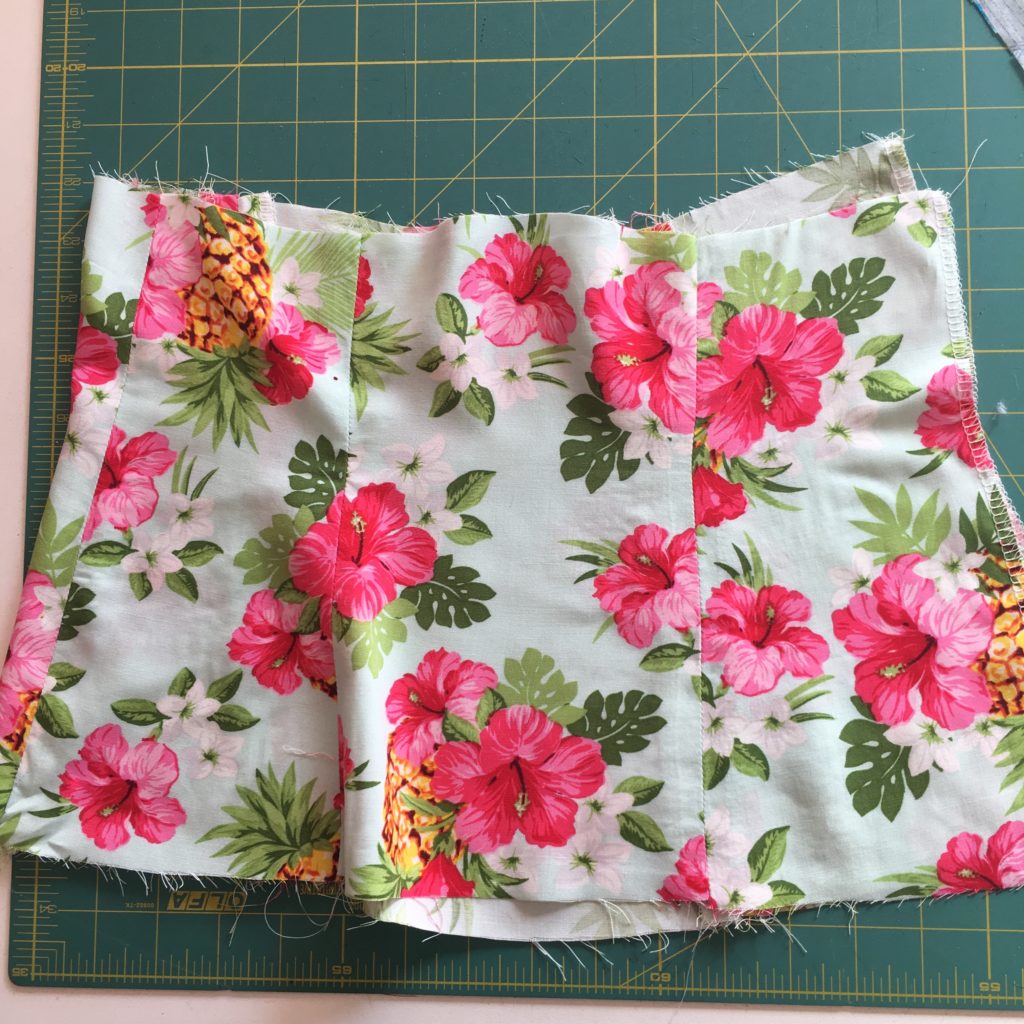
Your entire lower blouse is now constructed!
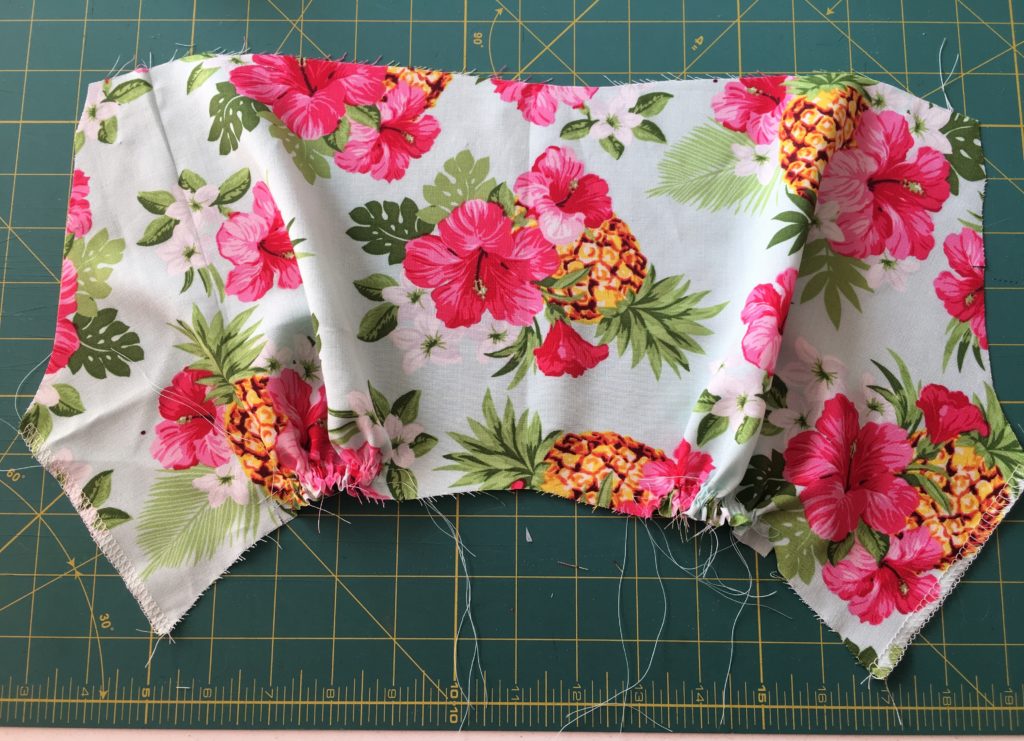
Gathering the Front and Back Upper Blouse Pieces
First, note that when you look at the blouse in the line drawing, the gathers are a little different on the front and on the back. On the front, the gathers are concentrated under each breast, but on the back, they go all the way across the underbust seam.
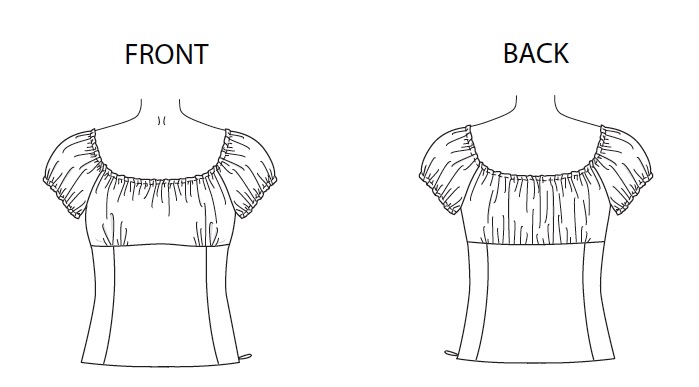
This means that you need to do two separate rows of gathering stitches on the front, and just one on the back.
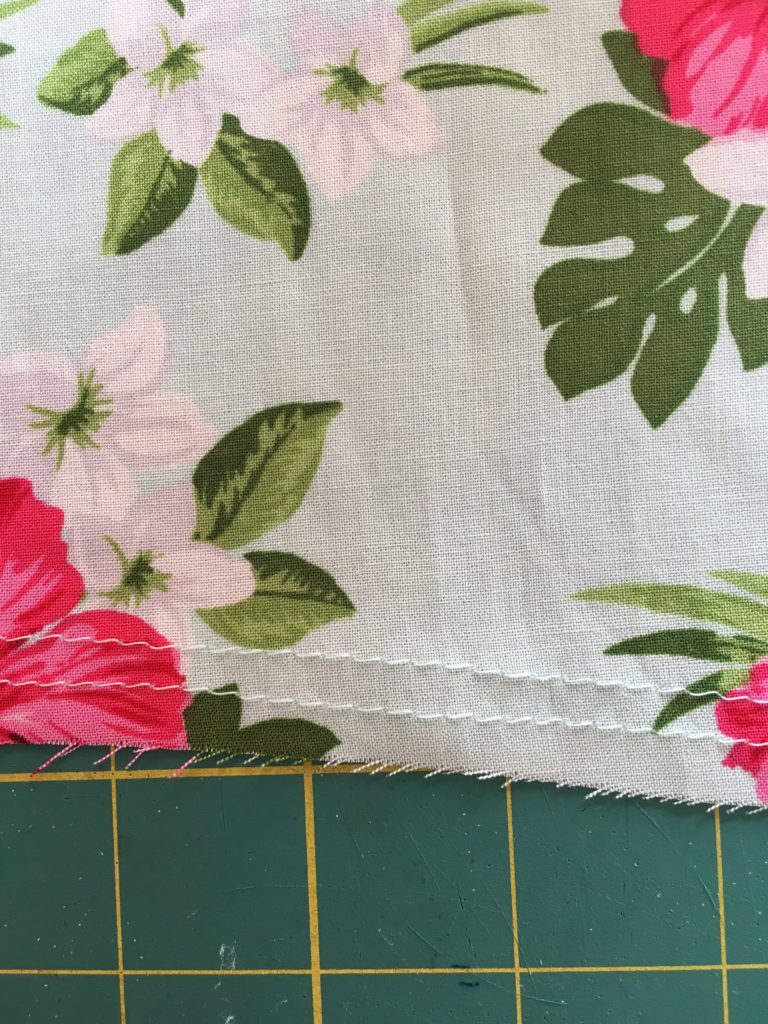
To gather, use a long machine stitch (4-5mm) and stitch at 1/4″ seam allowance and then again at 1/2″ seam allowance.
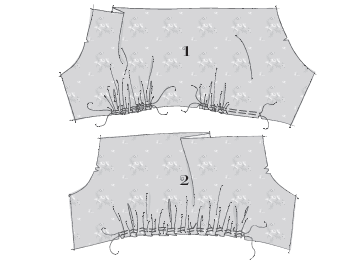
On the Upper Blouse Front (Piece 1), sew gathering stitches between each set of notches. On the Upper Blouse Back (Piece 2), gather between the notches.
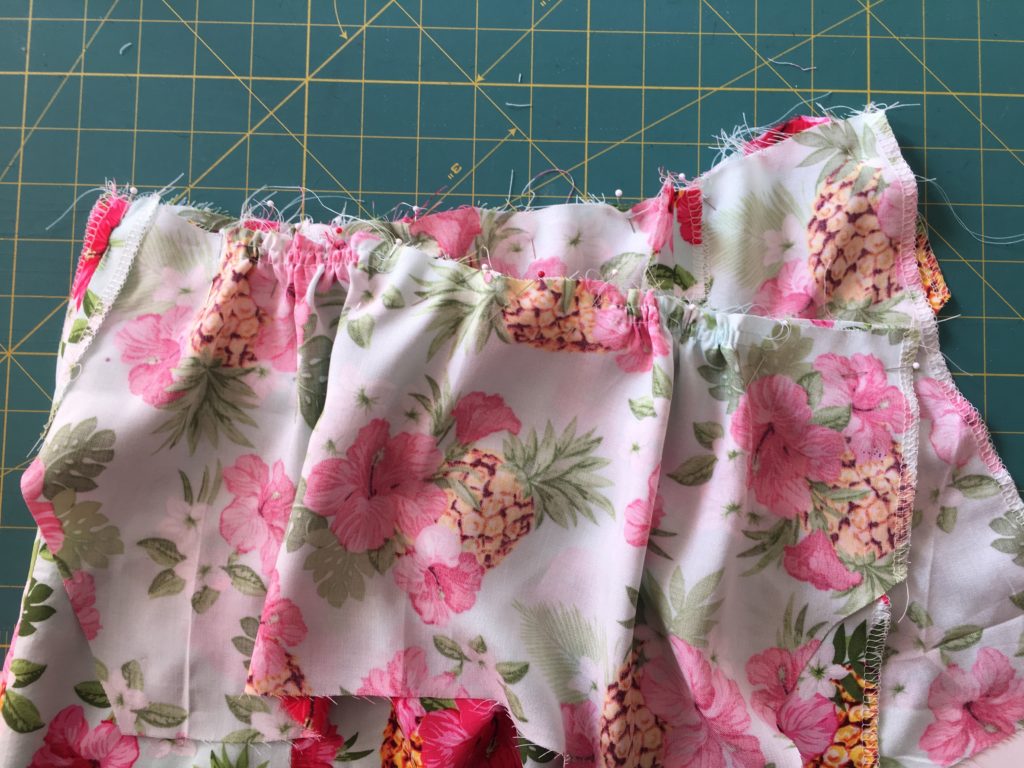
Pull up the bobbin threads to form the gathers.
On the Upper Blouse Back (Piece 2), gather between the notches. See how the back (on top) is gathered all the way across, but the front (below) is smooth at center front?
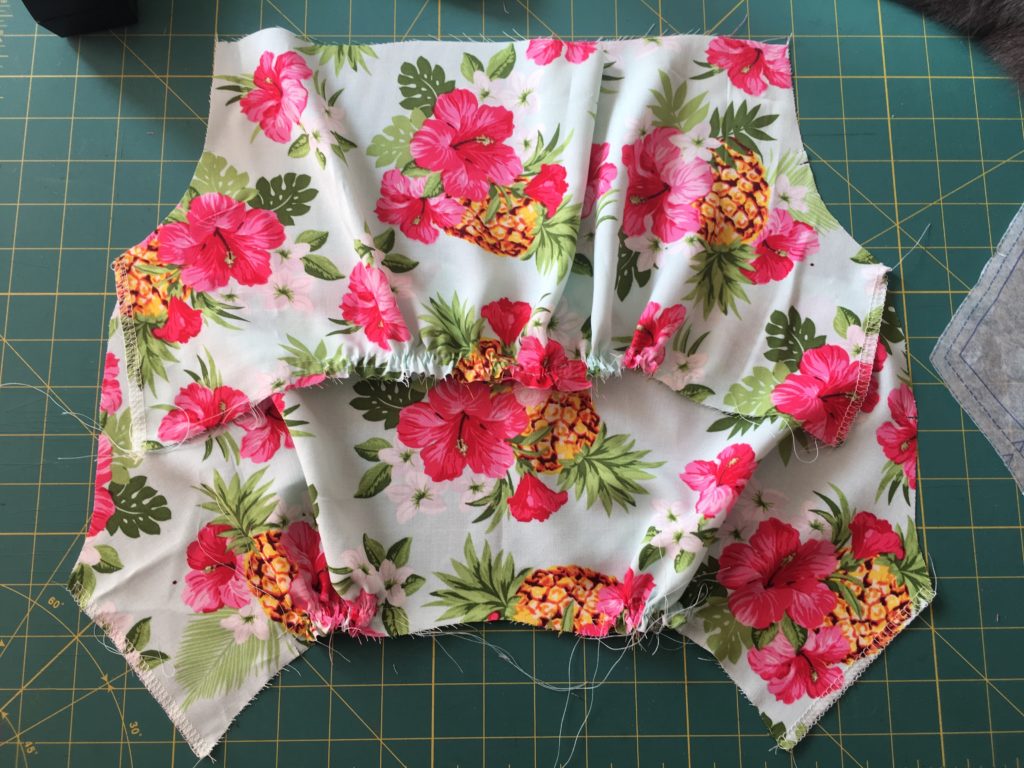
Next, sew these two pieces together at the right side (just like you did for the lower blouse panels.

Sewing the Upper Blouse to the Lower Blouse
Next we’ll sew the two units together at the underbust seam. With right sides together, match the side seams first, then the notches. Distribute the gathers as needed. Pin and then stitch all the way around.
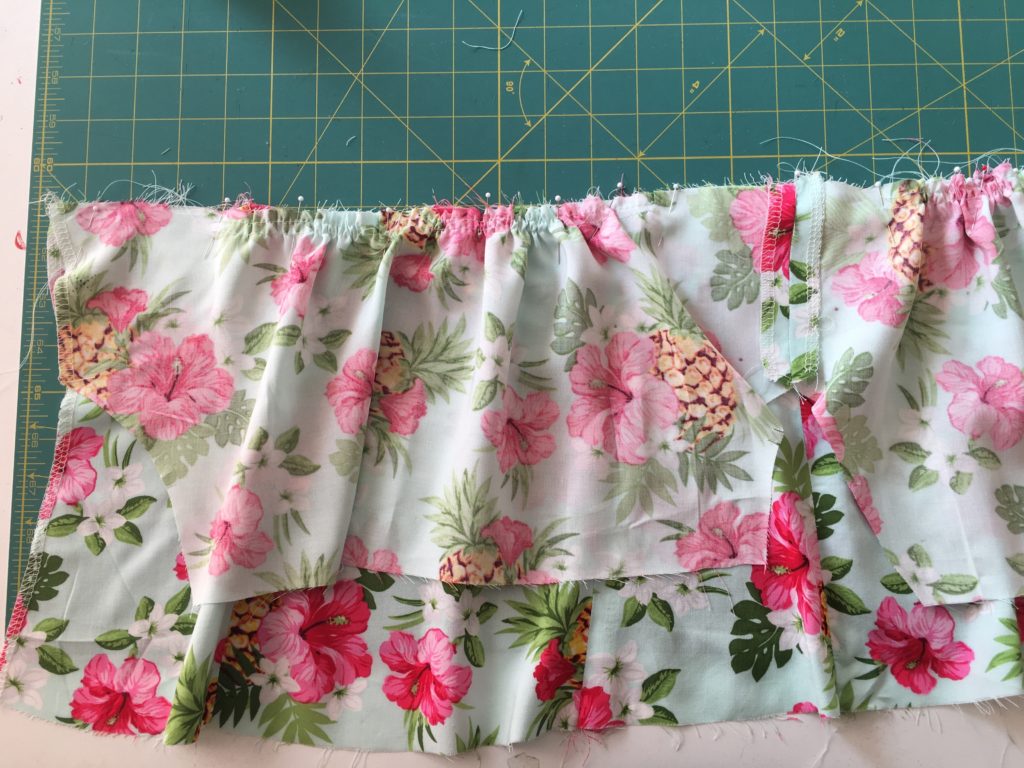
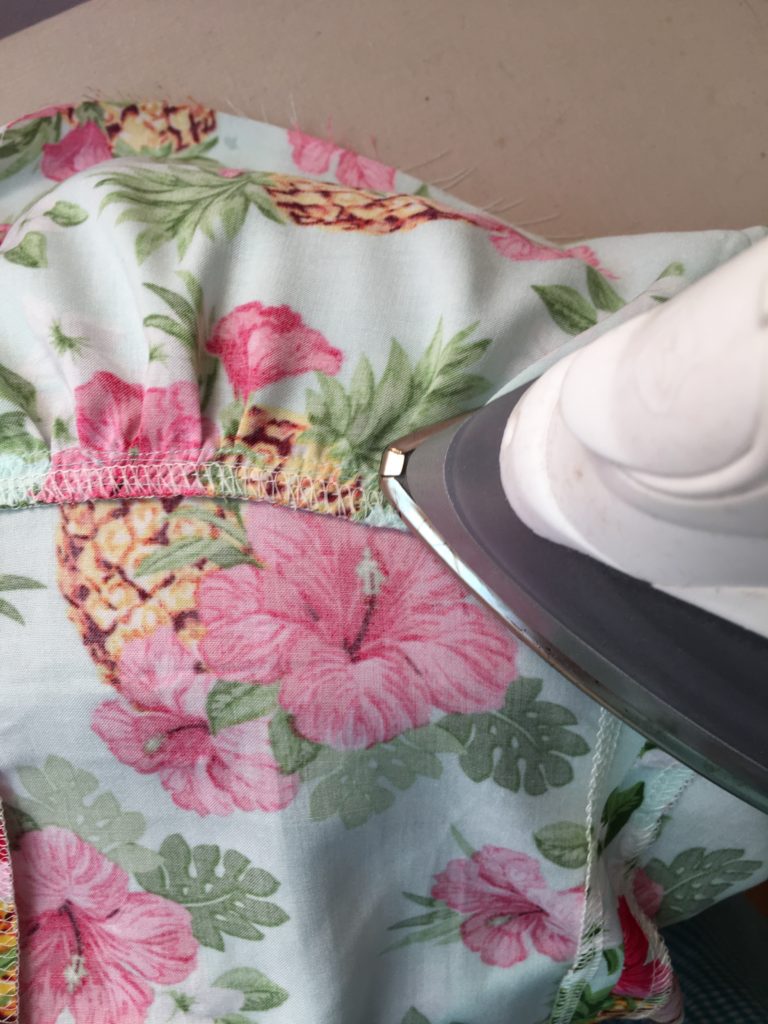
After stitching, check that all your gathers and seam allowances are flat.

Finish the underbust seam allowance with your method of choice I serged mine together and then press down (toward the lower bodice).
Stabilize the Zipper Opening
And your final step for today! Stabilizing the zipper opening so it doesn’t stretch out when you sew in the zipper. You’re going to take your 1.25″ wide strips of fusible interfacing and cut them to length between the two zipper circles (from the underarm circle down to the hem circle). Fuse a strip into place on each side of the zipper opening, like so:
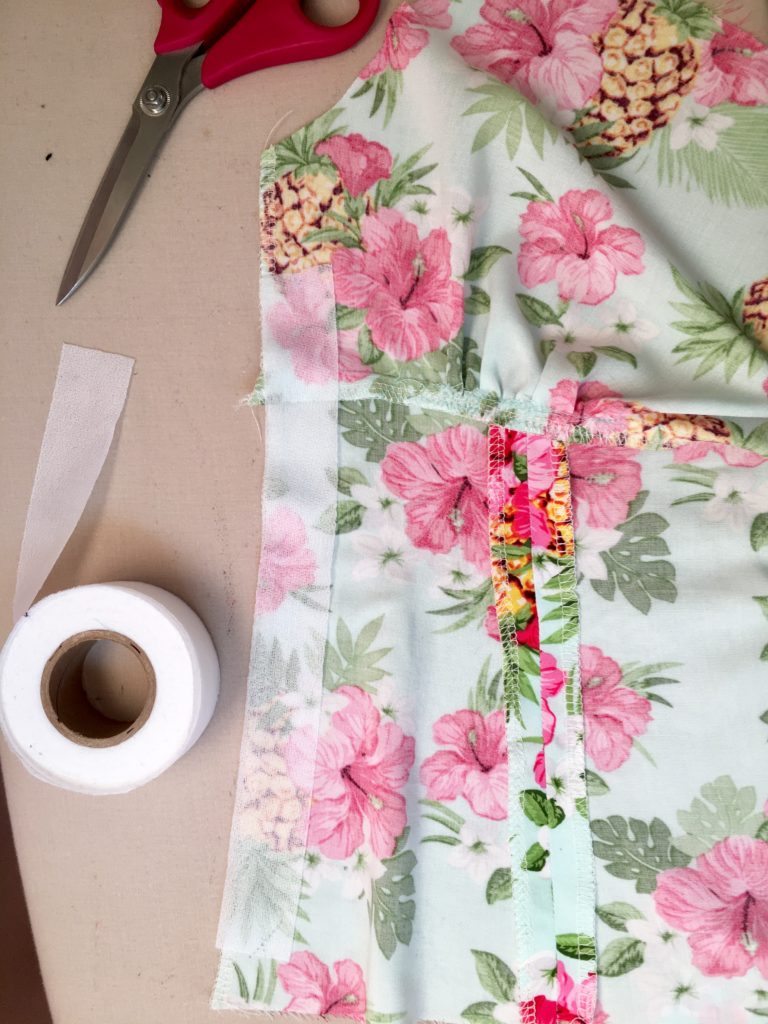
So you’ll be cutting two strips, one for the front and one for the back, got it? Yay! That’s all for today.
When we come back later this week, it’s zipper time!