Sew Along
Jane Sew Along #7: Constructing the Interior Bra
Apr
Now that your Jane Set bodice front is constructed, it’s time to sew the interior bra. I took this bra detail from a vintage Ceeb of Miami jumpsuit, and it really does help give a great shape. The secret is the interfacing and spiral steel boning!
Construct Your Bra
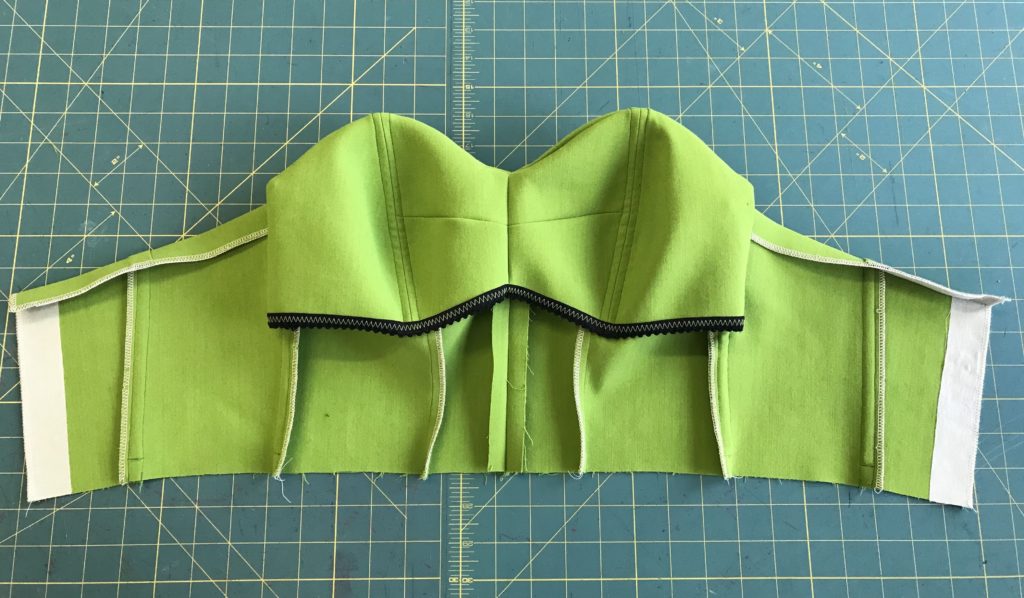
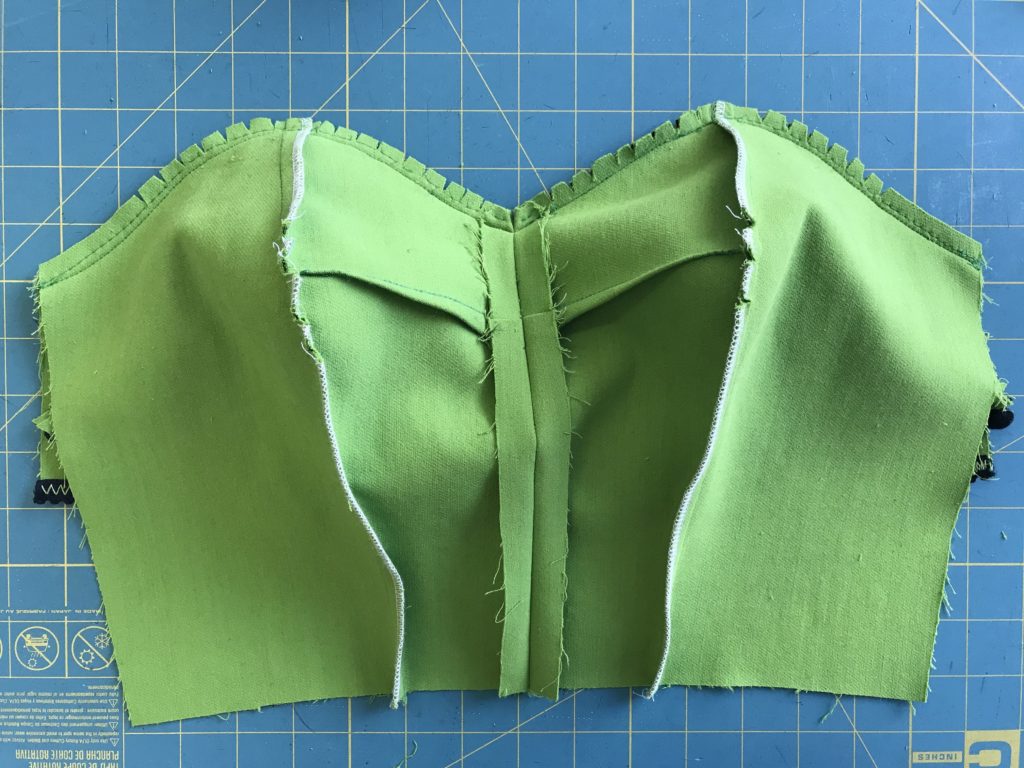
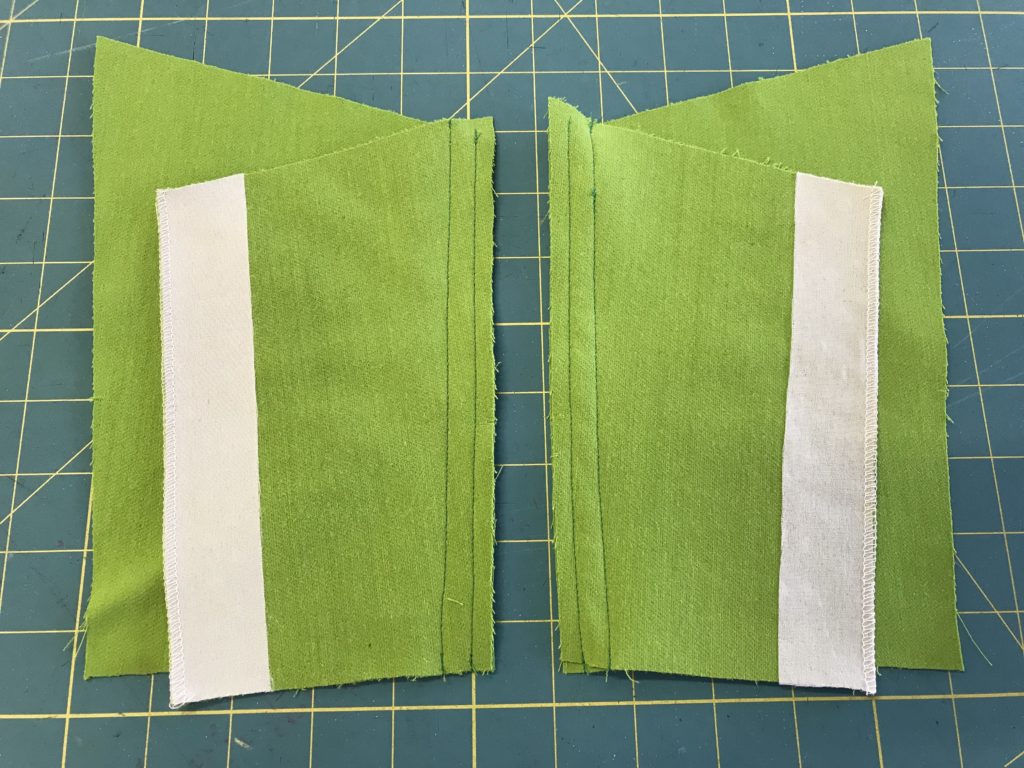
Make sure you’ve applied your interfacing to your bra pieces before doing any of these steps. You’ll construct the bra the exact same way you did the front bodice: center darts, center front seam, and then princess seams. Trim the princess seams to 1/4″ wide and press them open.
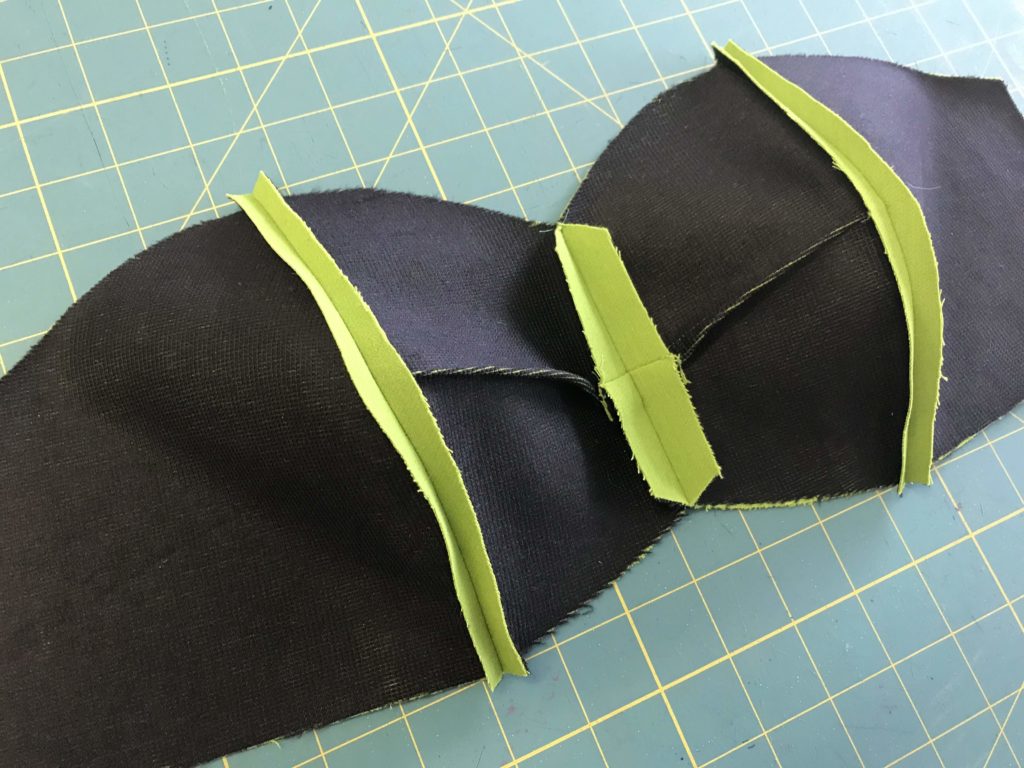
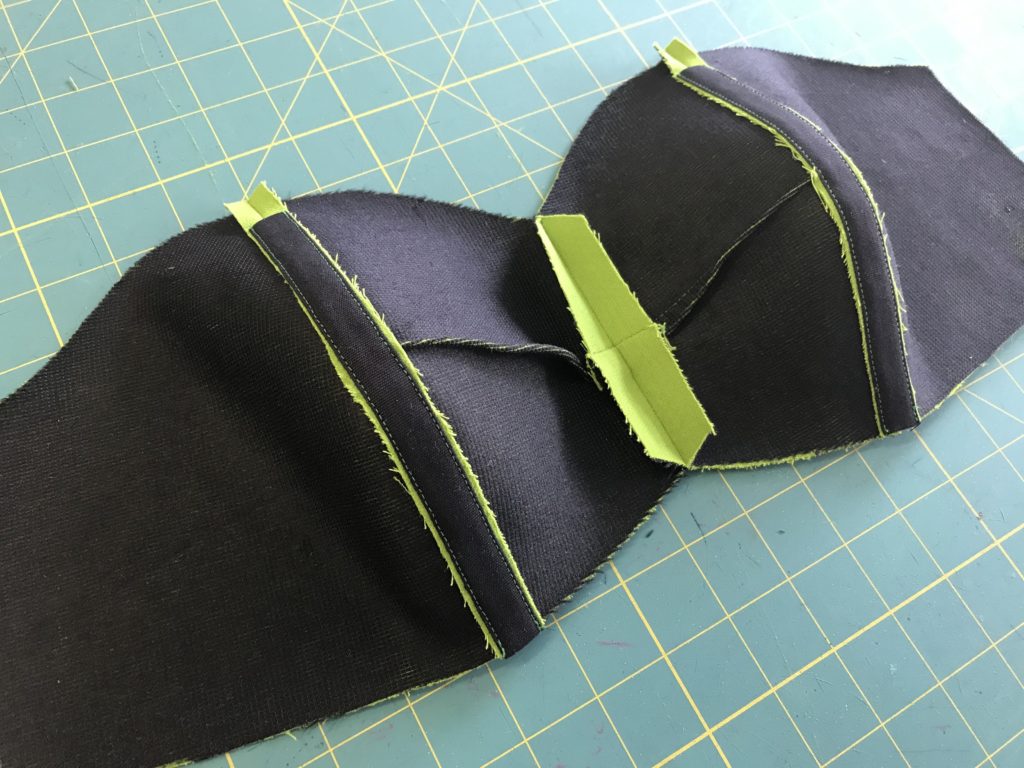
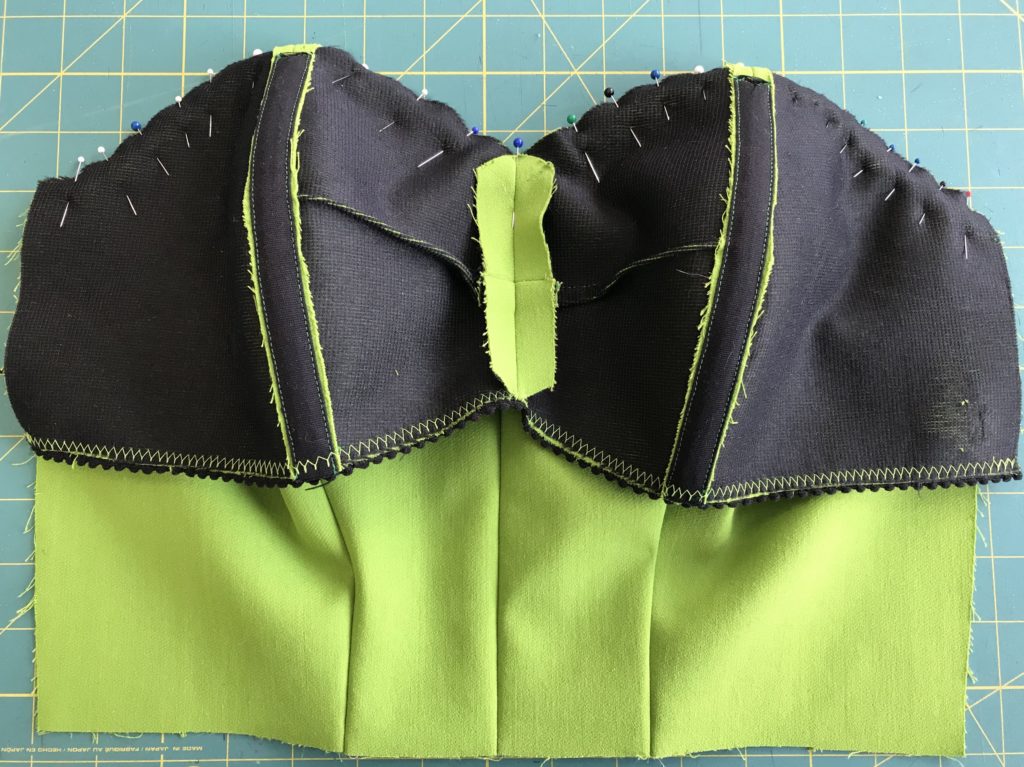
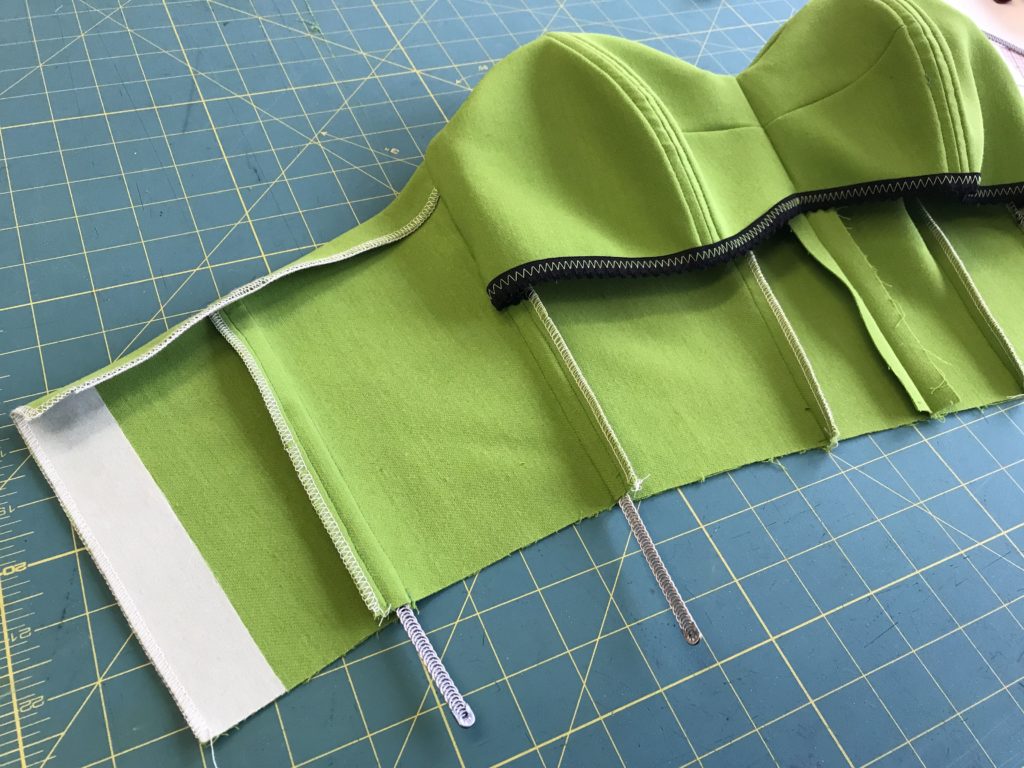
Cut bone channeling so that it is 3/4″ shorter than the princess seam and pin to the open seam, ending casing 3/4 in (1.9 cm) from bra’s upper edge. Edgestitch along sides of casing, stitching through the layers of casing, seam allowances, and bra.
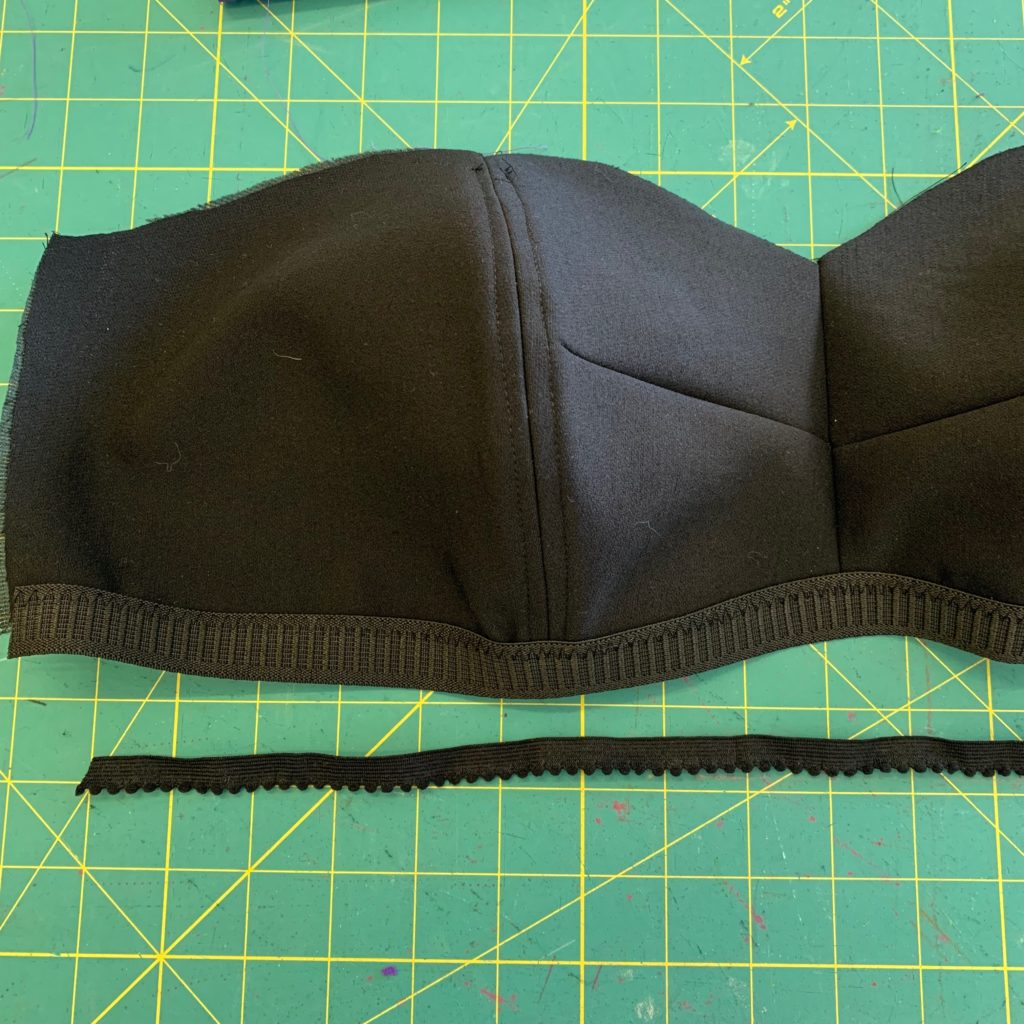
Next, you’ll apply picot elastic to the bottom edge of the bra. Make sure to cut your elastic so that it’s about 1″ shorter than the length of the lower edge of the bra. Stretching the elastic to fit, overlap the picot with the bra edge by about 1/4″. Use a medium width zigzag to stitch on the picot, stretching the elastic to fit.
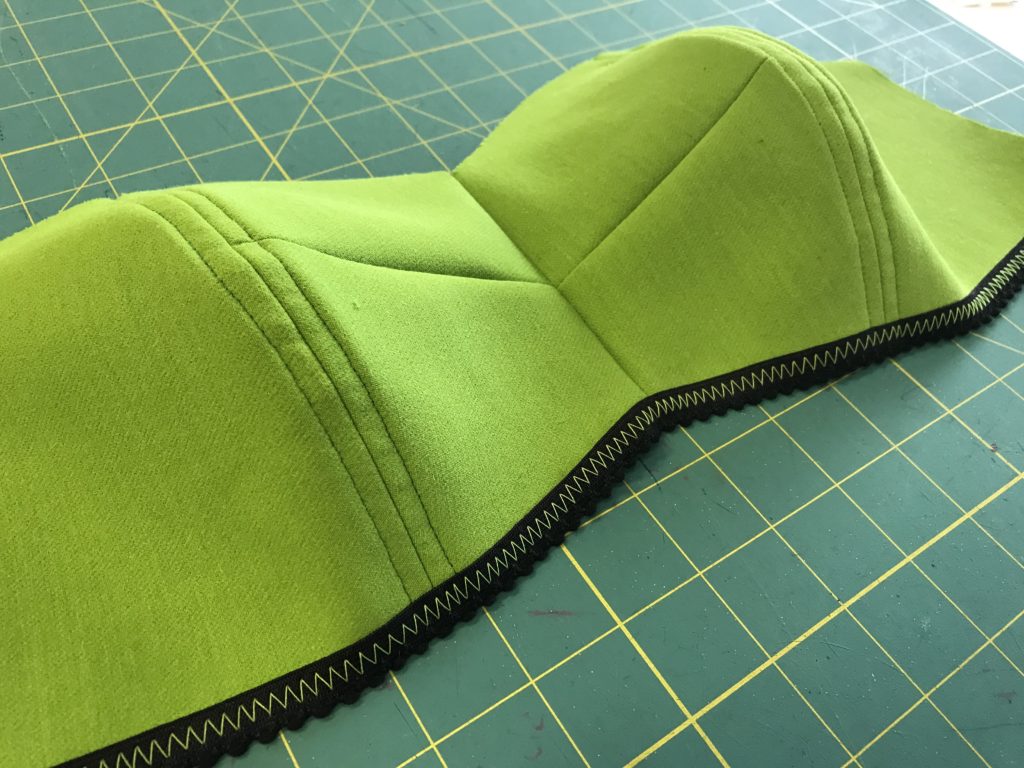
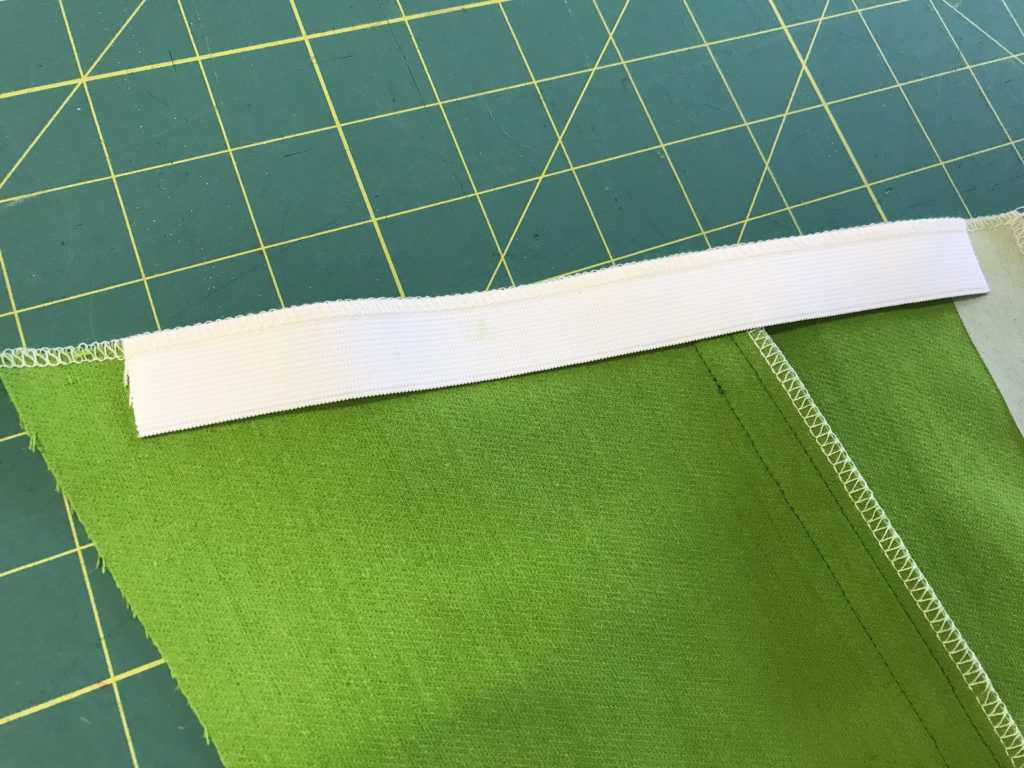
Tip: you can use a wider elastic and cut it a bit shorter and stretch it more to give more bust support! Here’s what a 3/4″ elastic looks like.
Bone the Bra
Now it’s time to bone the bra! I made a video to help you with the process.
Attach the Bra
Now that the bra is constructed, it’s time to sew the bra to the bodice front. Pin the two together at the neckline edge, right sides together.
Stitch the two together using a zipper foot (so you don’t stitch over your boning a break a needle!), pivoting at the center front seam. Grade seam allowances so bodice’s seam allowance is widest and bra’s allowance is narrower. Notch seam allowances on the front neckline curves.
Understitch your neckline and press the edge, rolling the bra inside the bodice.
Sew the Bodice Back
Next, sew your back princess seams: Pin the bodice backs to the bodice side backs. Stitch with a 5/8 in (1.5 cm) seam allowance. Stitch again with a 1/4 in (6.3 mm) seam allowance, forming 3/8-in-wide (1.0 cm) channel for a bone. Finish seam allowance raw edge with narrow zigzag stitch or serged overlock stitch. Press joined seam allowances toward center back.
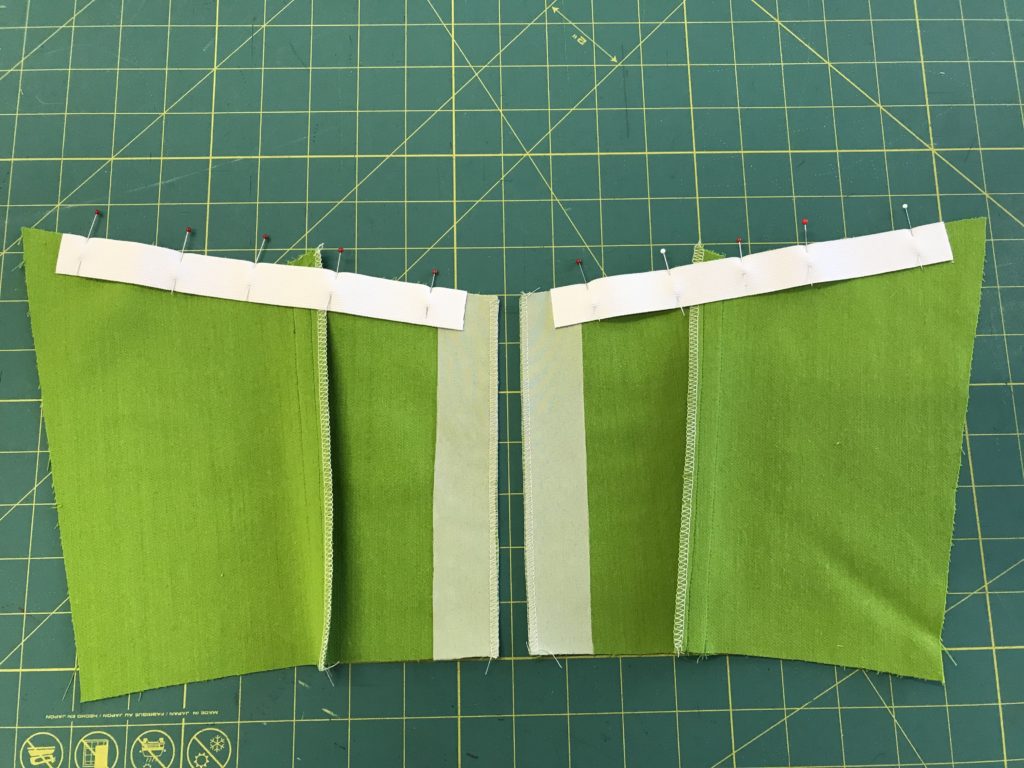
Now, cut your 3/4″ elastic so that it clears the seam allowances on each side of the back pieces. It will look like this when pinned in place. See how the elastic doesn’t extend into the seam allowances at the side seams or the center back?
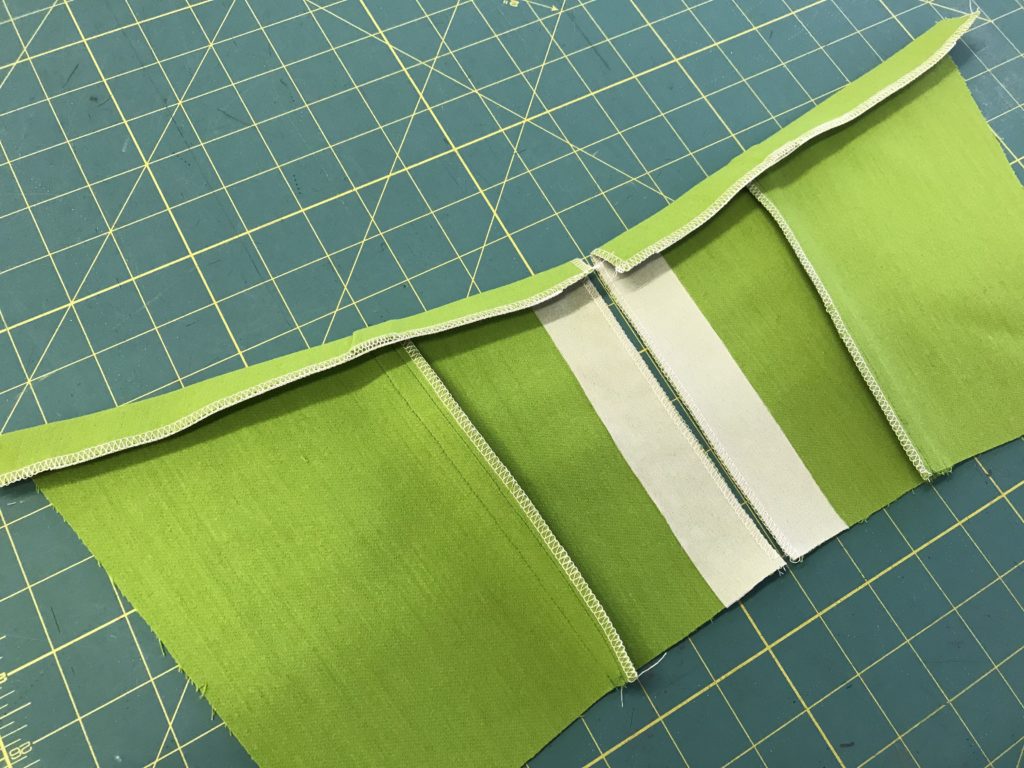
Next you’ll serge or zigzag the elastic on, not stretching it at all. Just serge along the edge, stitching the elastic to the fabric, without trimming anything away.
Fold and press the elastic in, forming a “facing” at the top of your bodice back.
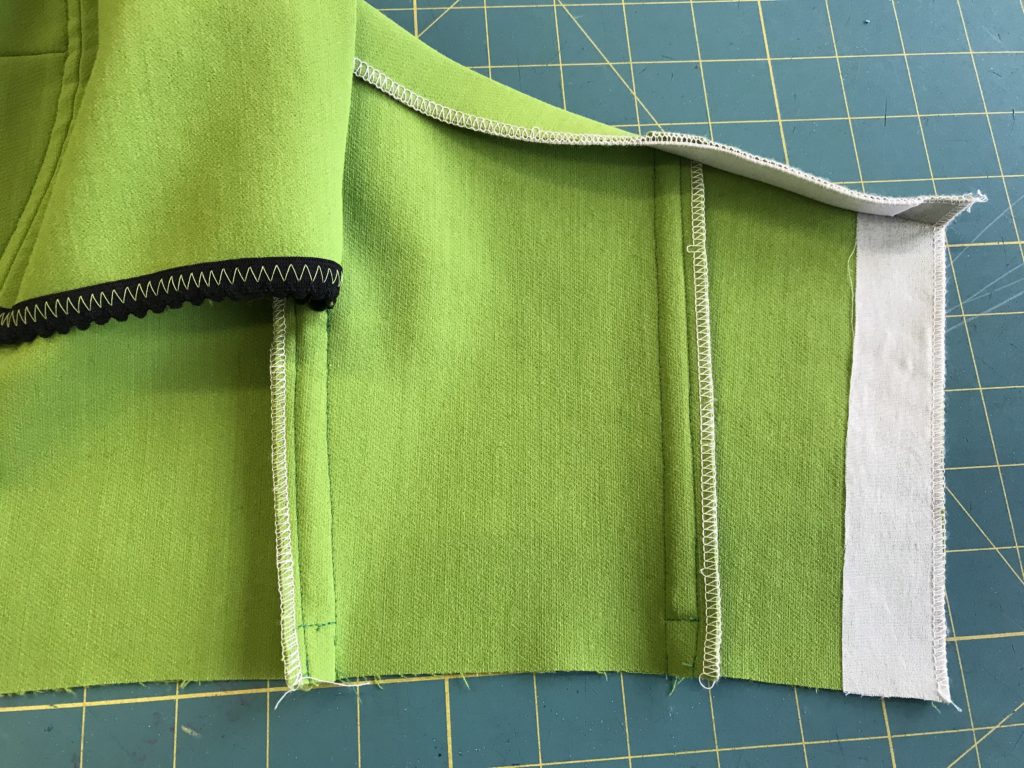
Sew the Side Seams
Next we sew our side seams. Pin bodice back units to bodice front at side seams, right sides together (keep bra separate at this point). Be sure that the back elastic facing’s folded edge ends at the same point as the front neckline’s finished edge. Flip bra to bodice RS, sandwiching bodice backs between bodice front and bra. Pin and stitch all layers with a 5/8 in seam allowance. Stitch again with a 1/4 in seam allowance, forming 3/8-in-wide channel for a bone. Finish seam allowances with narrow zigzag stitch or serged overlock stitch.
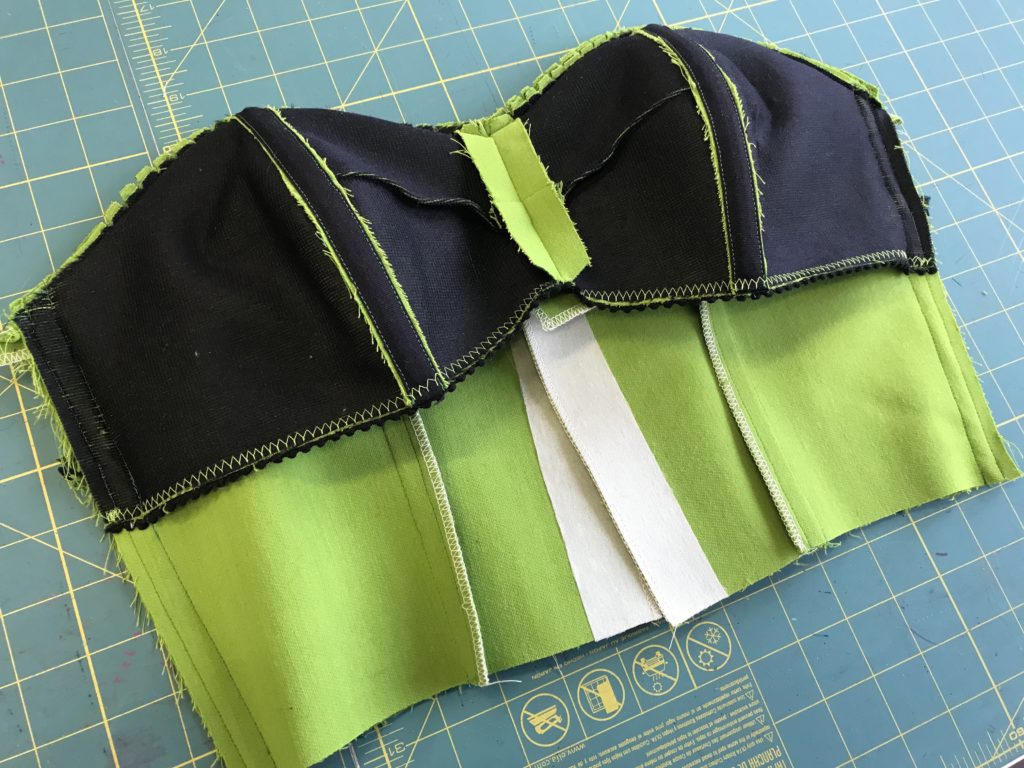
Turn bra back to wrong side, and push out corners of side seam. Press seam allowances toward bodice front.
Bone the Seams
Last step for today! Cut spiral steel boning lengths about 3/4 in shorter than lengths of bone channels on the side seams and back princess seams. Apply caps to boning ends with pliers or wrap ends with Teflon tape and insert them into bone channels.
Close bone channels by stitching across the lower edges.
Doesn’t the finishing on your bodice look lovely?

That’s it for now! We’ll be back with constructing our pants next week.