Sew Along
Jane Set Sew-Along #8: Pants, Waist Seam, and Zipper
Apr
Welcome back to the Jane Set sew-along! Now that our bodices are fully constructed, we’re going to jump right back in with pants. Pants are funny: the fitting can be such a process, but the sewing is super easy! Your pants will be put together in a snap. We are now on page 24 of the instruction booklet.
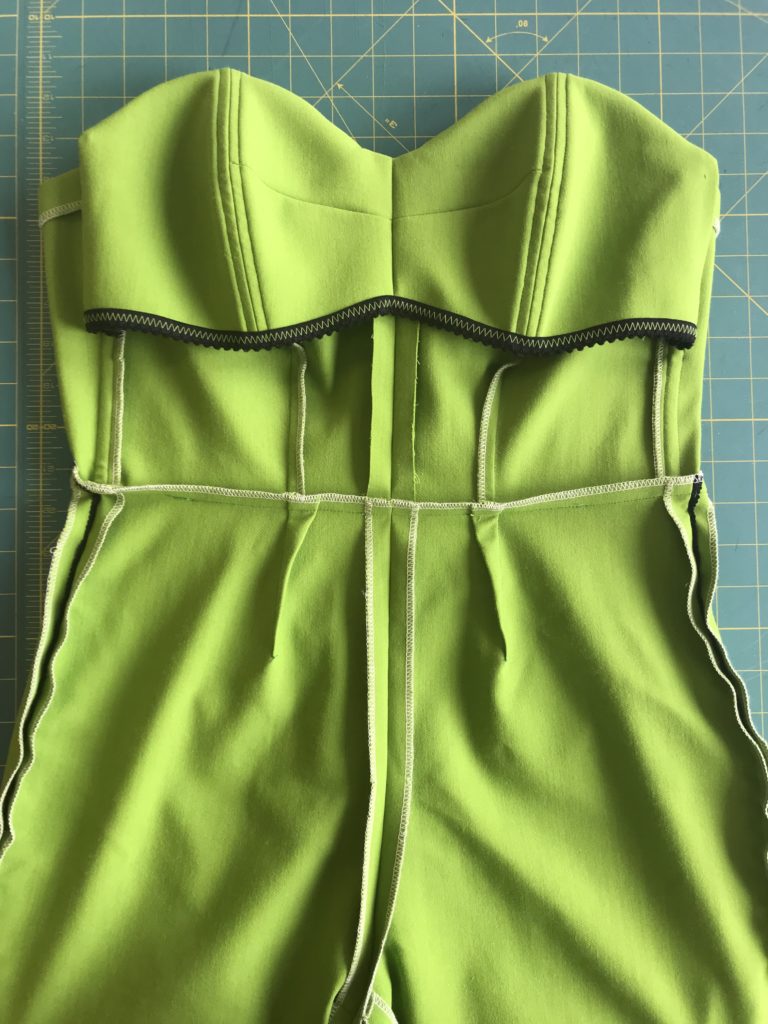
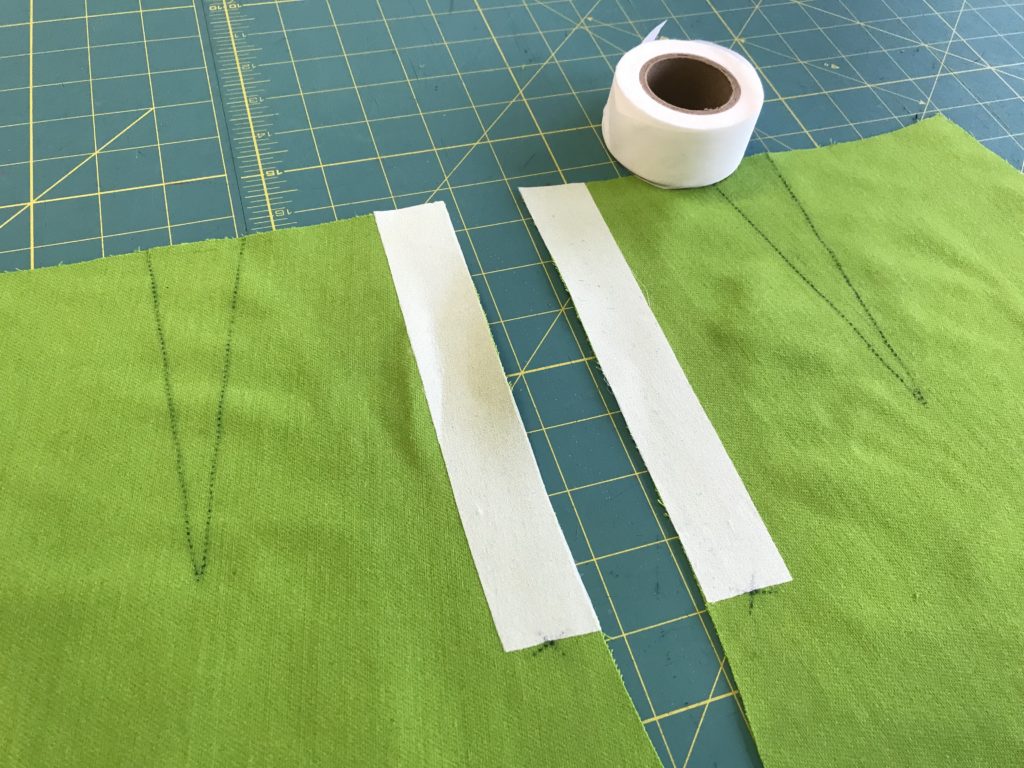
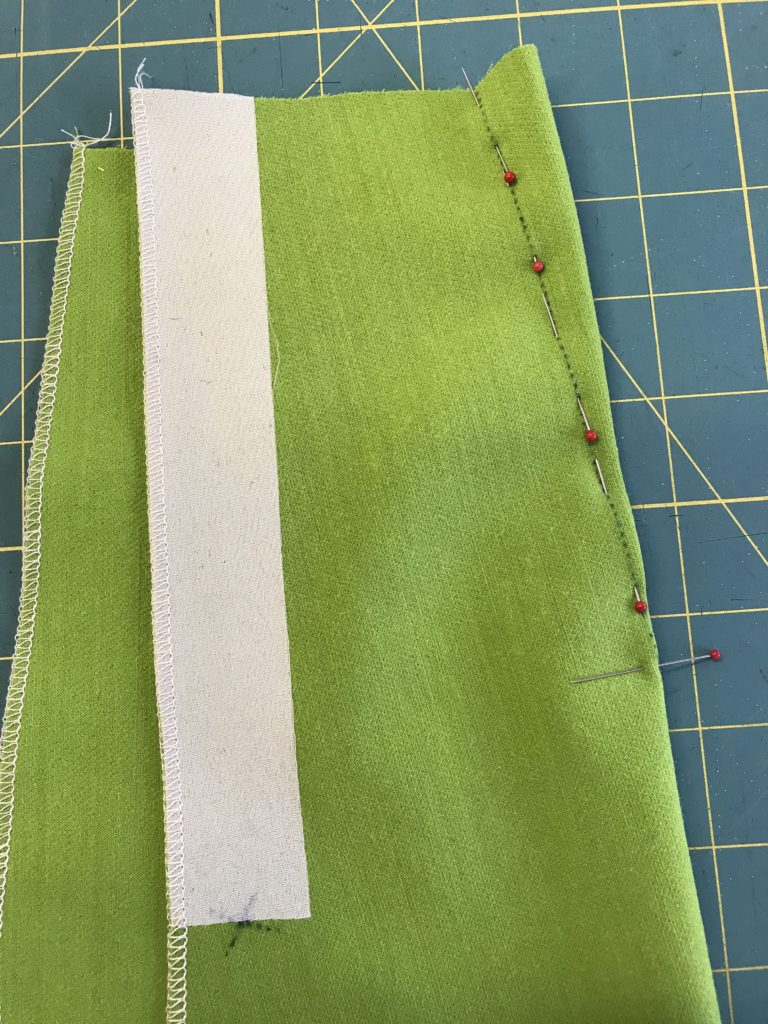
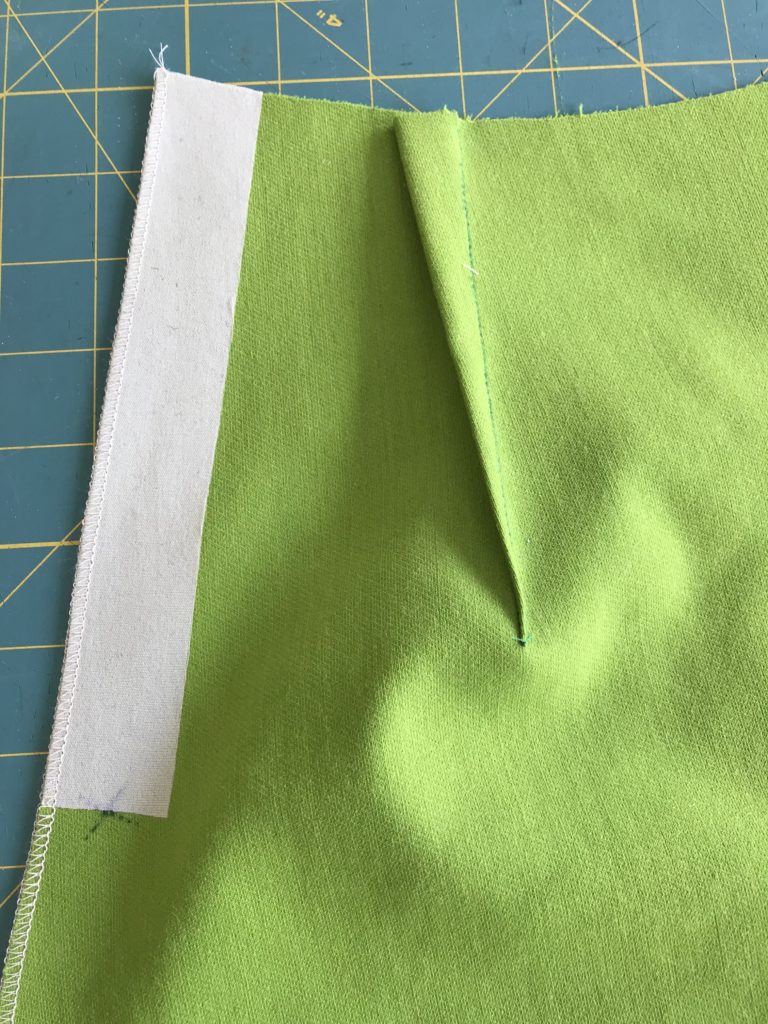
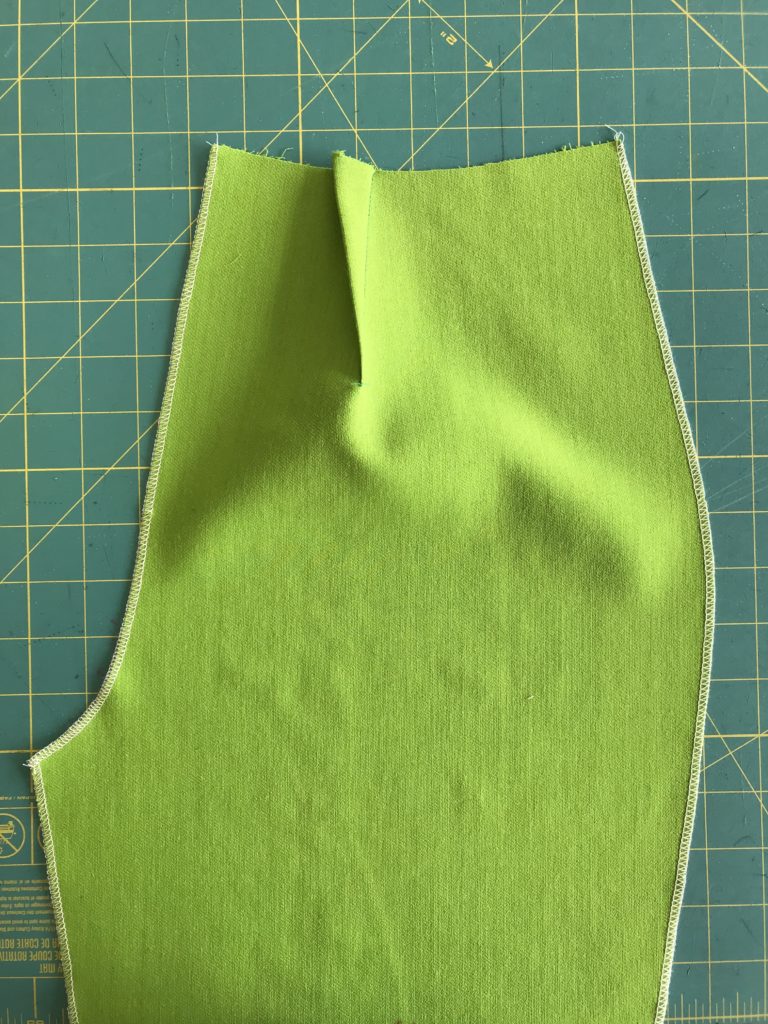
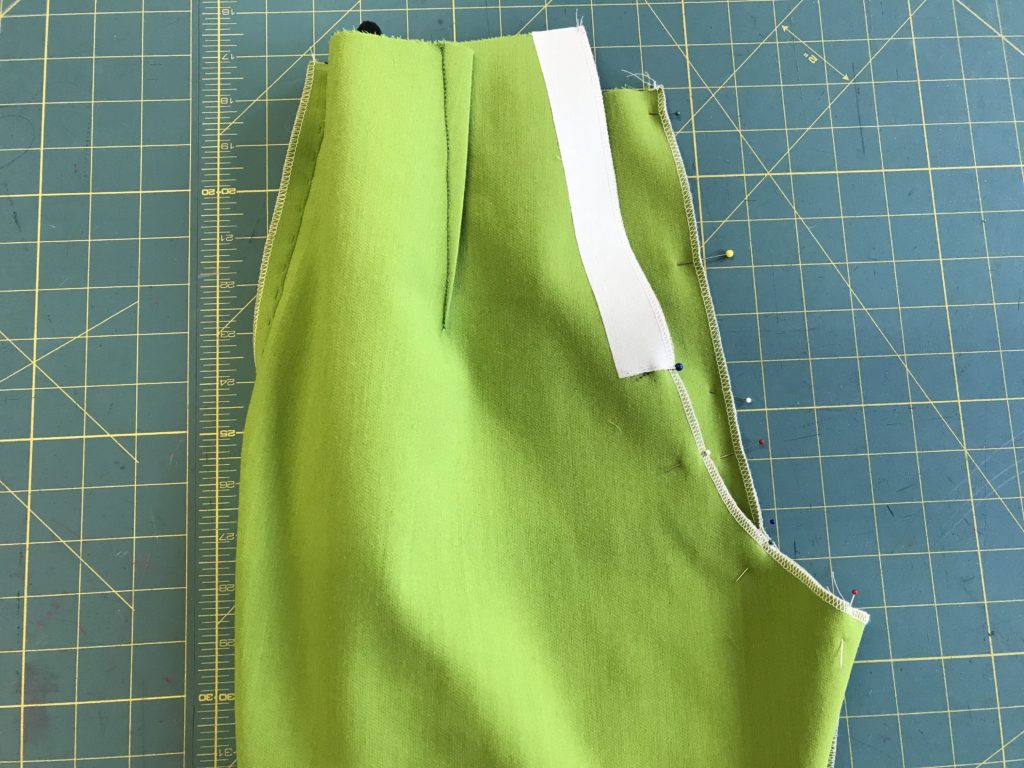
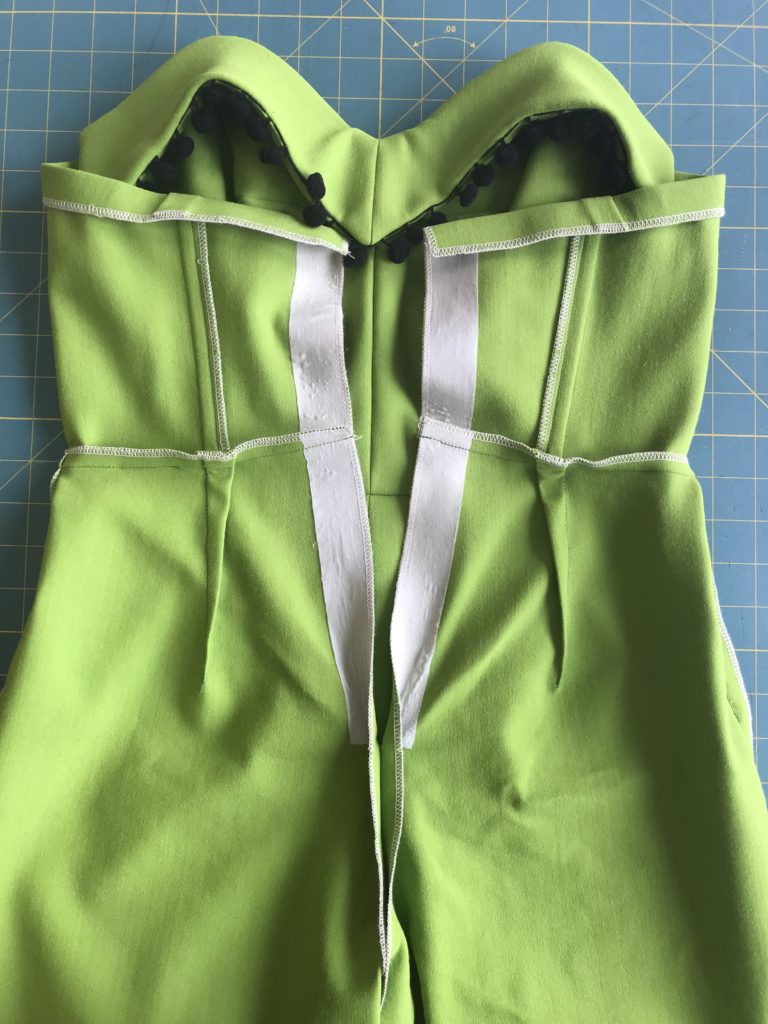
Start by sewing your front and back darts on the pants. Press toward center back and center front, respectively. And don’t forget to stabilize the center back above the zipper mark with 1.25″ wide fusible interfacing strips.
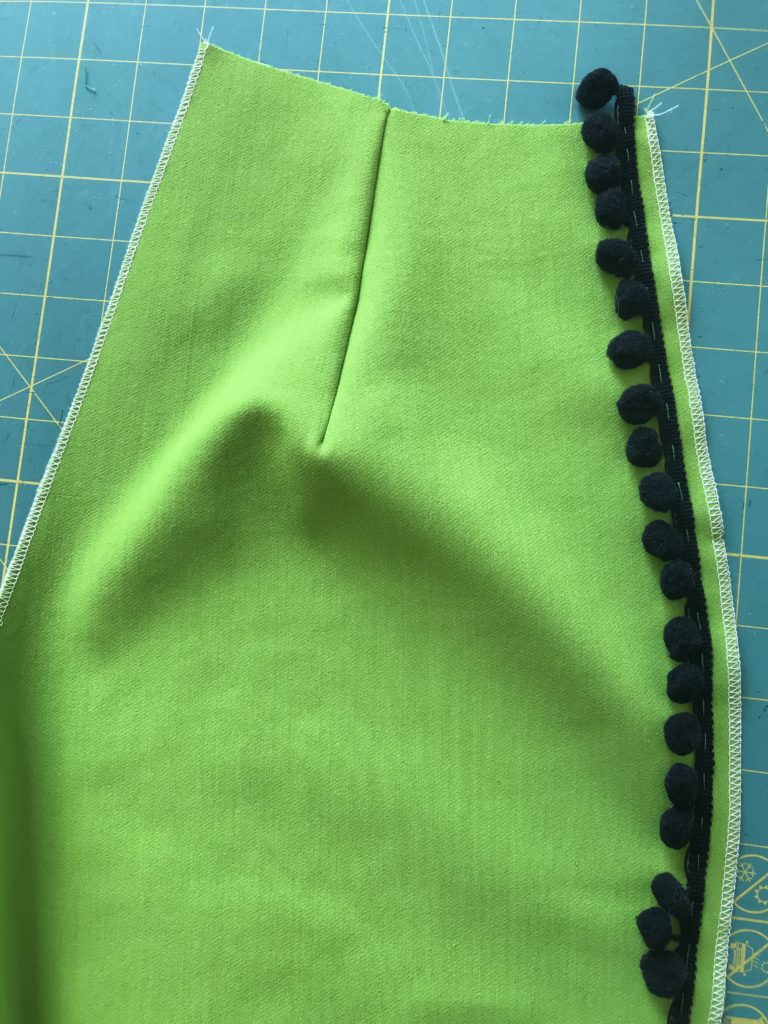
I decided to continue my Mexicali Rose pom pom fantasy on my pants, and placed trim down the pant seam allowance, as for the neckline band. This would be great with fringe or piping too!
Next, pin and stitch each Pants Front to Pants Back at inseam and outseam, RS together, matching notches. You’ll have created a tube for each leg. Press seam allowances open. A seam roll or sleeve board comes in handy here!
Next you’ll sew the crotch seam. Pin the pant legs together and stitch, starting at front waist edge and stopping at back zipper circle. It can be helpful to put one leg inside the other (right sides together) to sew this seam.
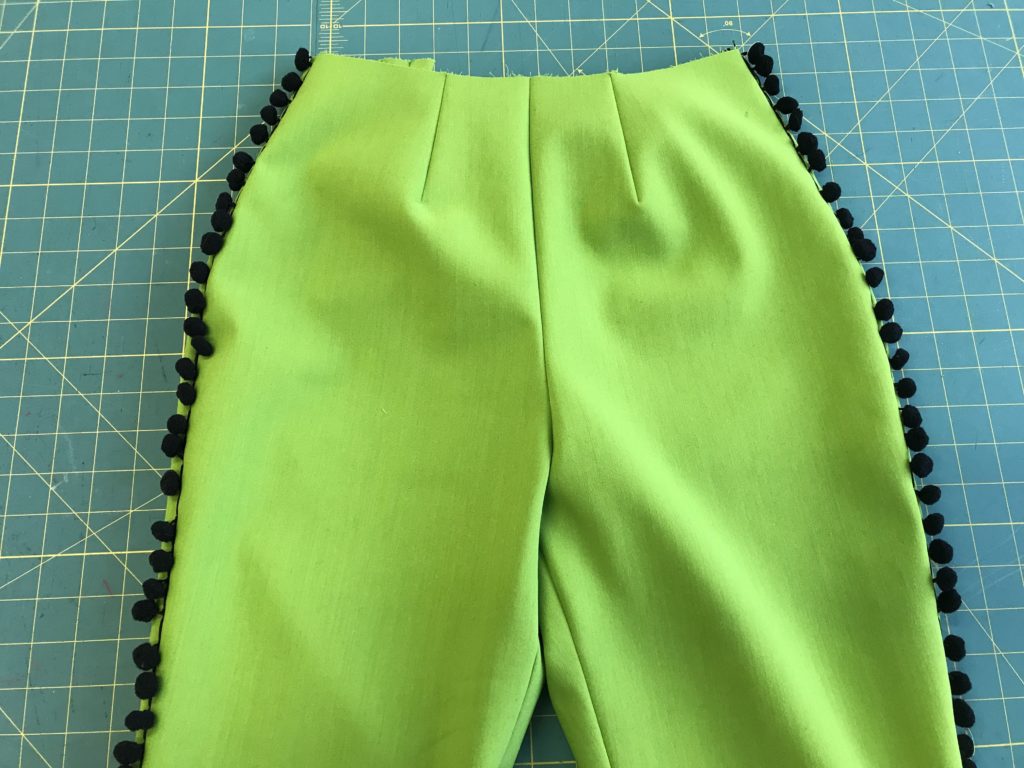
Press crotch seam open. You may wish to trim these seams to 3/8 in (1.0 cm) to remove bulk. Check out my pom pom pants!
Now it’s time to sew the bodice to the pants. Pin the bodice to the pants at waistline, matching darts and seams. Stitch. Trim seam allowances as one to about 3/8 in (1.0 cm), then finish as desired. If serging, trim and finish simultaneously. Press seam allowances toward bodice.
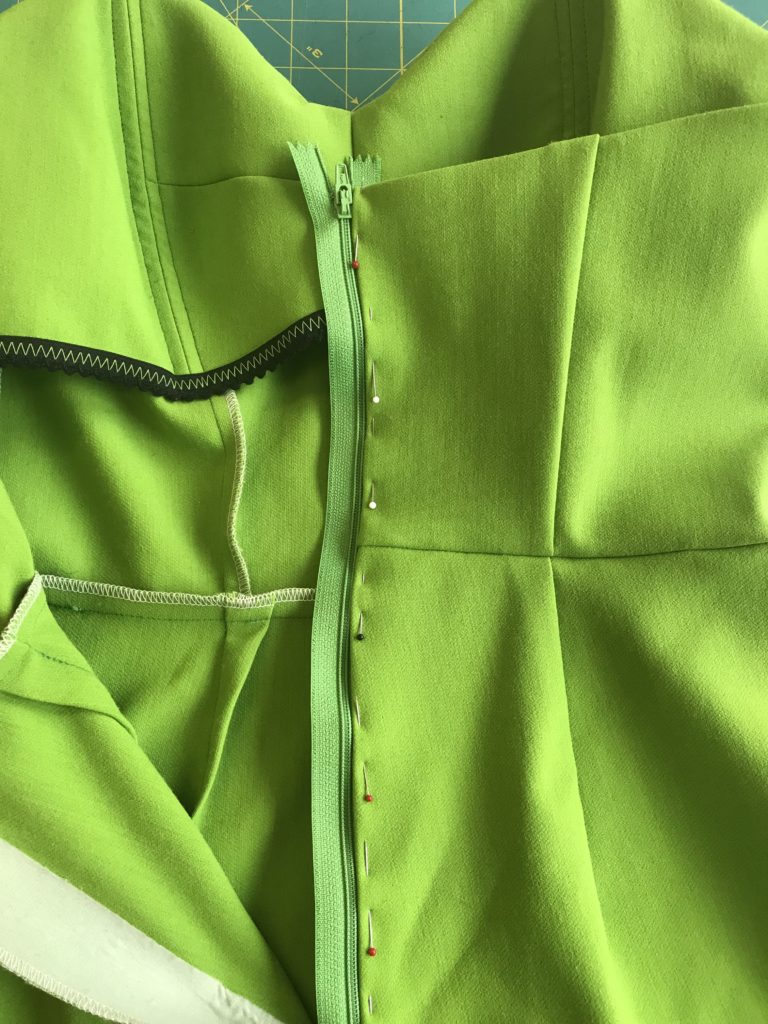
It’s zipper time! We’ll be inserting a lapped zipper. With jumpsuit right side out, on right half of center back opening (the underlap), press stabilized zipper opening seam allowance to wrong side 1/2 in (1.3 cm).
Grab your 18″ regular (not invisible) zipper. Place metal zipper stop just below turned-under elastic neckline facing and pin the zipper under the pressed seam allowance, placing zipper teeth just left of fabric fold.
Open the zipper halfway. Using a zipper foot, stitch from top to bottom next to zipper teeth, just on fold. As your needle approaches the zipper pull, stop stitching with your needle down and presser foot up and close the zipper; resume stitching until you get to the base of the zipper.
Next we’ll pin and sew the overlap (left) side of the zipper. On left half of zipper opening, press seam allowance under 5/8 in (1.5 cm). With zipper closed, position overlap over zipper teeth so fabric fold just covers stitching on underlap; make sure waistline seam matches on either half of opening. Pin the overlap to zipper tape.
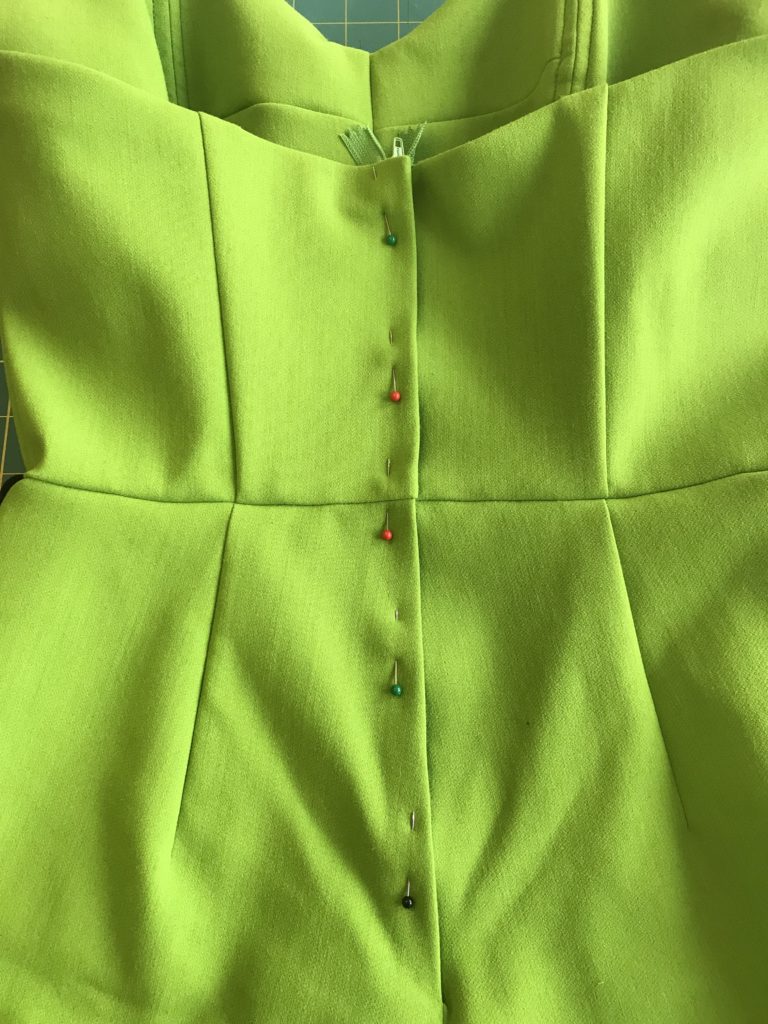
Open the zipper all the way and topstitch overlap 3/8 in (1.0 cm) from fold, closing zipper when you reach the pull; finish stitching to base. Pivot and stitch across base of zipper opening.
Your zipper is in!
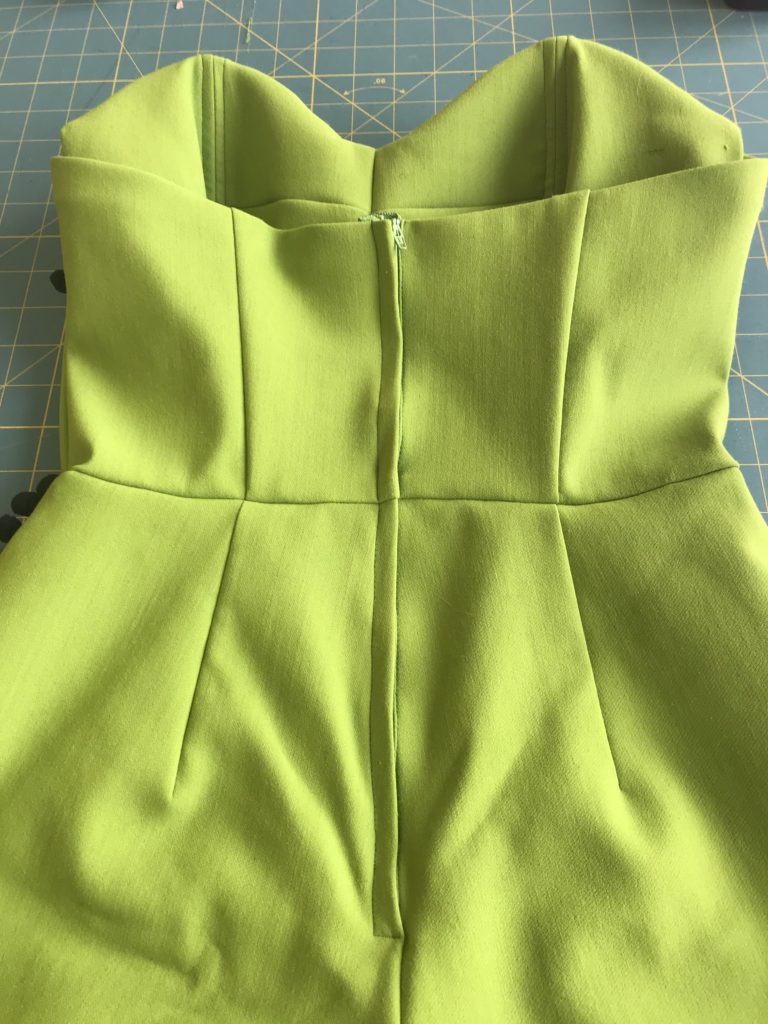
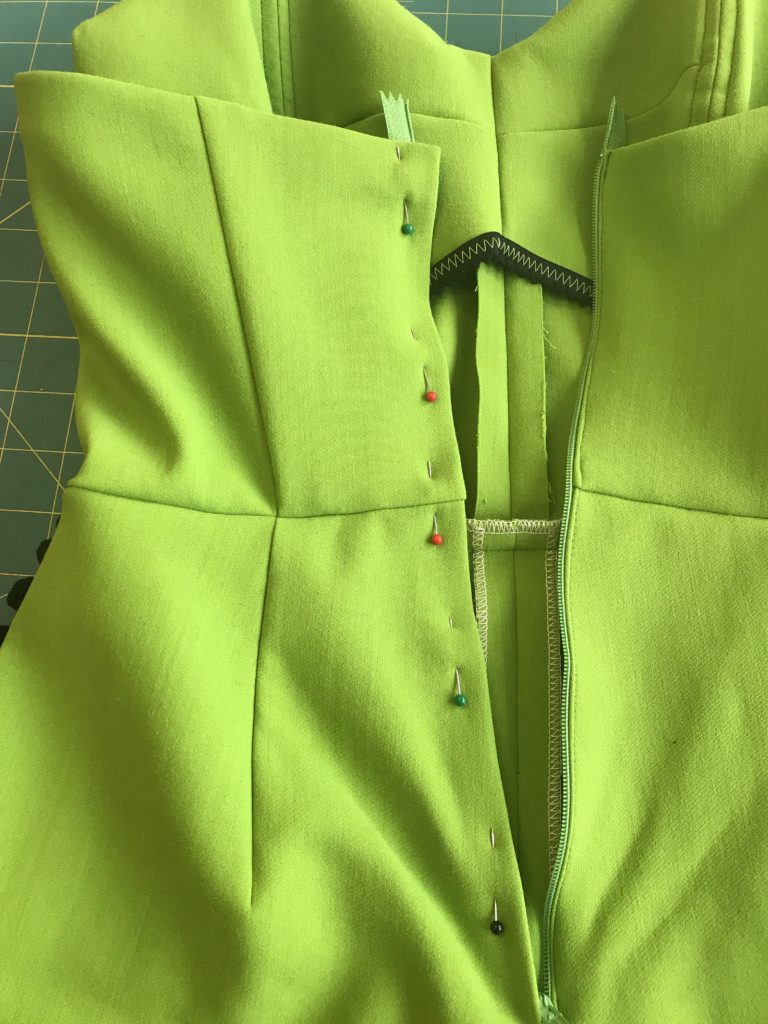
Finally, you’re going to sew two bar tacks, one on either side of the zipper. I took this detail from a Ceeb of Miami vintage jumpsuit, and it’s great for stabilizing the upper zipper opening in such a stretchy garment, and keeping it from gaping open at the top.
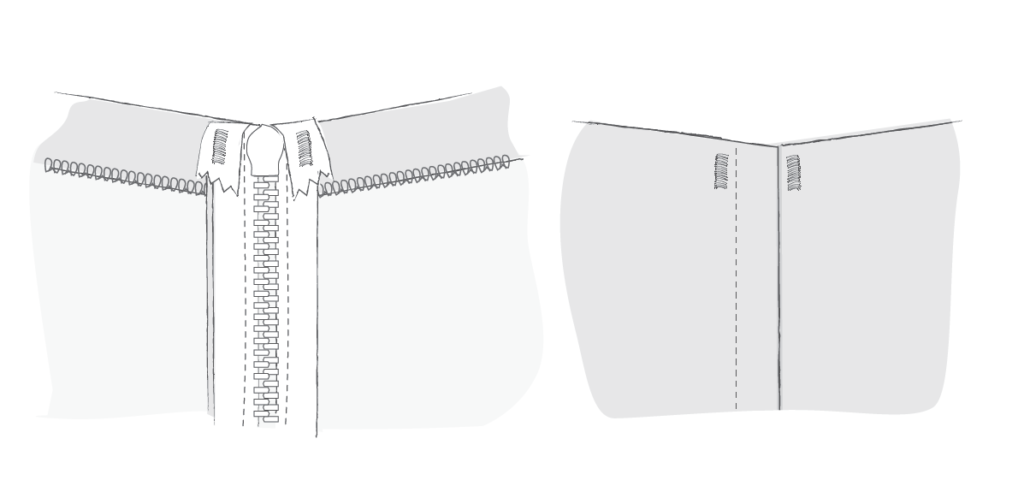
To make the bar tacks, fold down zipper tape ends and use a narrow zigzag (around 1.0 mm to 1.5 mm wide), with a short stitch length (approximately 0.5 mm long). Position needle 1/4 in (6.3 mm) to left of overlap’s topstitching, and 1/4 in below back neckline edge. Stitch for 3/8 in, creating a bar tack. Repeat on underlap side, 1/4 in to right of zipper stitching. Here’s an illustration to give you a clear idea of what this should look like.
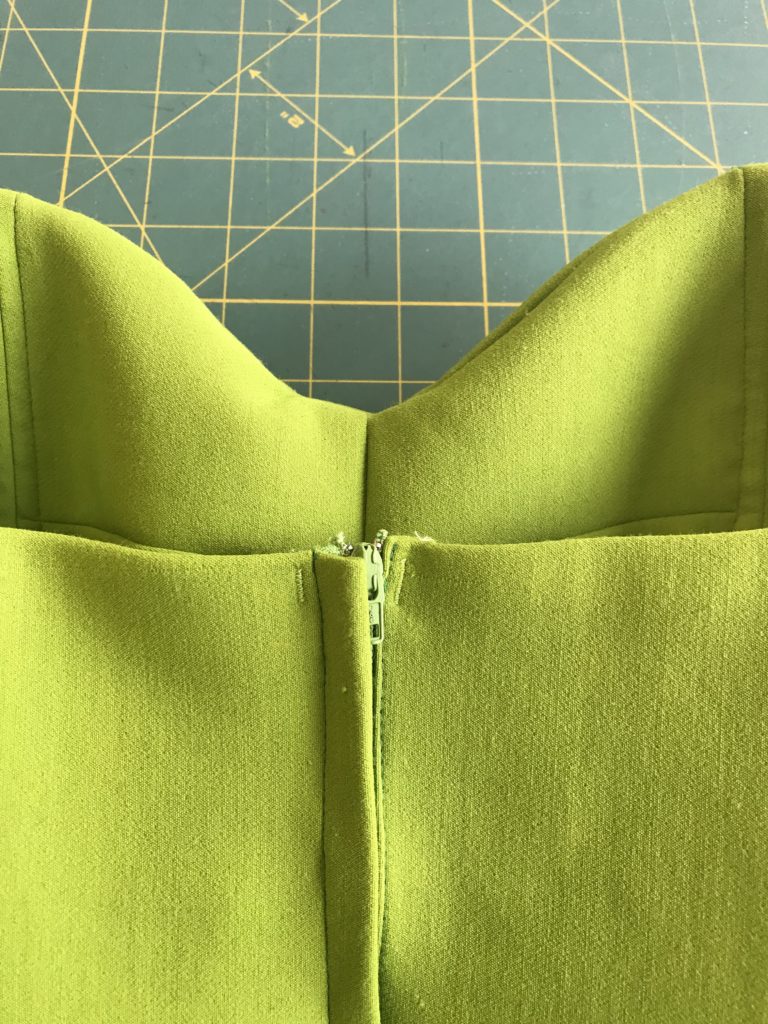
And here’s what it looks like on the jumpsuit.
That’s it for this installment. In the next post, we’ll be sewing the straps and hemming the pants and then we’re done!