Sew Along
Jane Sew-Along #6: Constructing the Front Bodice and Neckline Band
Apr
Welcome back to the Jane Set sew-along! Now that you’ve cut and prepped your fabric, it’s time to start sewing.
Front Bodice
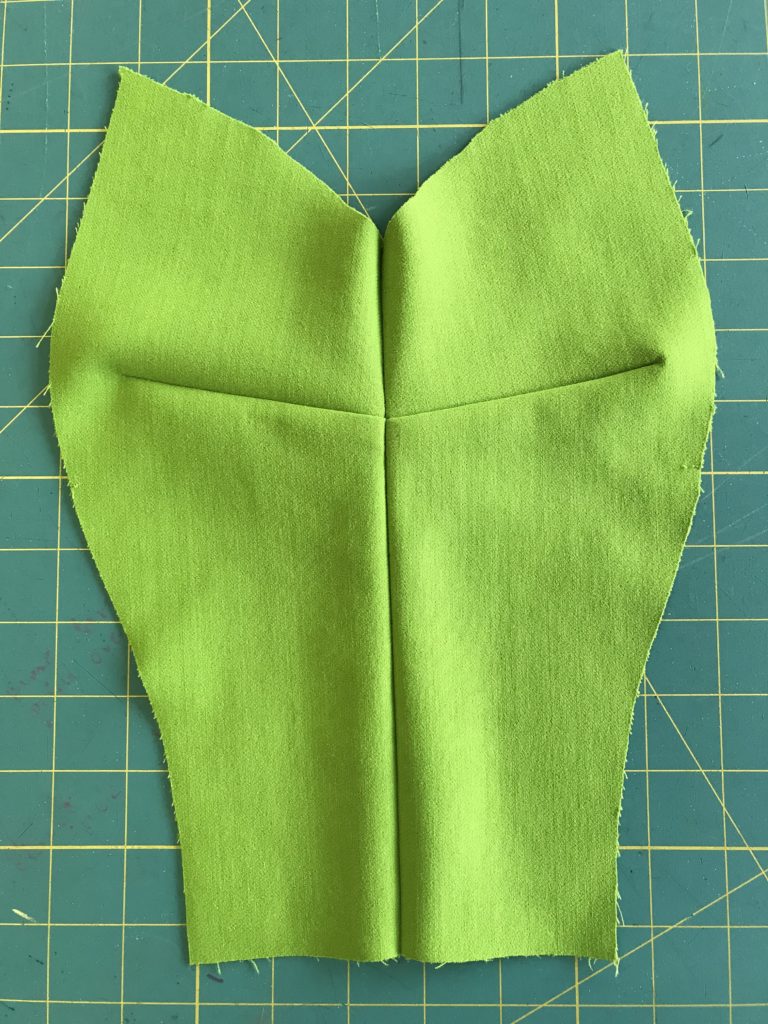
First, pin and sew your darts in the bodice front pieces. Press the darts down and sew your center front seam. This part can be tricky because you need the darts to align perfectly. It’s always a good idea to pin and baste that section of the seam first and then check your matching.
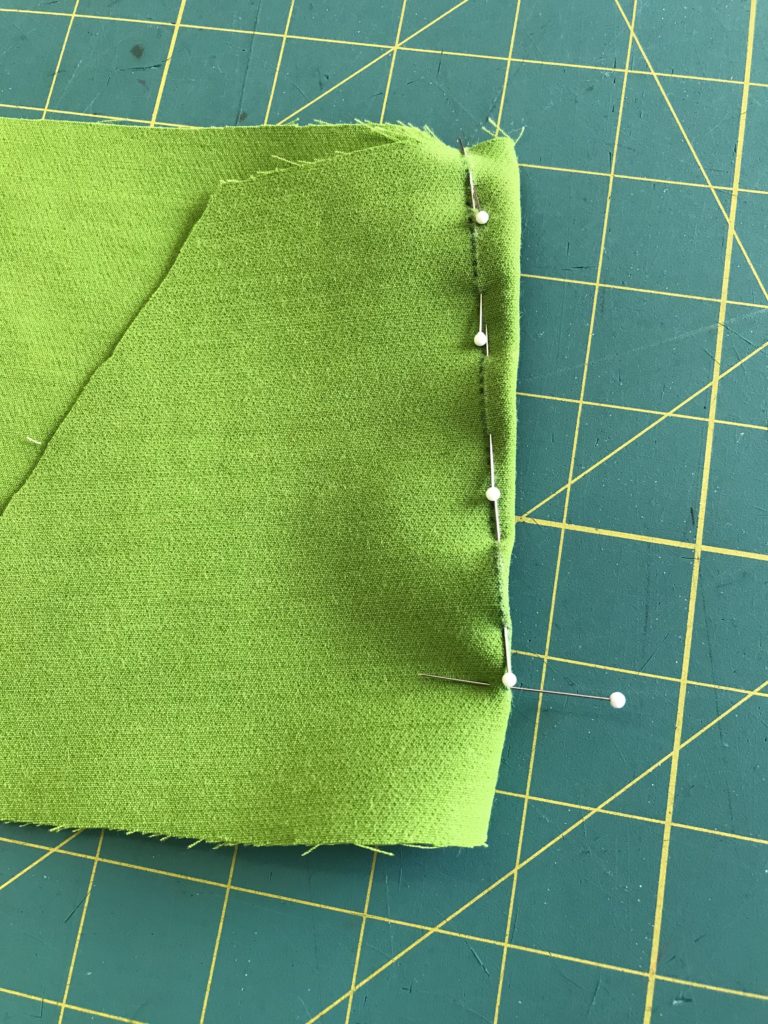
Finish your center front seam allowances by serging or the method of your choice,
Next, sew your front princess seams: Staystitch Bodice Center Front (1) between princess seam notches, then clip every 1/2 in (1.3 cm) between notches. Spread those clips when pinning the bodice front to the side bodice, so that the curves match.
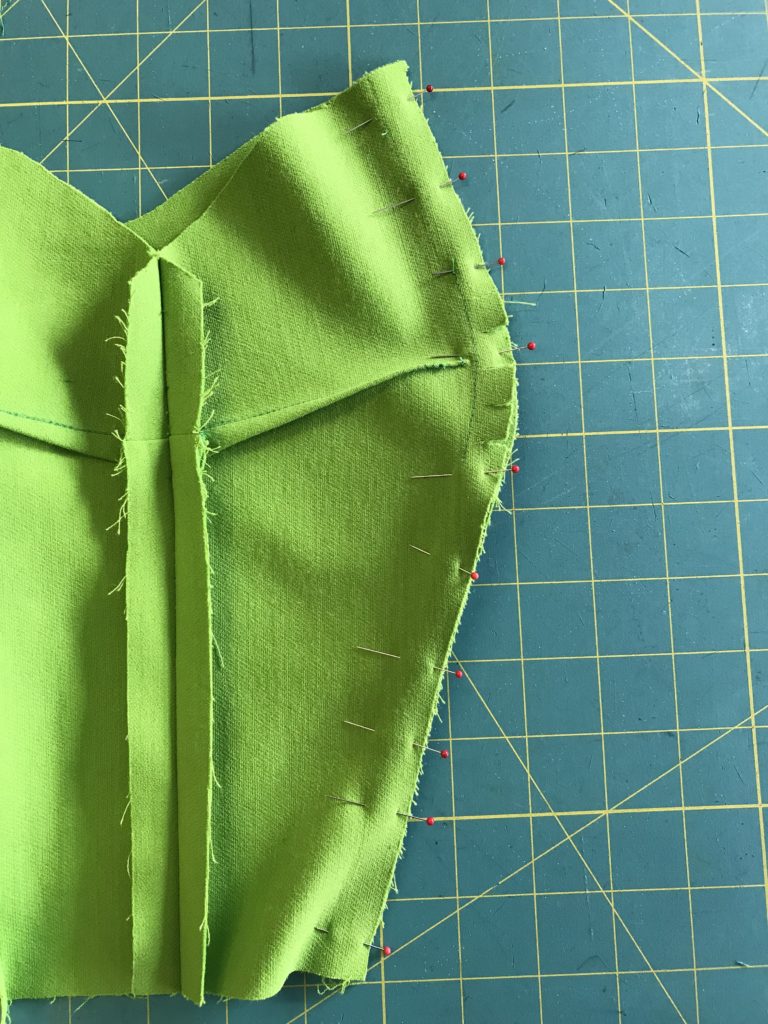
Press the princess seams open and then to center front. Trim seam allowances as one to about 3/8 in (1.0 cm), then finish as desired. If serging, trim and finish simultaneously.

Neckline Band
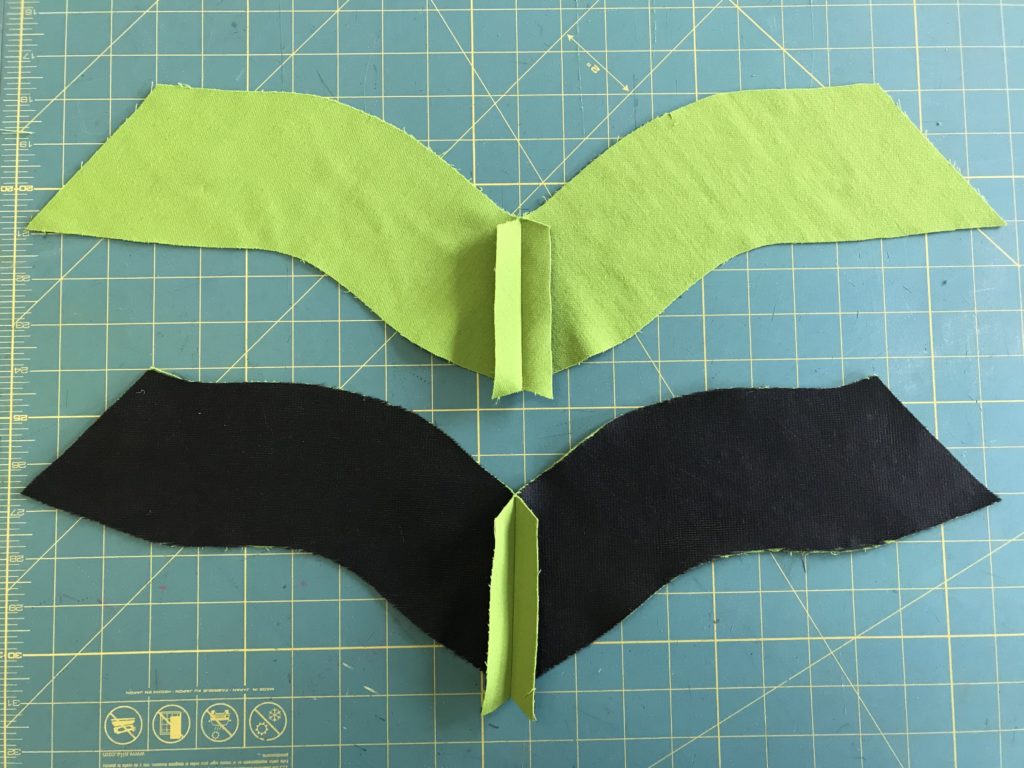
If you’re making a neckline band, now’s the time to construct it. (If you’re leaving the band off, you’re done for this post!) Start by sewing the center front seam on the interfaced band pair and the uninterfaced band pair. Press seams open.
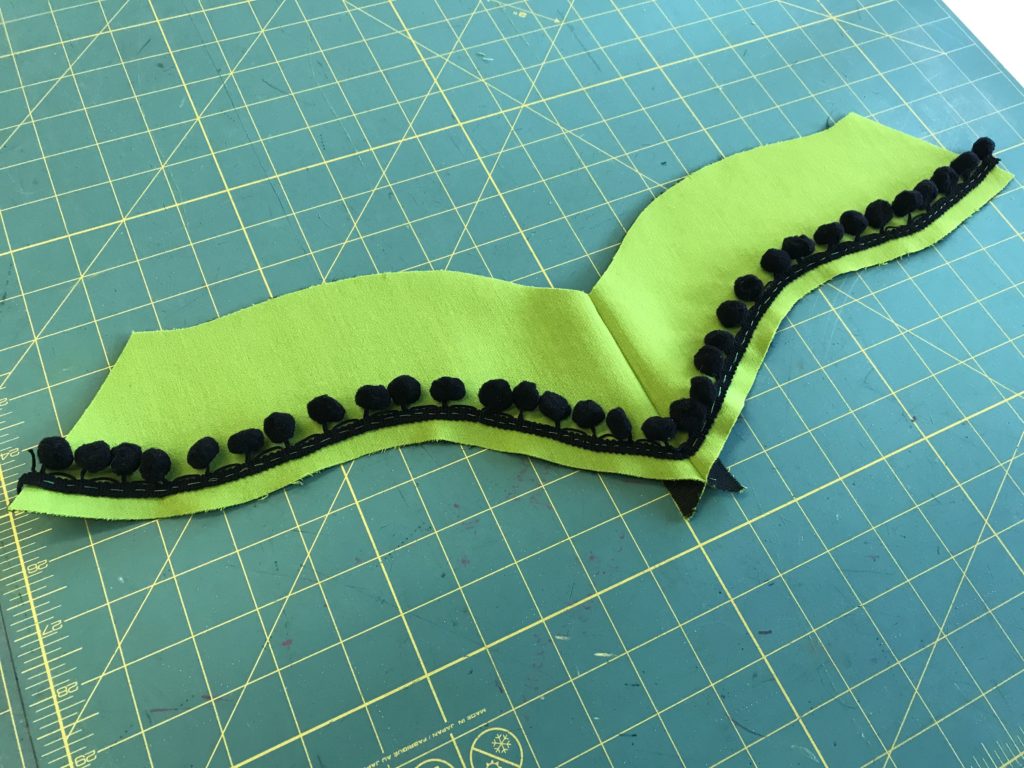
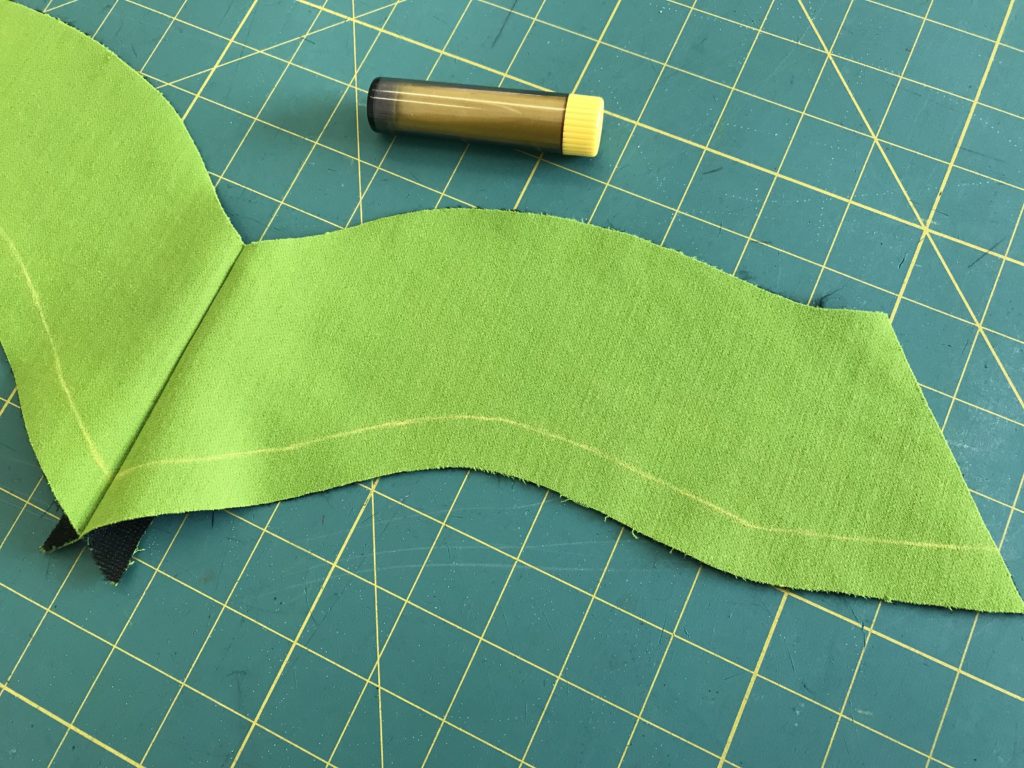
Want to add trim to your band? This is a great place to insert trim like fringe or pompoms! If you’d like to add trim, start by drawing in the 5/8″ seam line on your interfaced band. (If not, just skip the next few steps and sew the two band layers together below.)
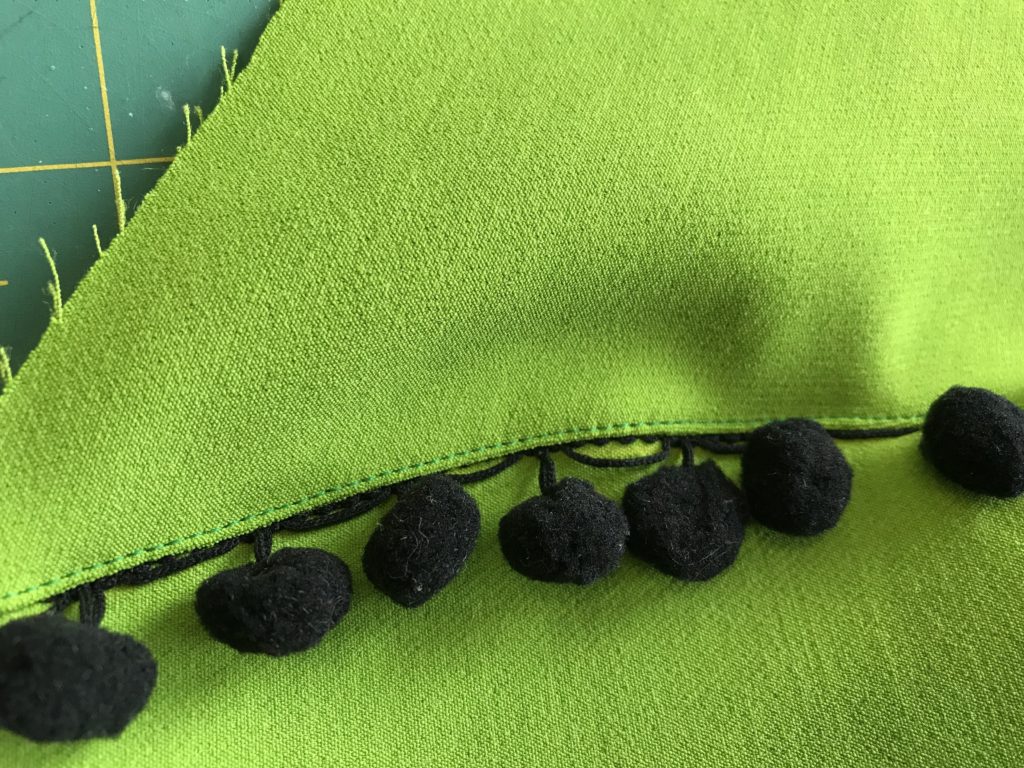
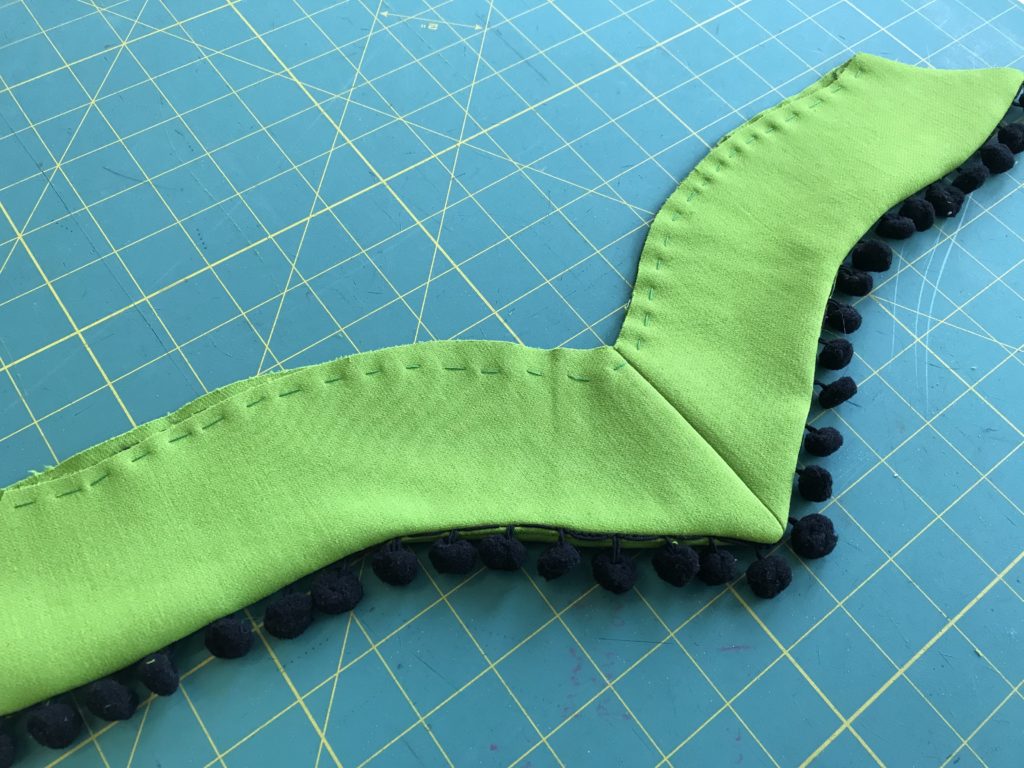
Next, place your trim with the flat tape part in the seam allowance and the dangly part in the body of the band (facing the neckline). Baste in place by hand. Look how cute my pom poms look already!
Pin and stitch the uninterfaced band on top to the interfaced band at the lower edge, sandwiching the trim in between. Grade the seam allowances so that the uninterfaced seam allowance is narrower.
Trim away as much bulk as possible at the band’s point.
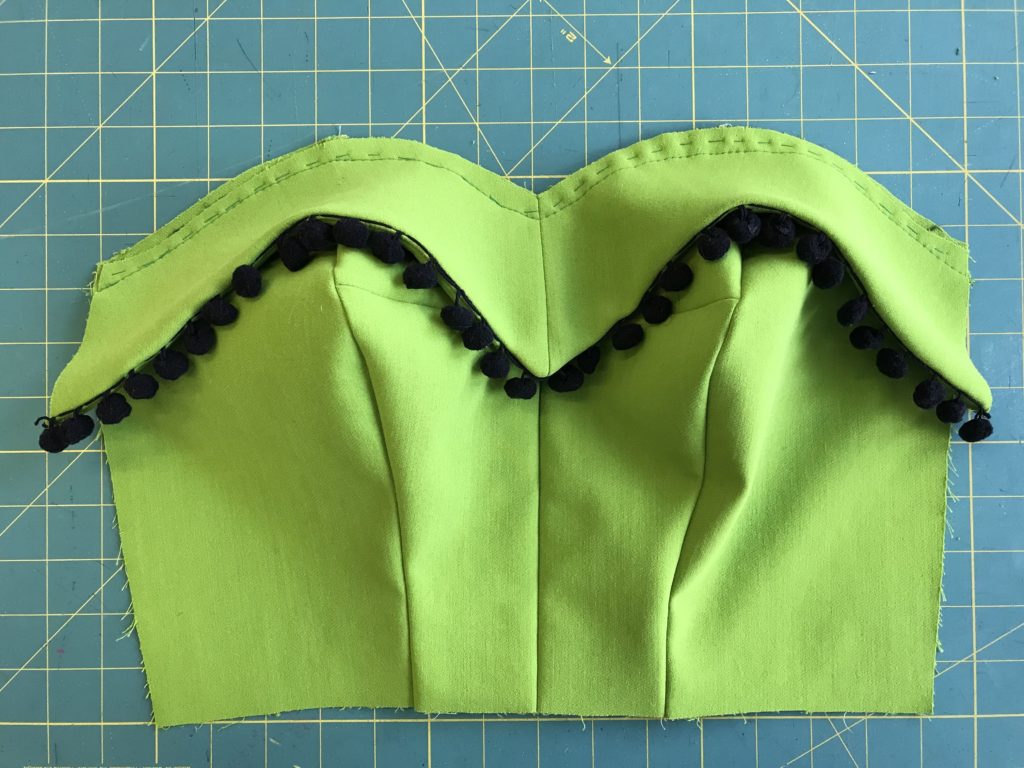
Open out the band layers and understitch the uninterfaced band about 1/8″ from seamline.
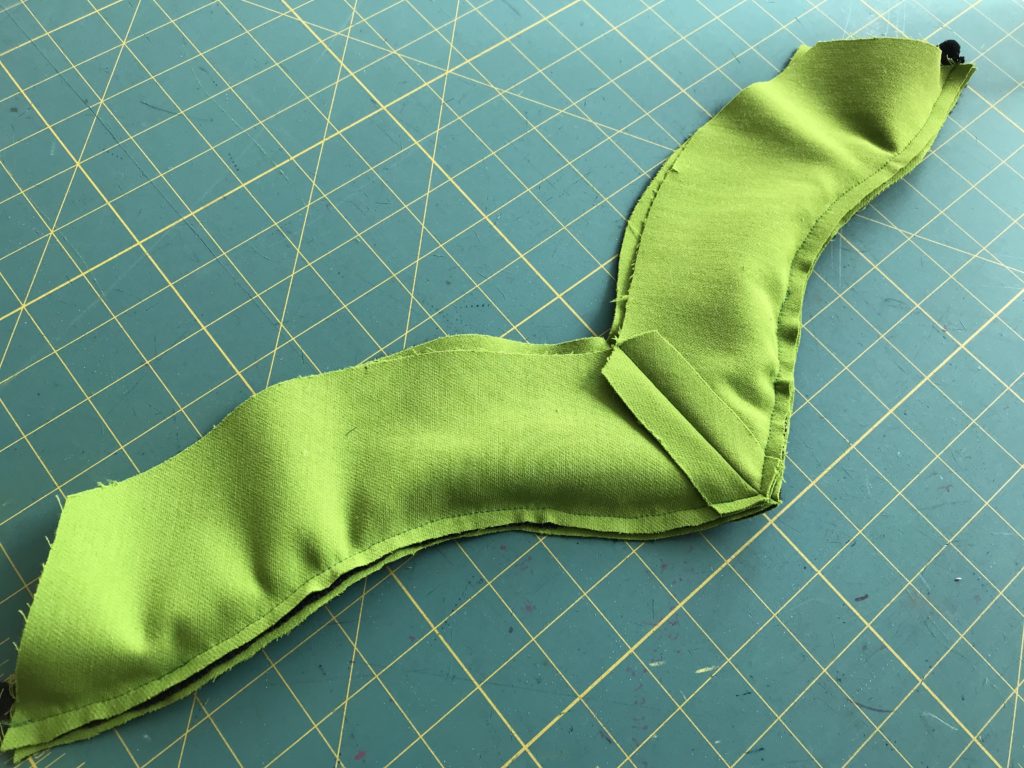
Turn the band right side out and press flat. Baste the band’s raw edges together along the long upper edge and the two short sides.
Pin and baste the band to the front bodice, using a long machines stitch.

That’s it for now! In the next post, we’ll talk about constructing the inner bra–complete with video.