Sew Along
Jane Sew-Along #5: Cutting and Marking
Mar
Once you’re happy with the fit of your jumpsuit muslin, you’re ready to cut your fabric!
Cutting Your Fabric and Interfacing
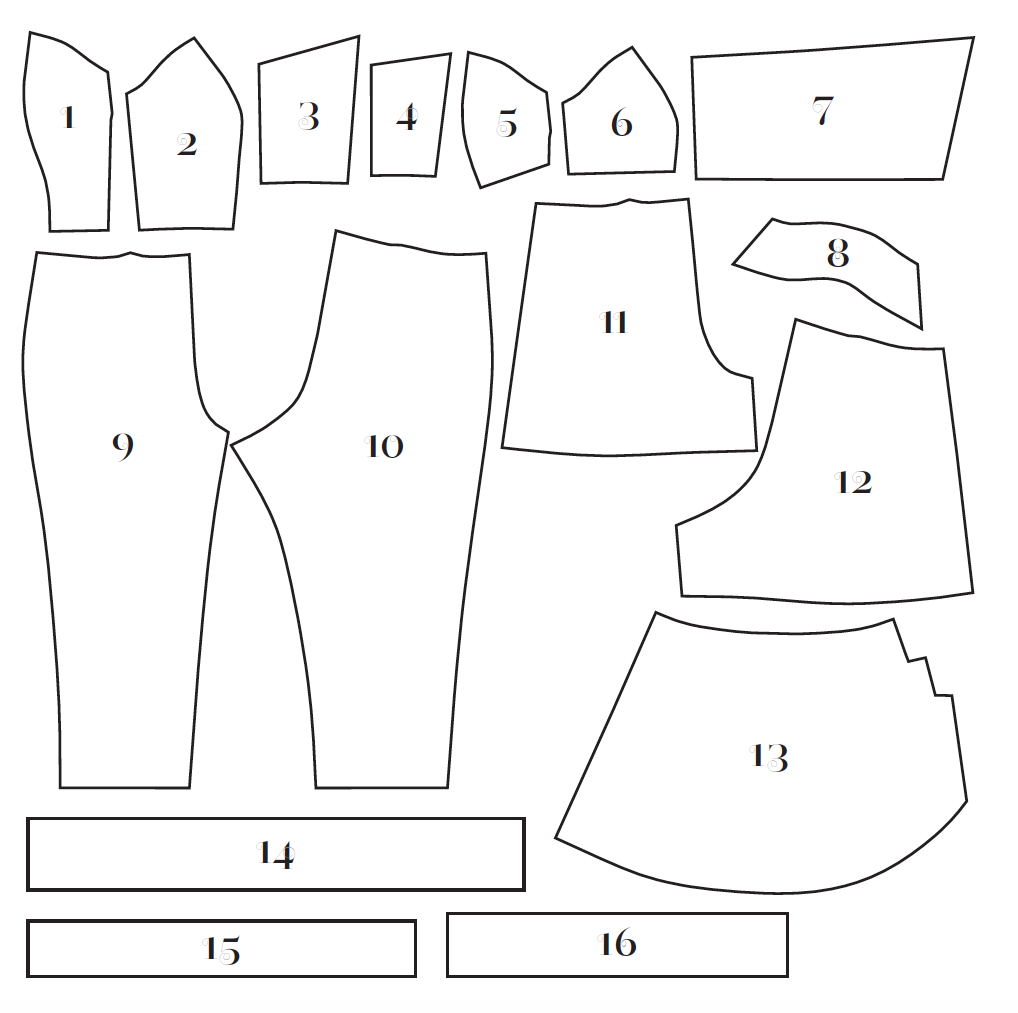
For the jumpsuit version, you’ll need pattern pieces 1-6, 9-10, and the strap of your choice. Also add piece 8 if you’d like a neckline band.
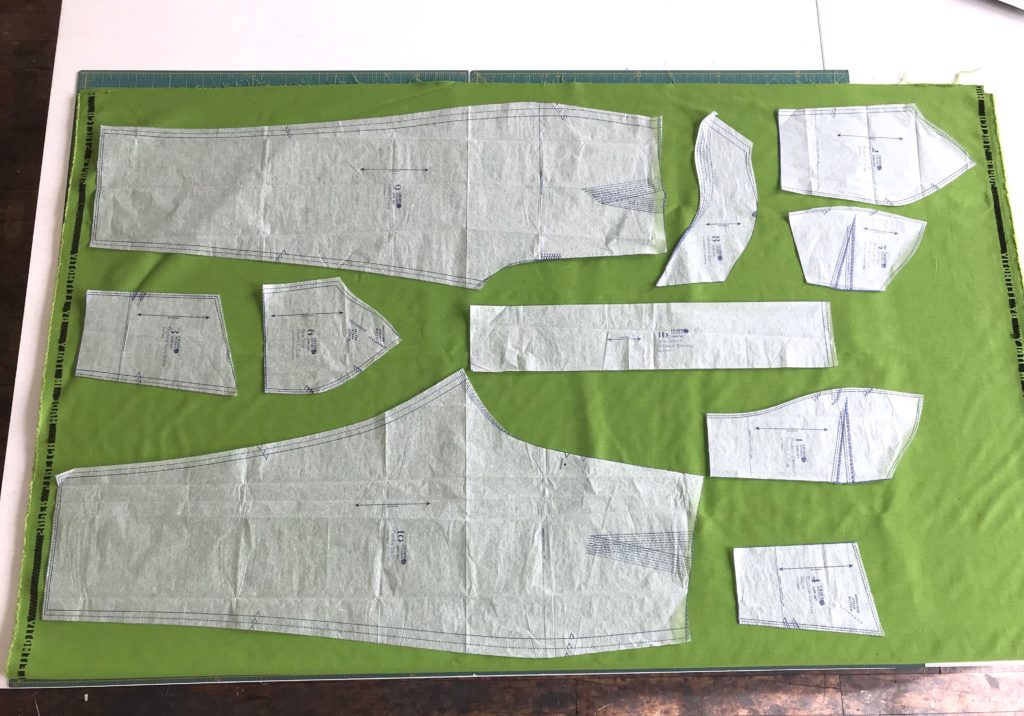
First, note the direction of greatest stretch in your fabric. If it goes selvage to selvage, then you can use the cutting layouts as shown on pages 8-11 in the booklet. If the stretch runs parallel to the selvage, then you’ll need to do a different cutting layout, as shown below. Just remember that you want the stretch going around your body, and position the pattern pieces on the fabric accordingly.
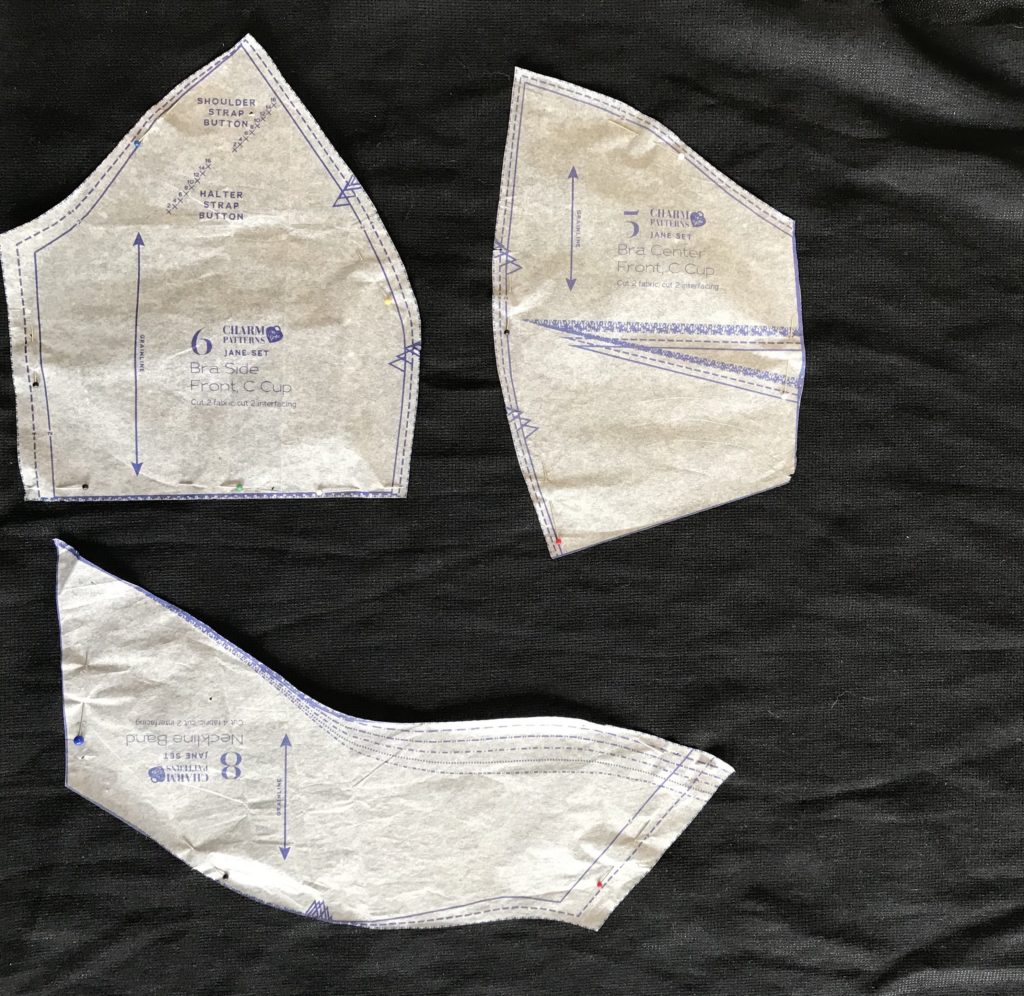
(Note: if using the Shoulder/V-Neck Strap, there is an error with the dimensions of the pattern piece! You’ll need to trim it down to 2.75″ wide if you’d like it to be the width shown in the photos.)
The bra and neckline band pieces also need to be cut in out in interfacing. Make sure you’re using stretch or knit interfacing.
Snip Notches and Transfer Pattern Marks
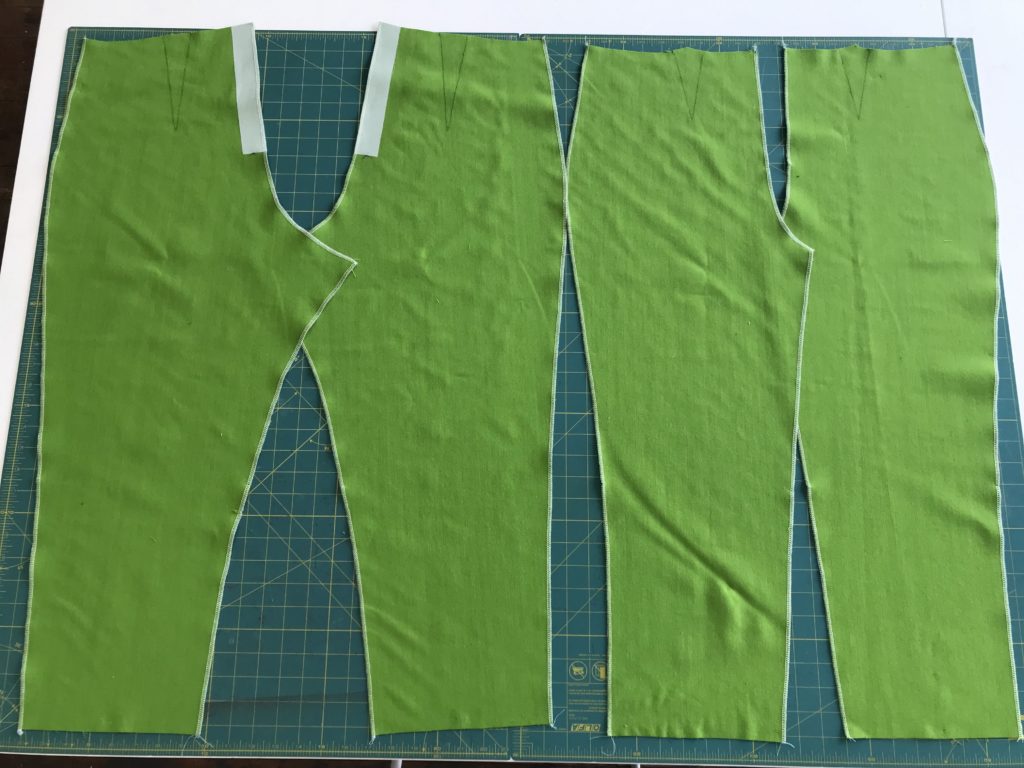
After cutting out each pattern piece, you’ll want to snip into your notches and the ends of the darts.
Also mark your darts with dressmakers tracing paper. Alternatively, you can place a pin in the point of the dart and draw a line between the point and the legs with a chalk pen.
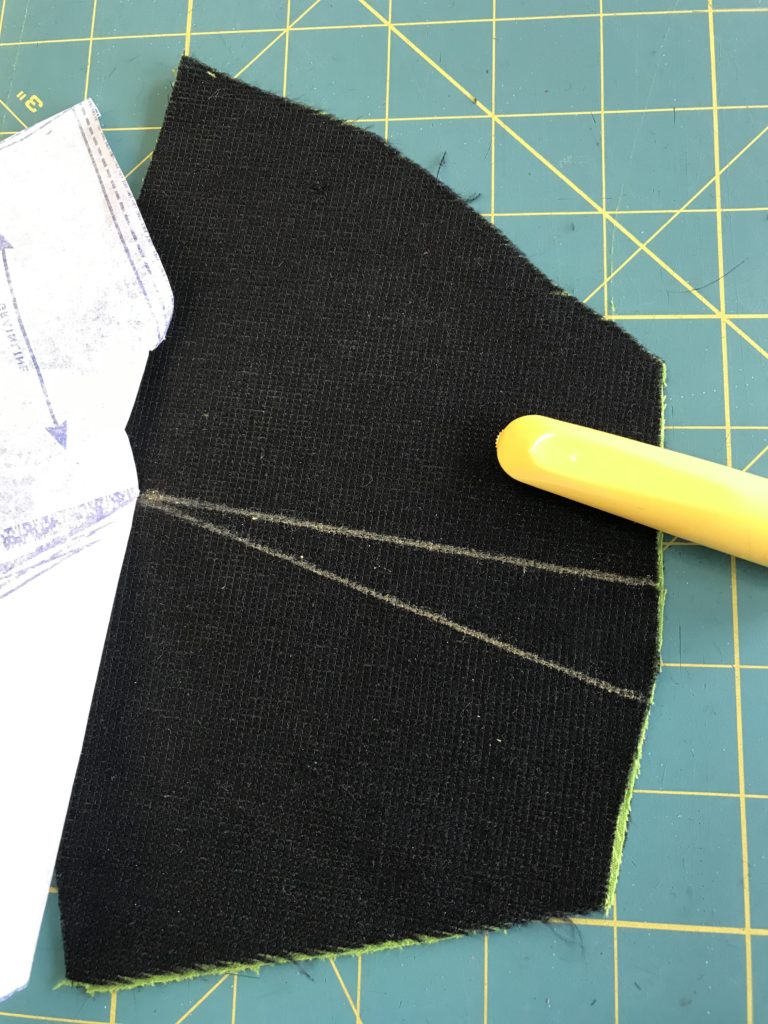
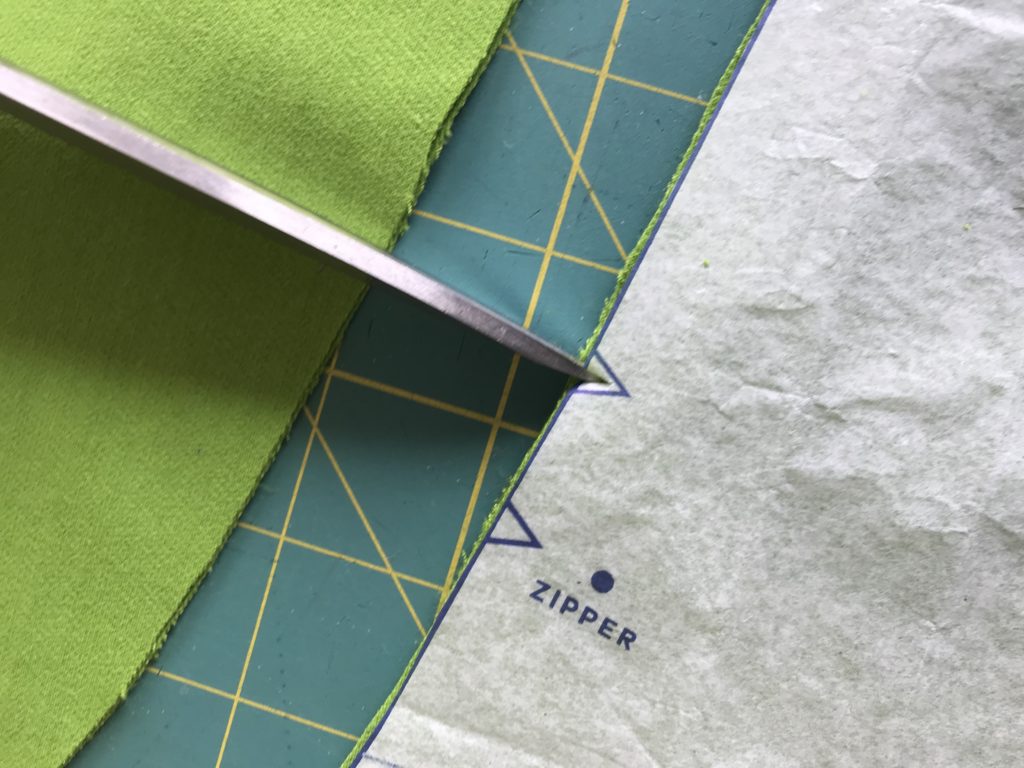
Also mark the zipper opening and any strap placement marks.
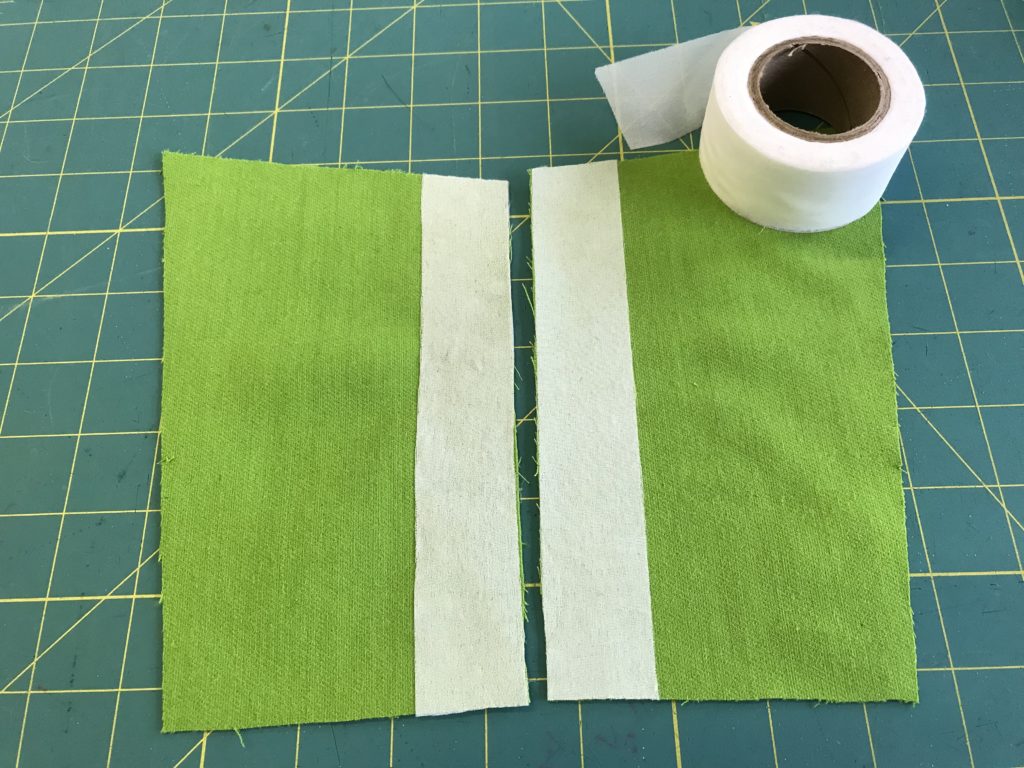
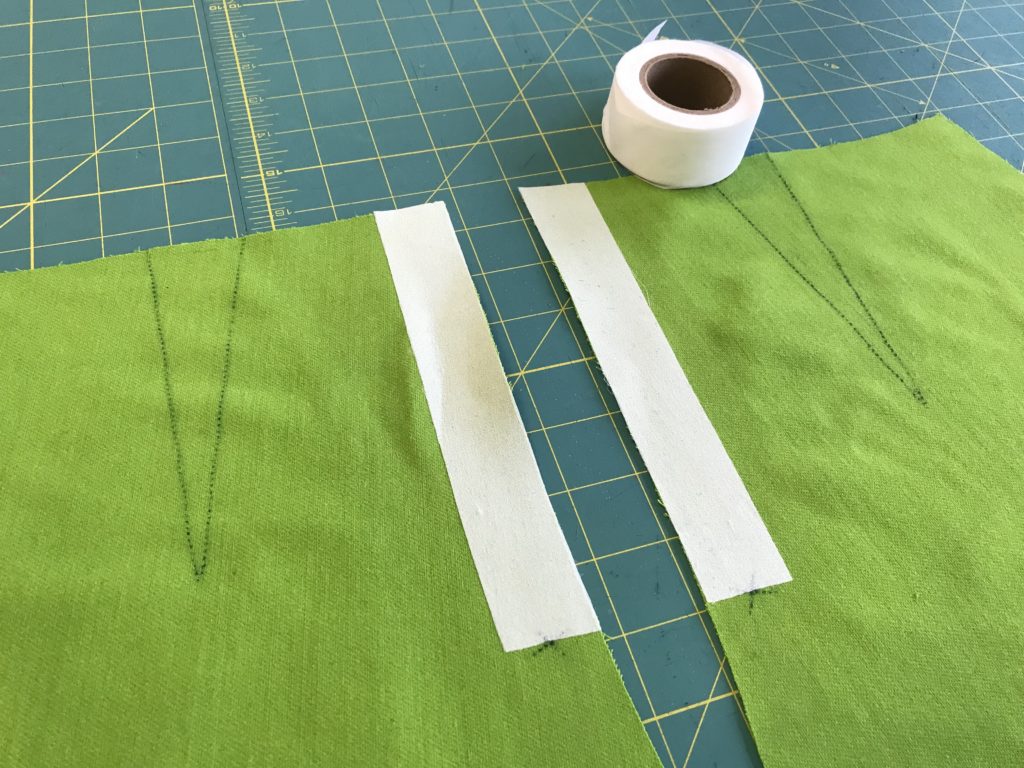
Stabilize Zipper Opening
Before sewing, I also strongly recommend stabilizing the zipper opening of your garment with strips of fusible interfacing. Fuse strips of 1 1/4-inch-wide (3.2 cm) interfacing along the center-back opening edge of the Bodice Center Back (4) and above the zipper circle on the Pants Back (10). I use this fusible tape but you can also just cut strips of interfacing.
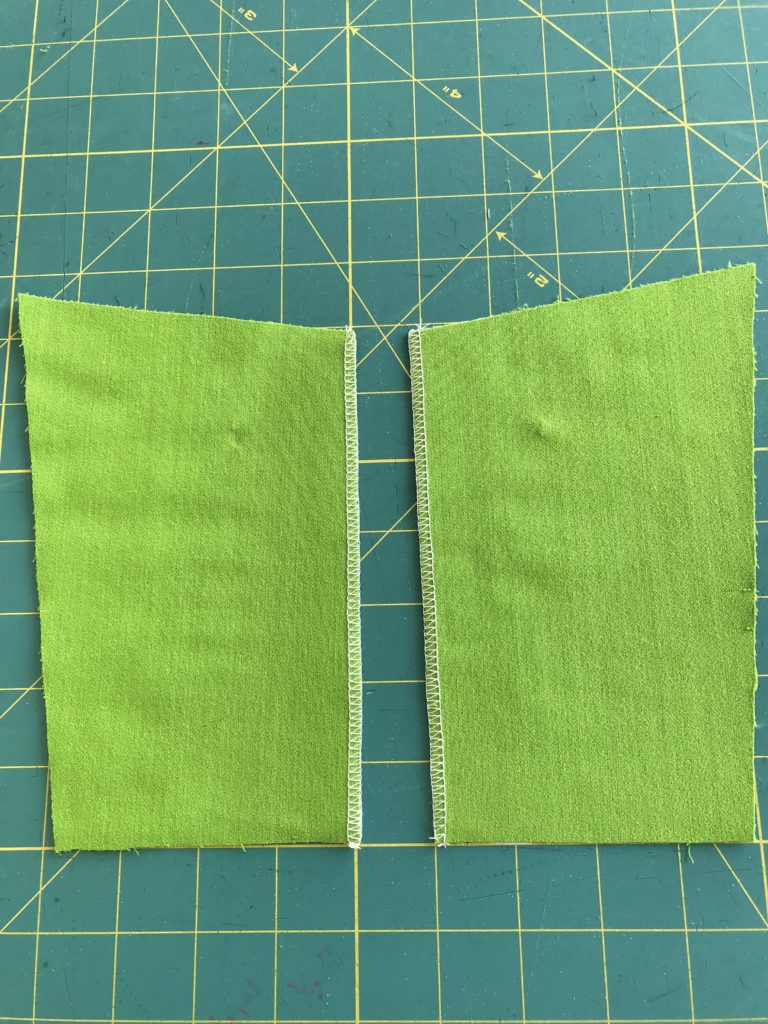
Finishing Seams
If using a serger or your sewing machine’s overlock stitch to finish your raw edges, you can finish some of them flat (before we start construction). Finish the vertical sides of the pant pieces, the crotch curve of the pants, and the center back bodice edge. Be sure not to trim off any fabric while serging!
In the next post, we’ll start bodice construction!