Sew Along
B6556 Sew Along #3: Making a Bodice Muslin

Jun
Hey, sew-alongers! There are over 900 of us in the Facebook group now, and it’s bustling in there. Okay, we’re moving on to a super important step: making a bodice muslin! It doesn’t take long, and it will give you crucial information about the fit of your dress before you cut out your good fabric.
Construct Your Bodice Muslin
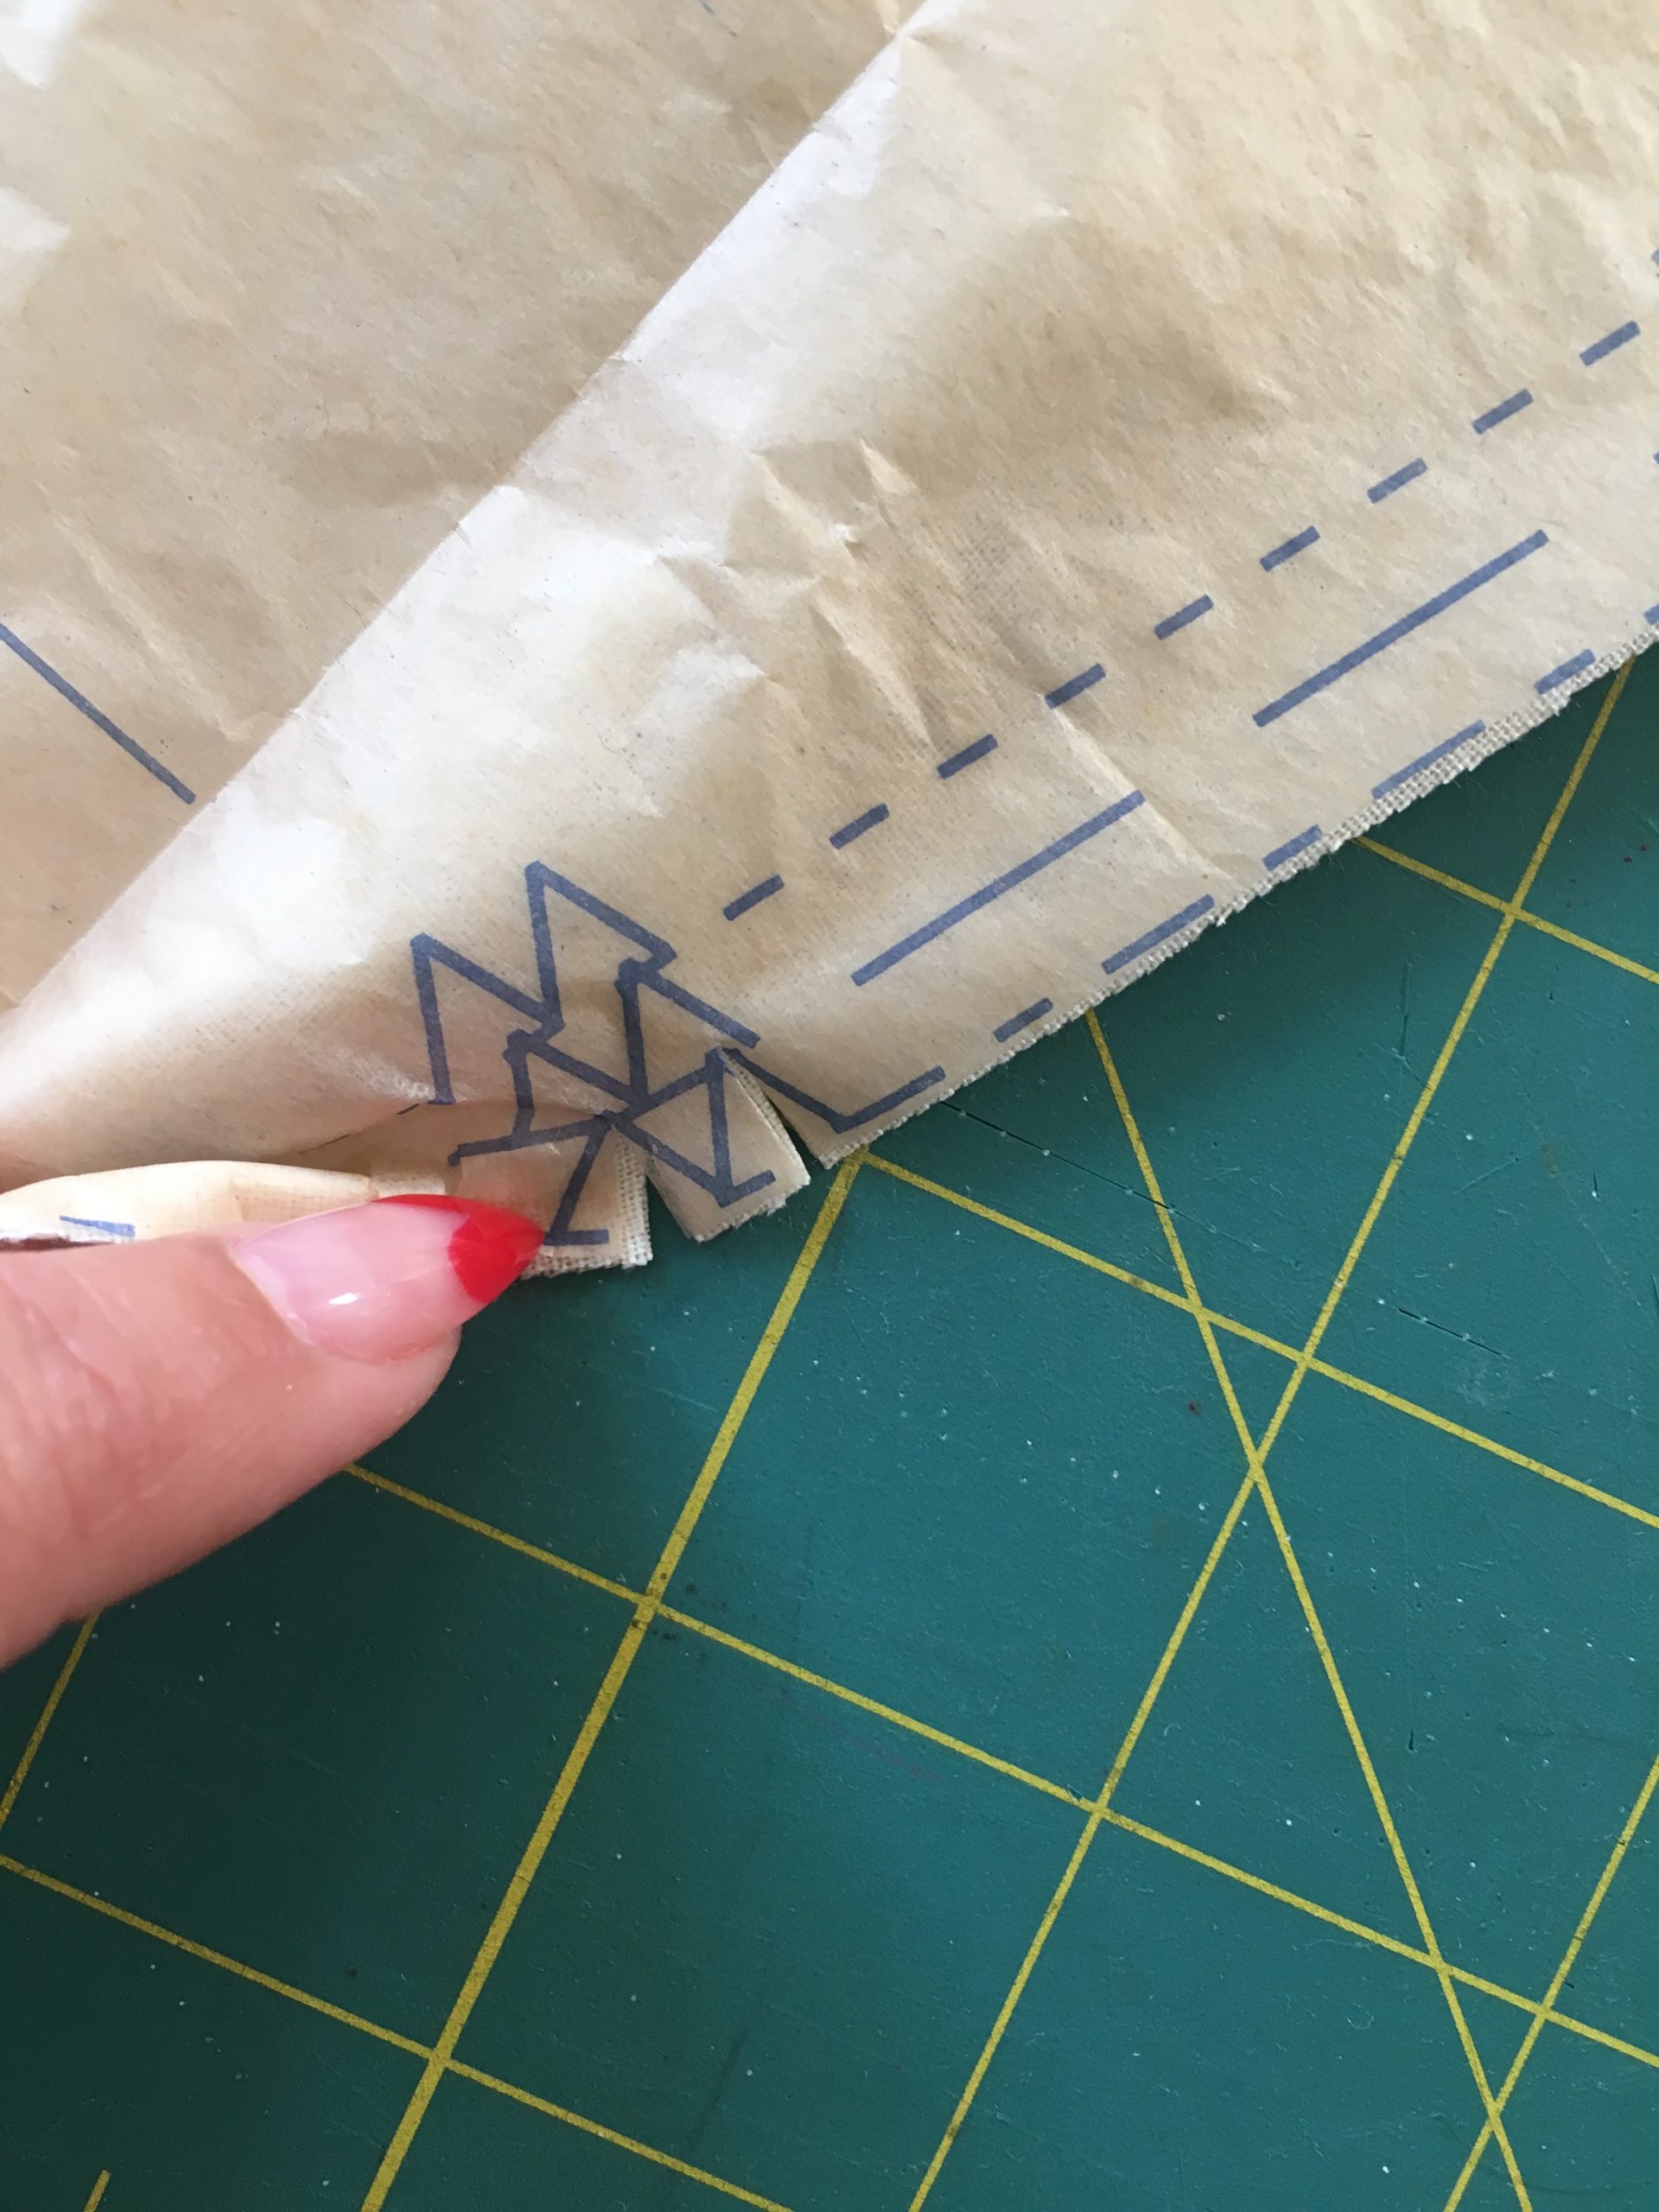
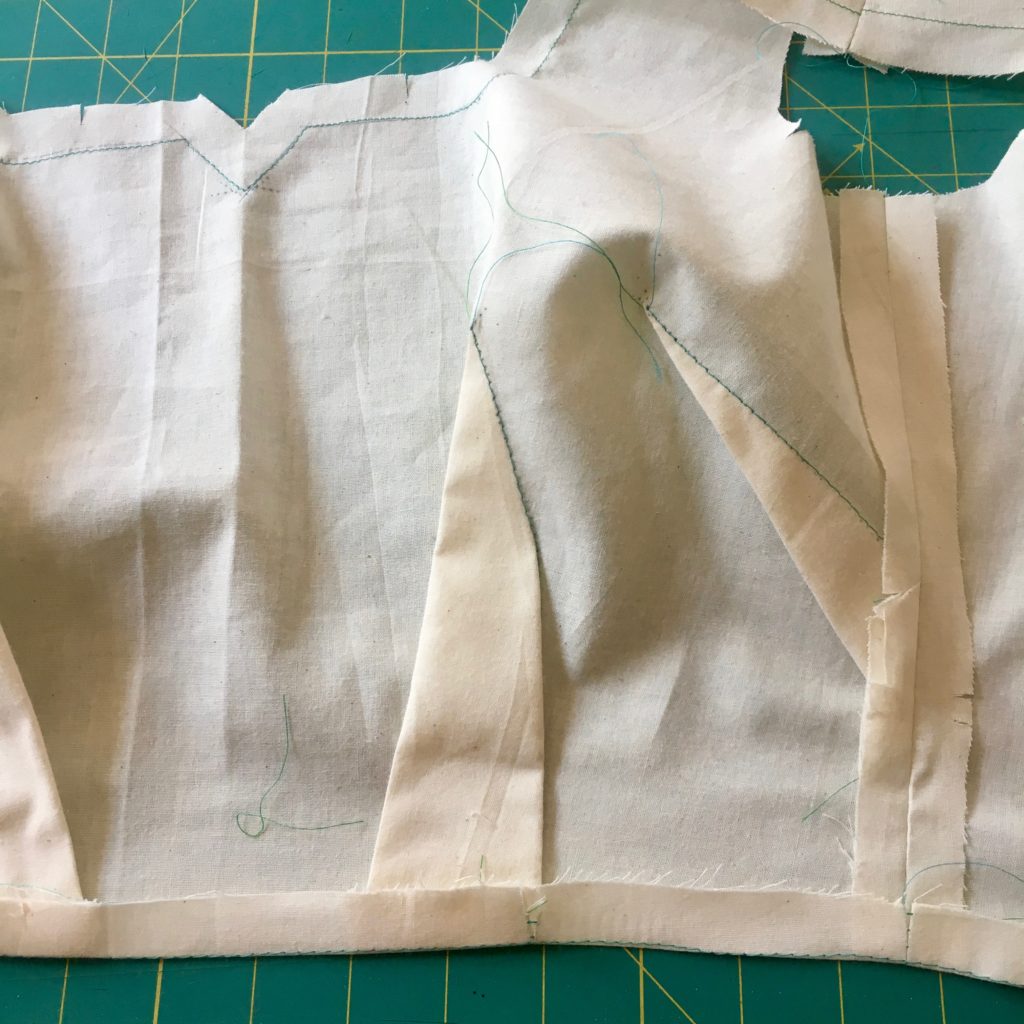
Cut your bodice front and bodice back in muslin. Transfer all darts and pattern markings.
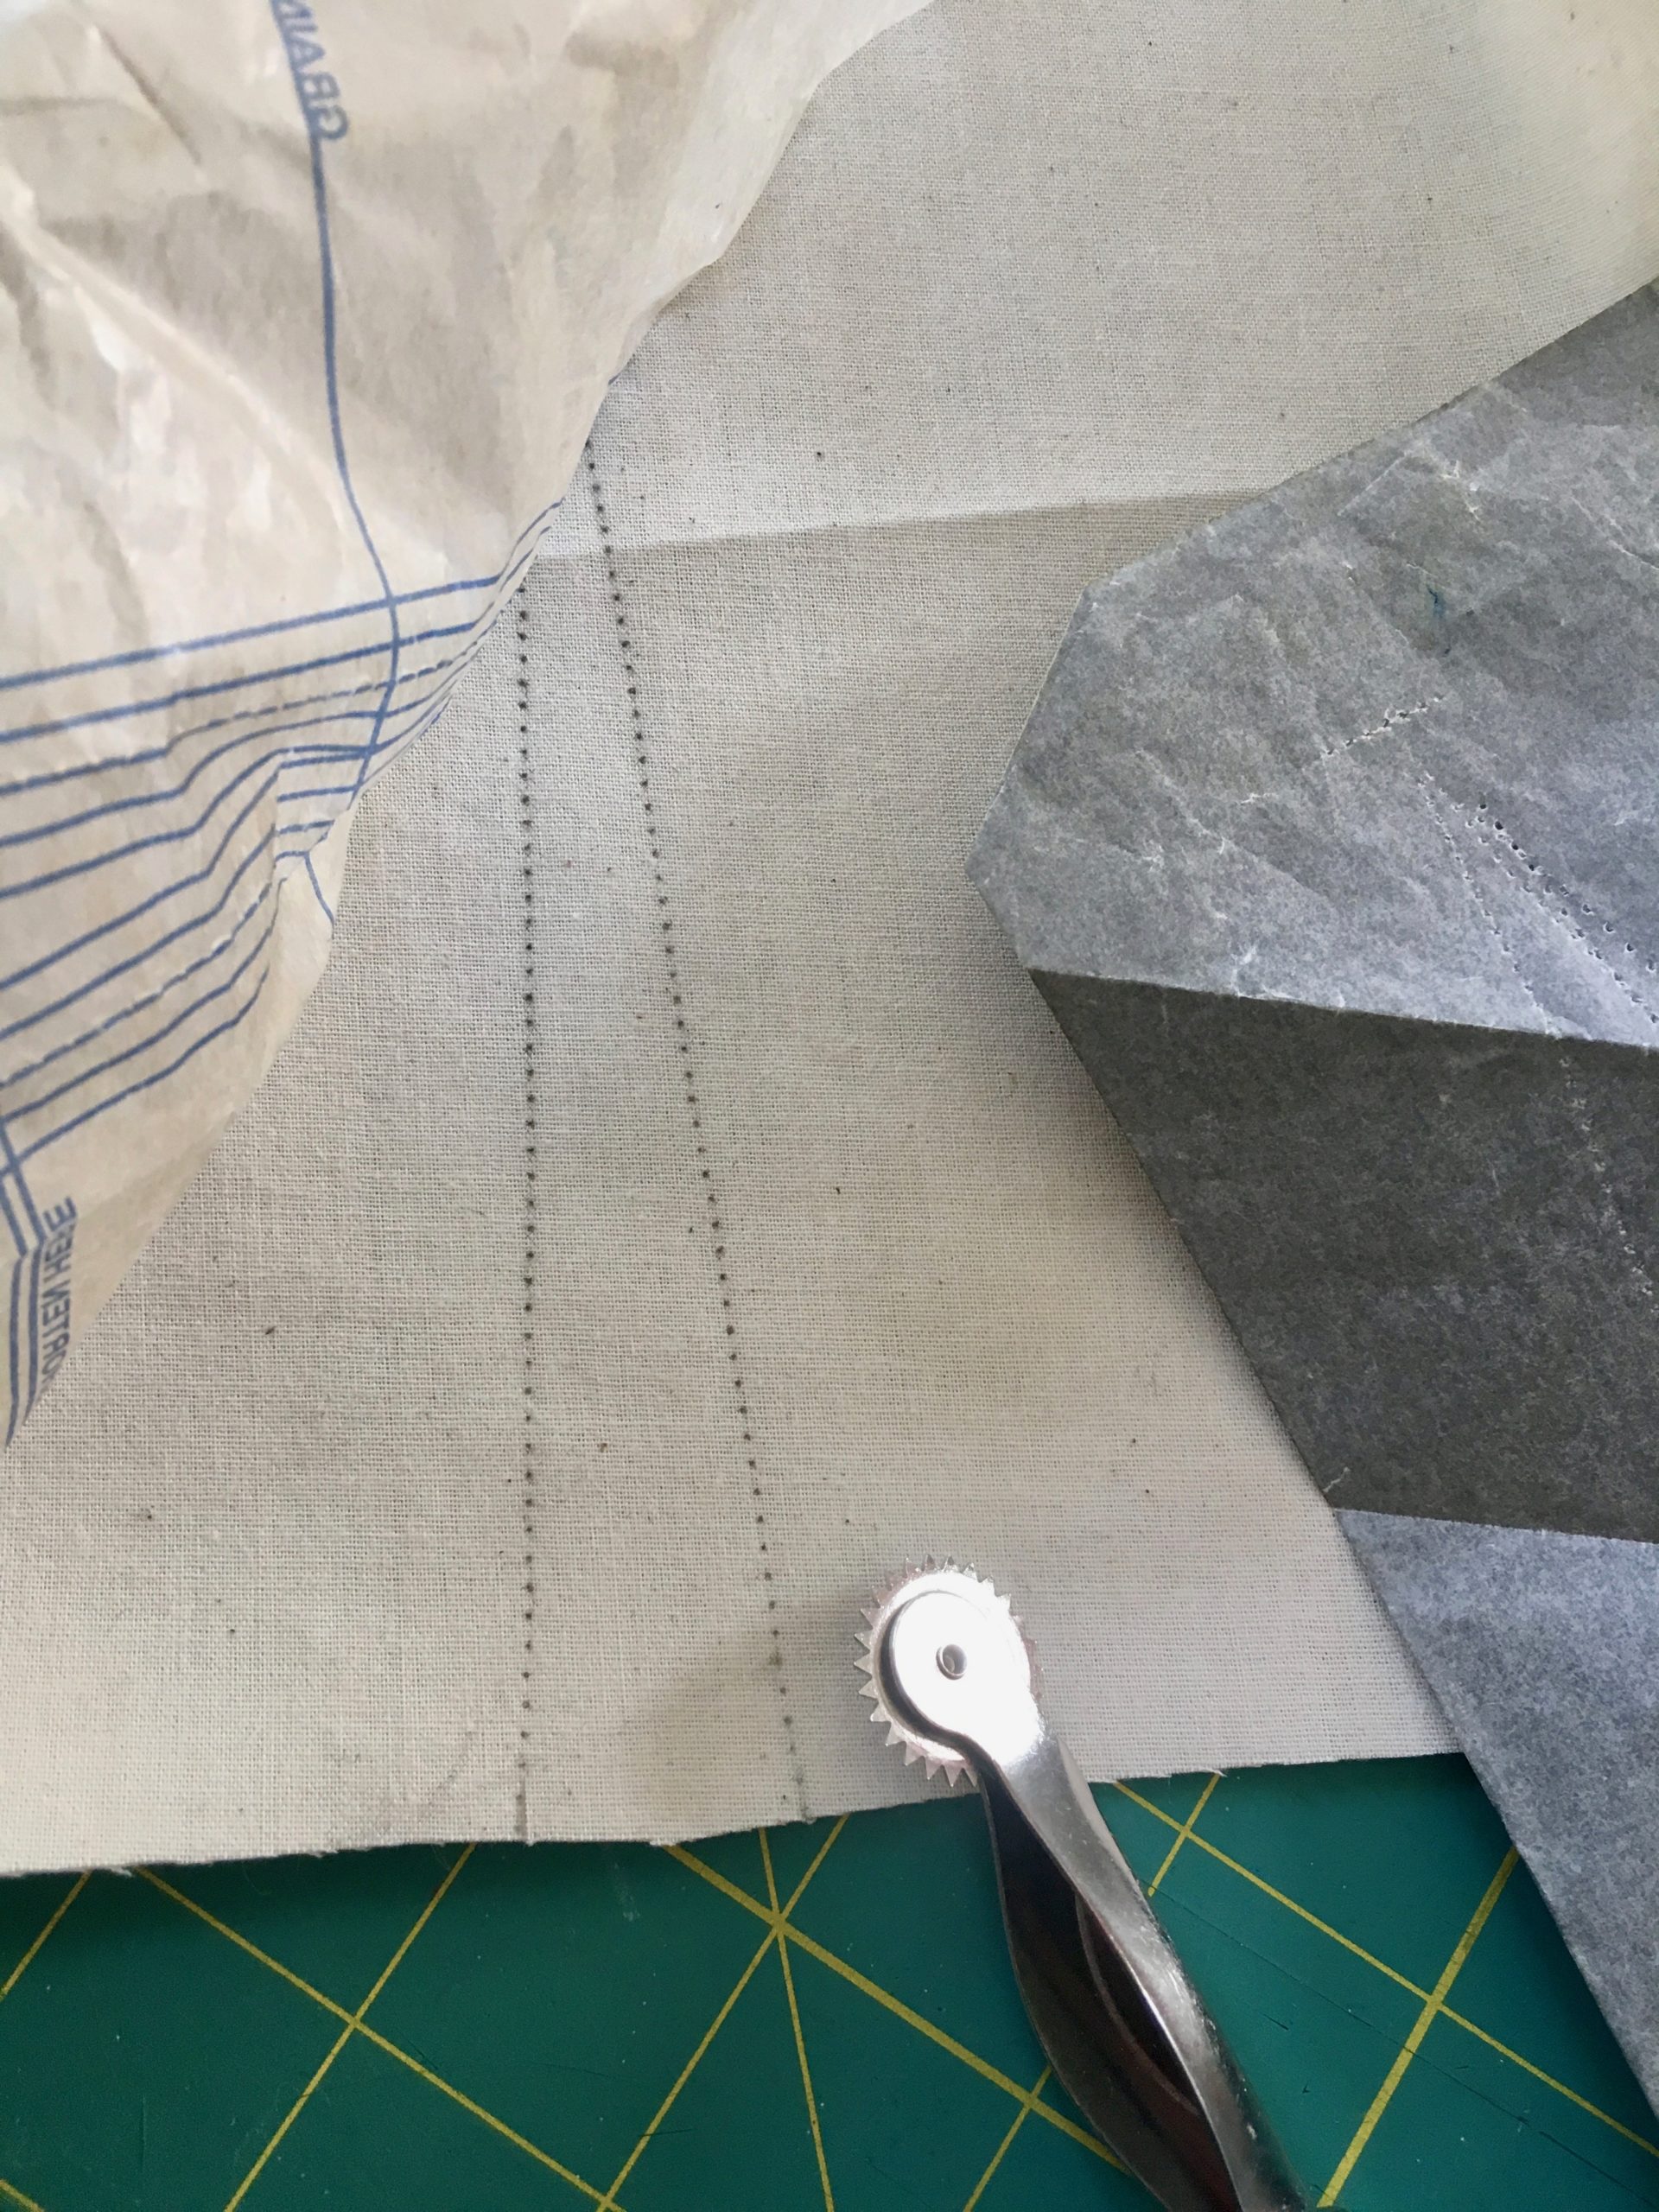
I snip into my notches with the tip of my scissors. I also do this on the ends of the dart legs to make them easier to match.
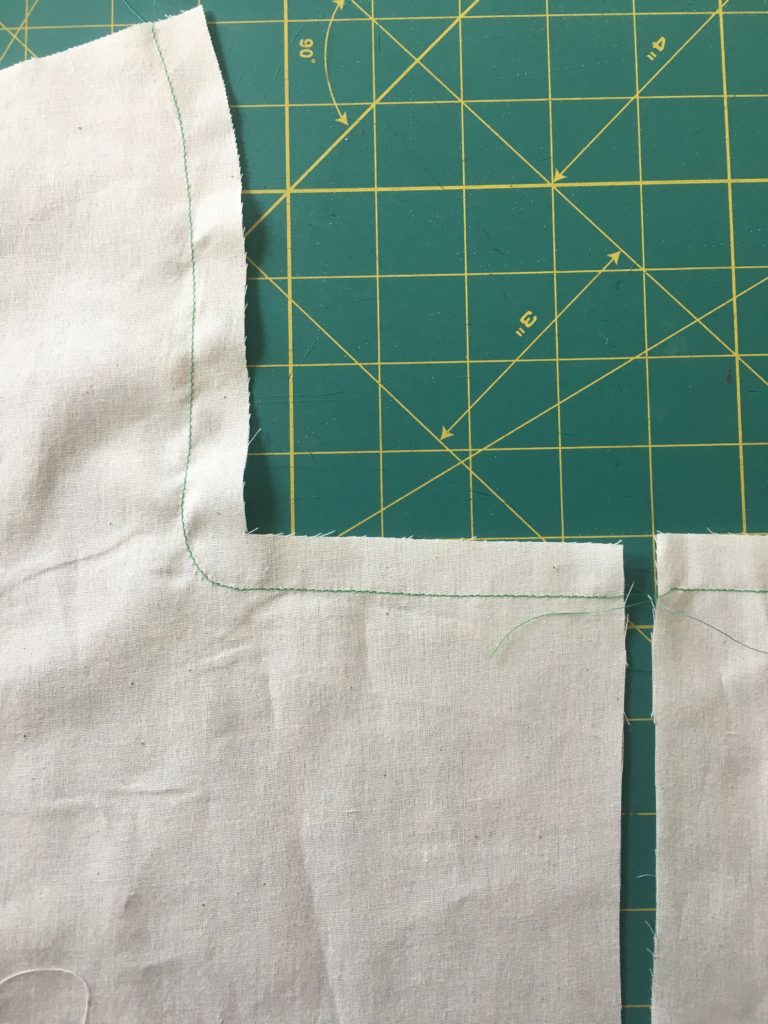
I also find it helpful to mark in the seam allowances at 5/8″ around the neckline for stay stitching purposes. I will also do this when actually sewing the neckline of the dress to get a professional look.
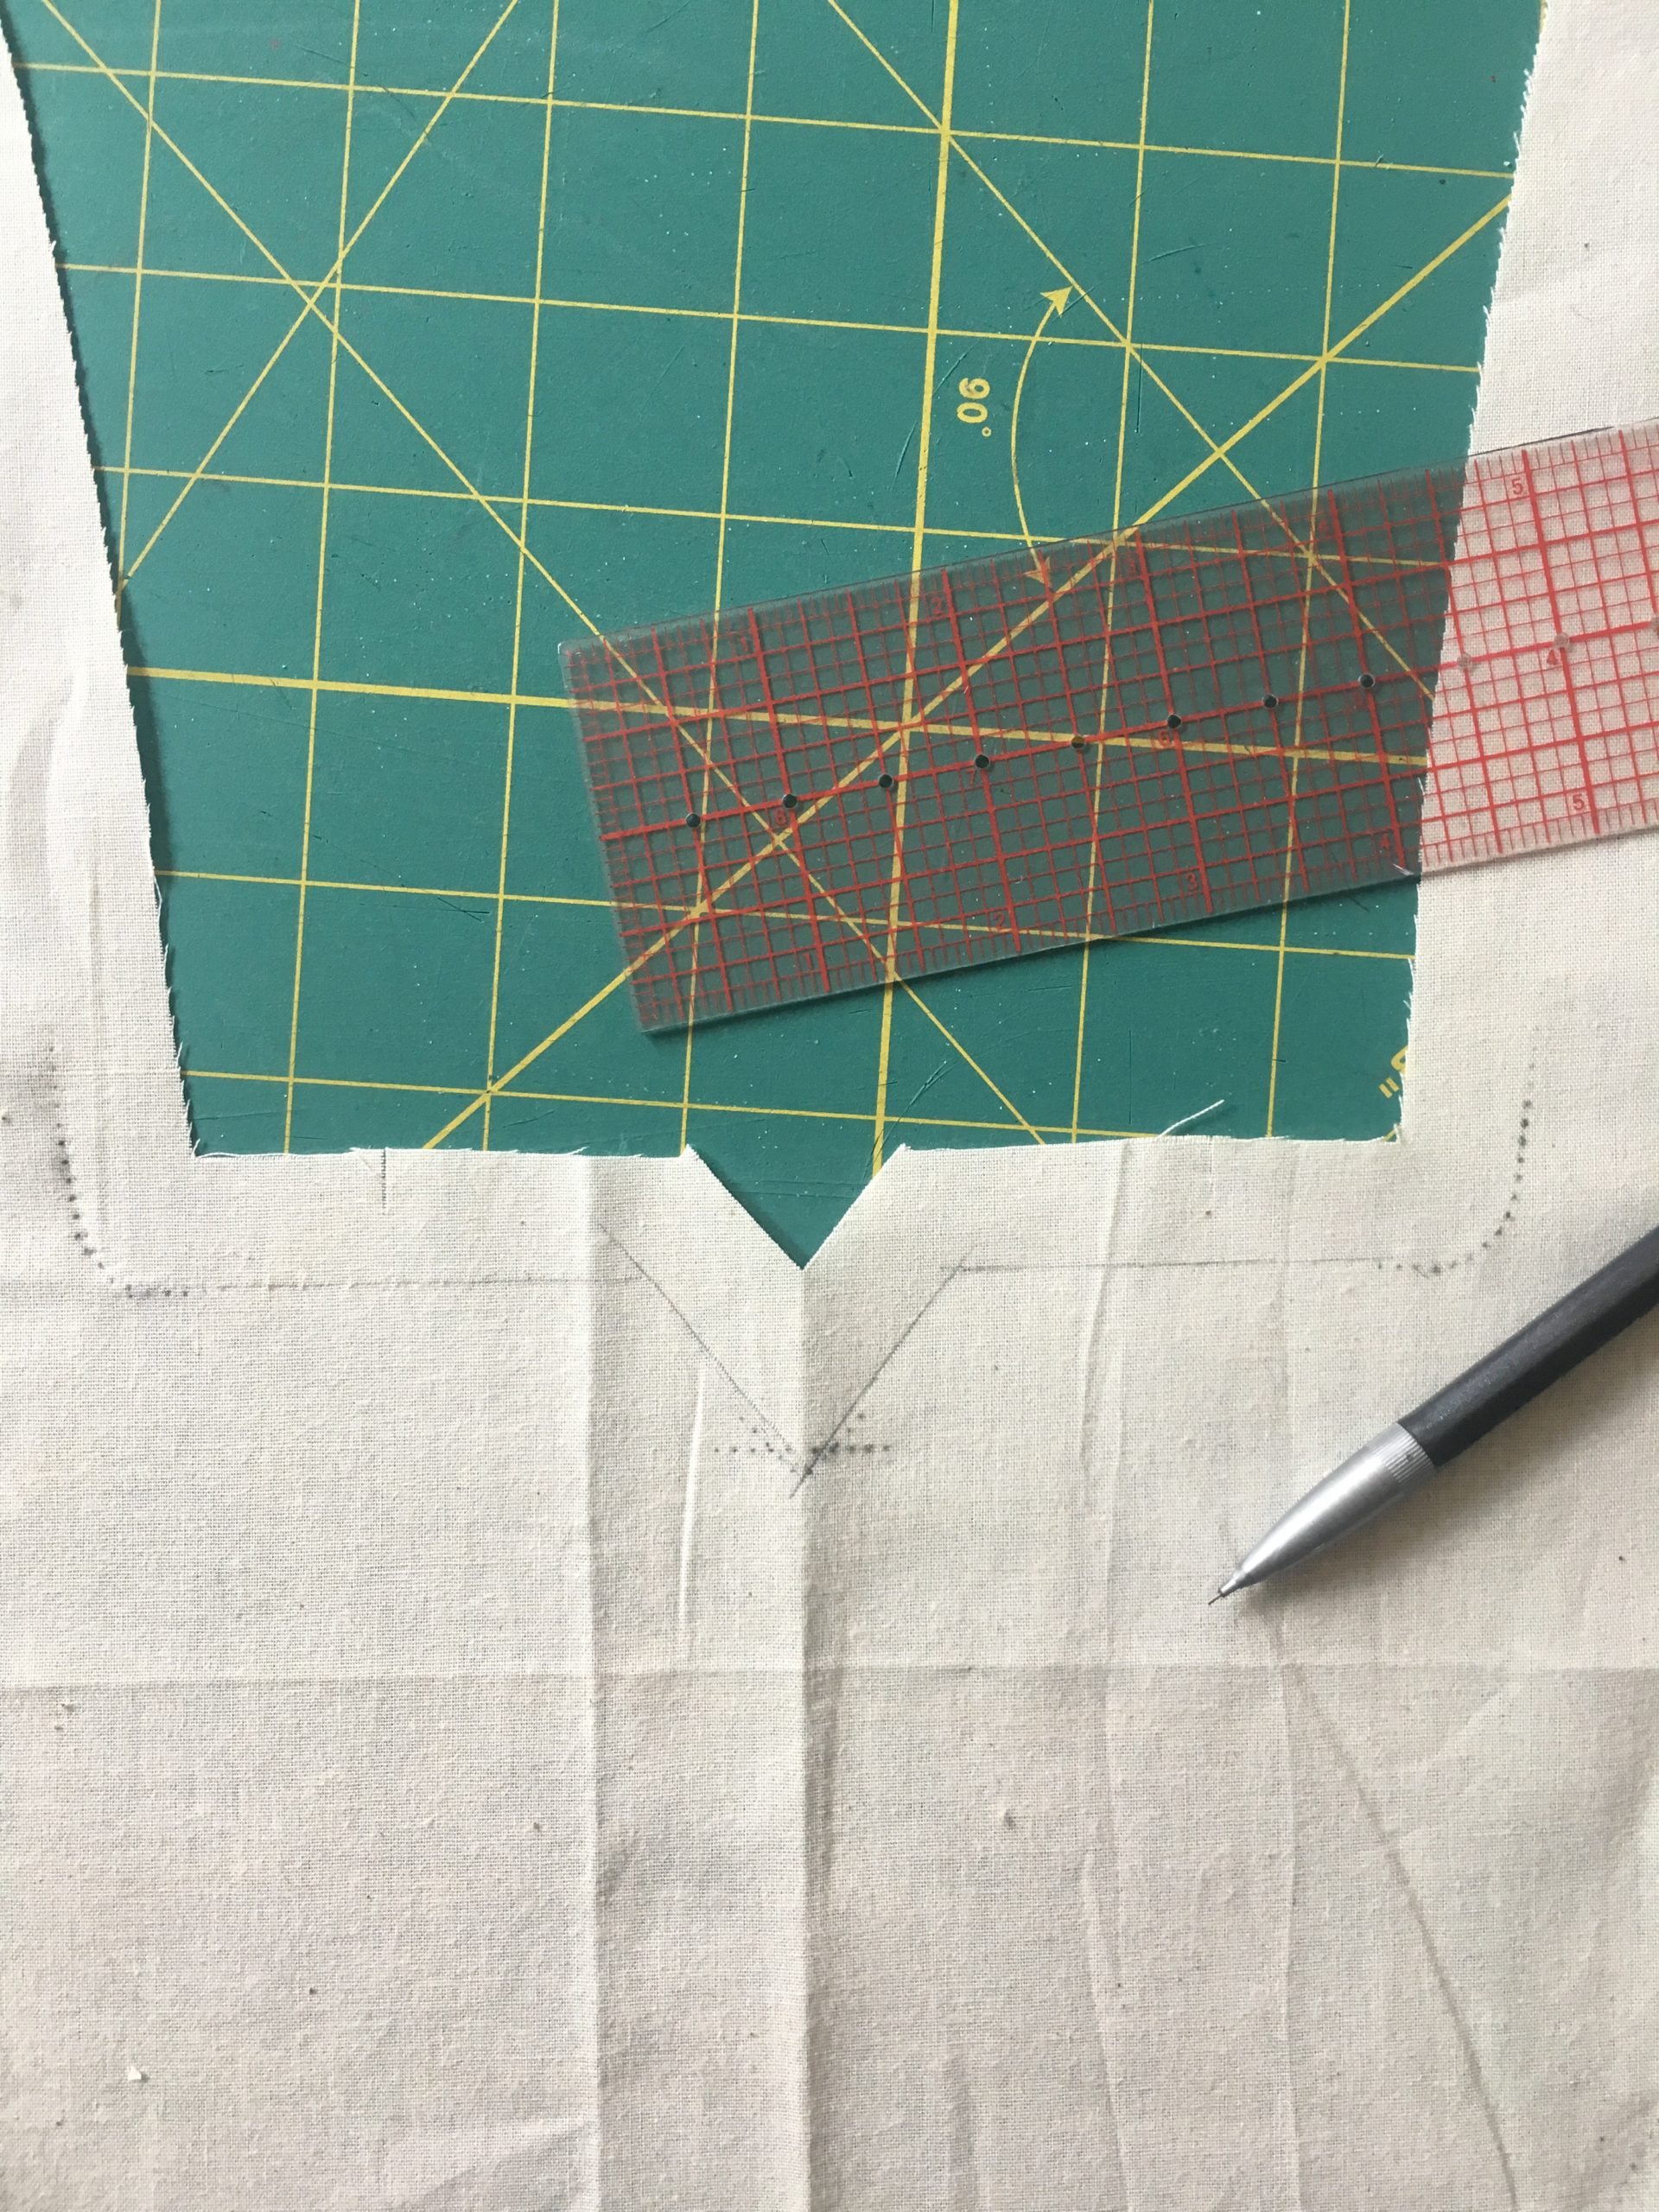
Next, stay stitch around the front and back necklines at 5/8″. I like to do this both 1) to stabilize the neckline and 2) to help me see exactly where the neckline will fall on my body. You can even clip and press the seam allowance in later, so you can see where the finished edge will be.
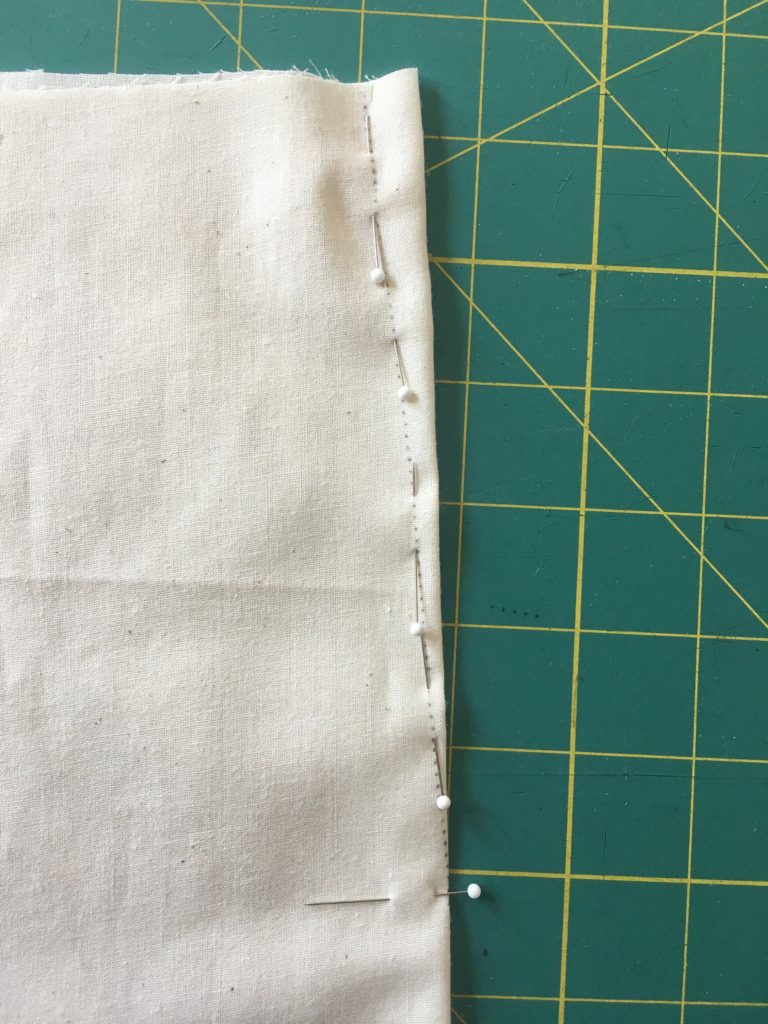
Next, pin your darts and sew, using a long basting stitch. No need to back stitch or tie off your threads; this will make it easier to remove the darts and adjust if needed.
Press all vertical darts toward center back or center front, respectively. Press bust darts down.
Sew the bodice backs to the bodice front at the shoulder and side seams and press open.
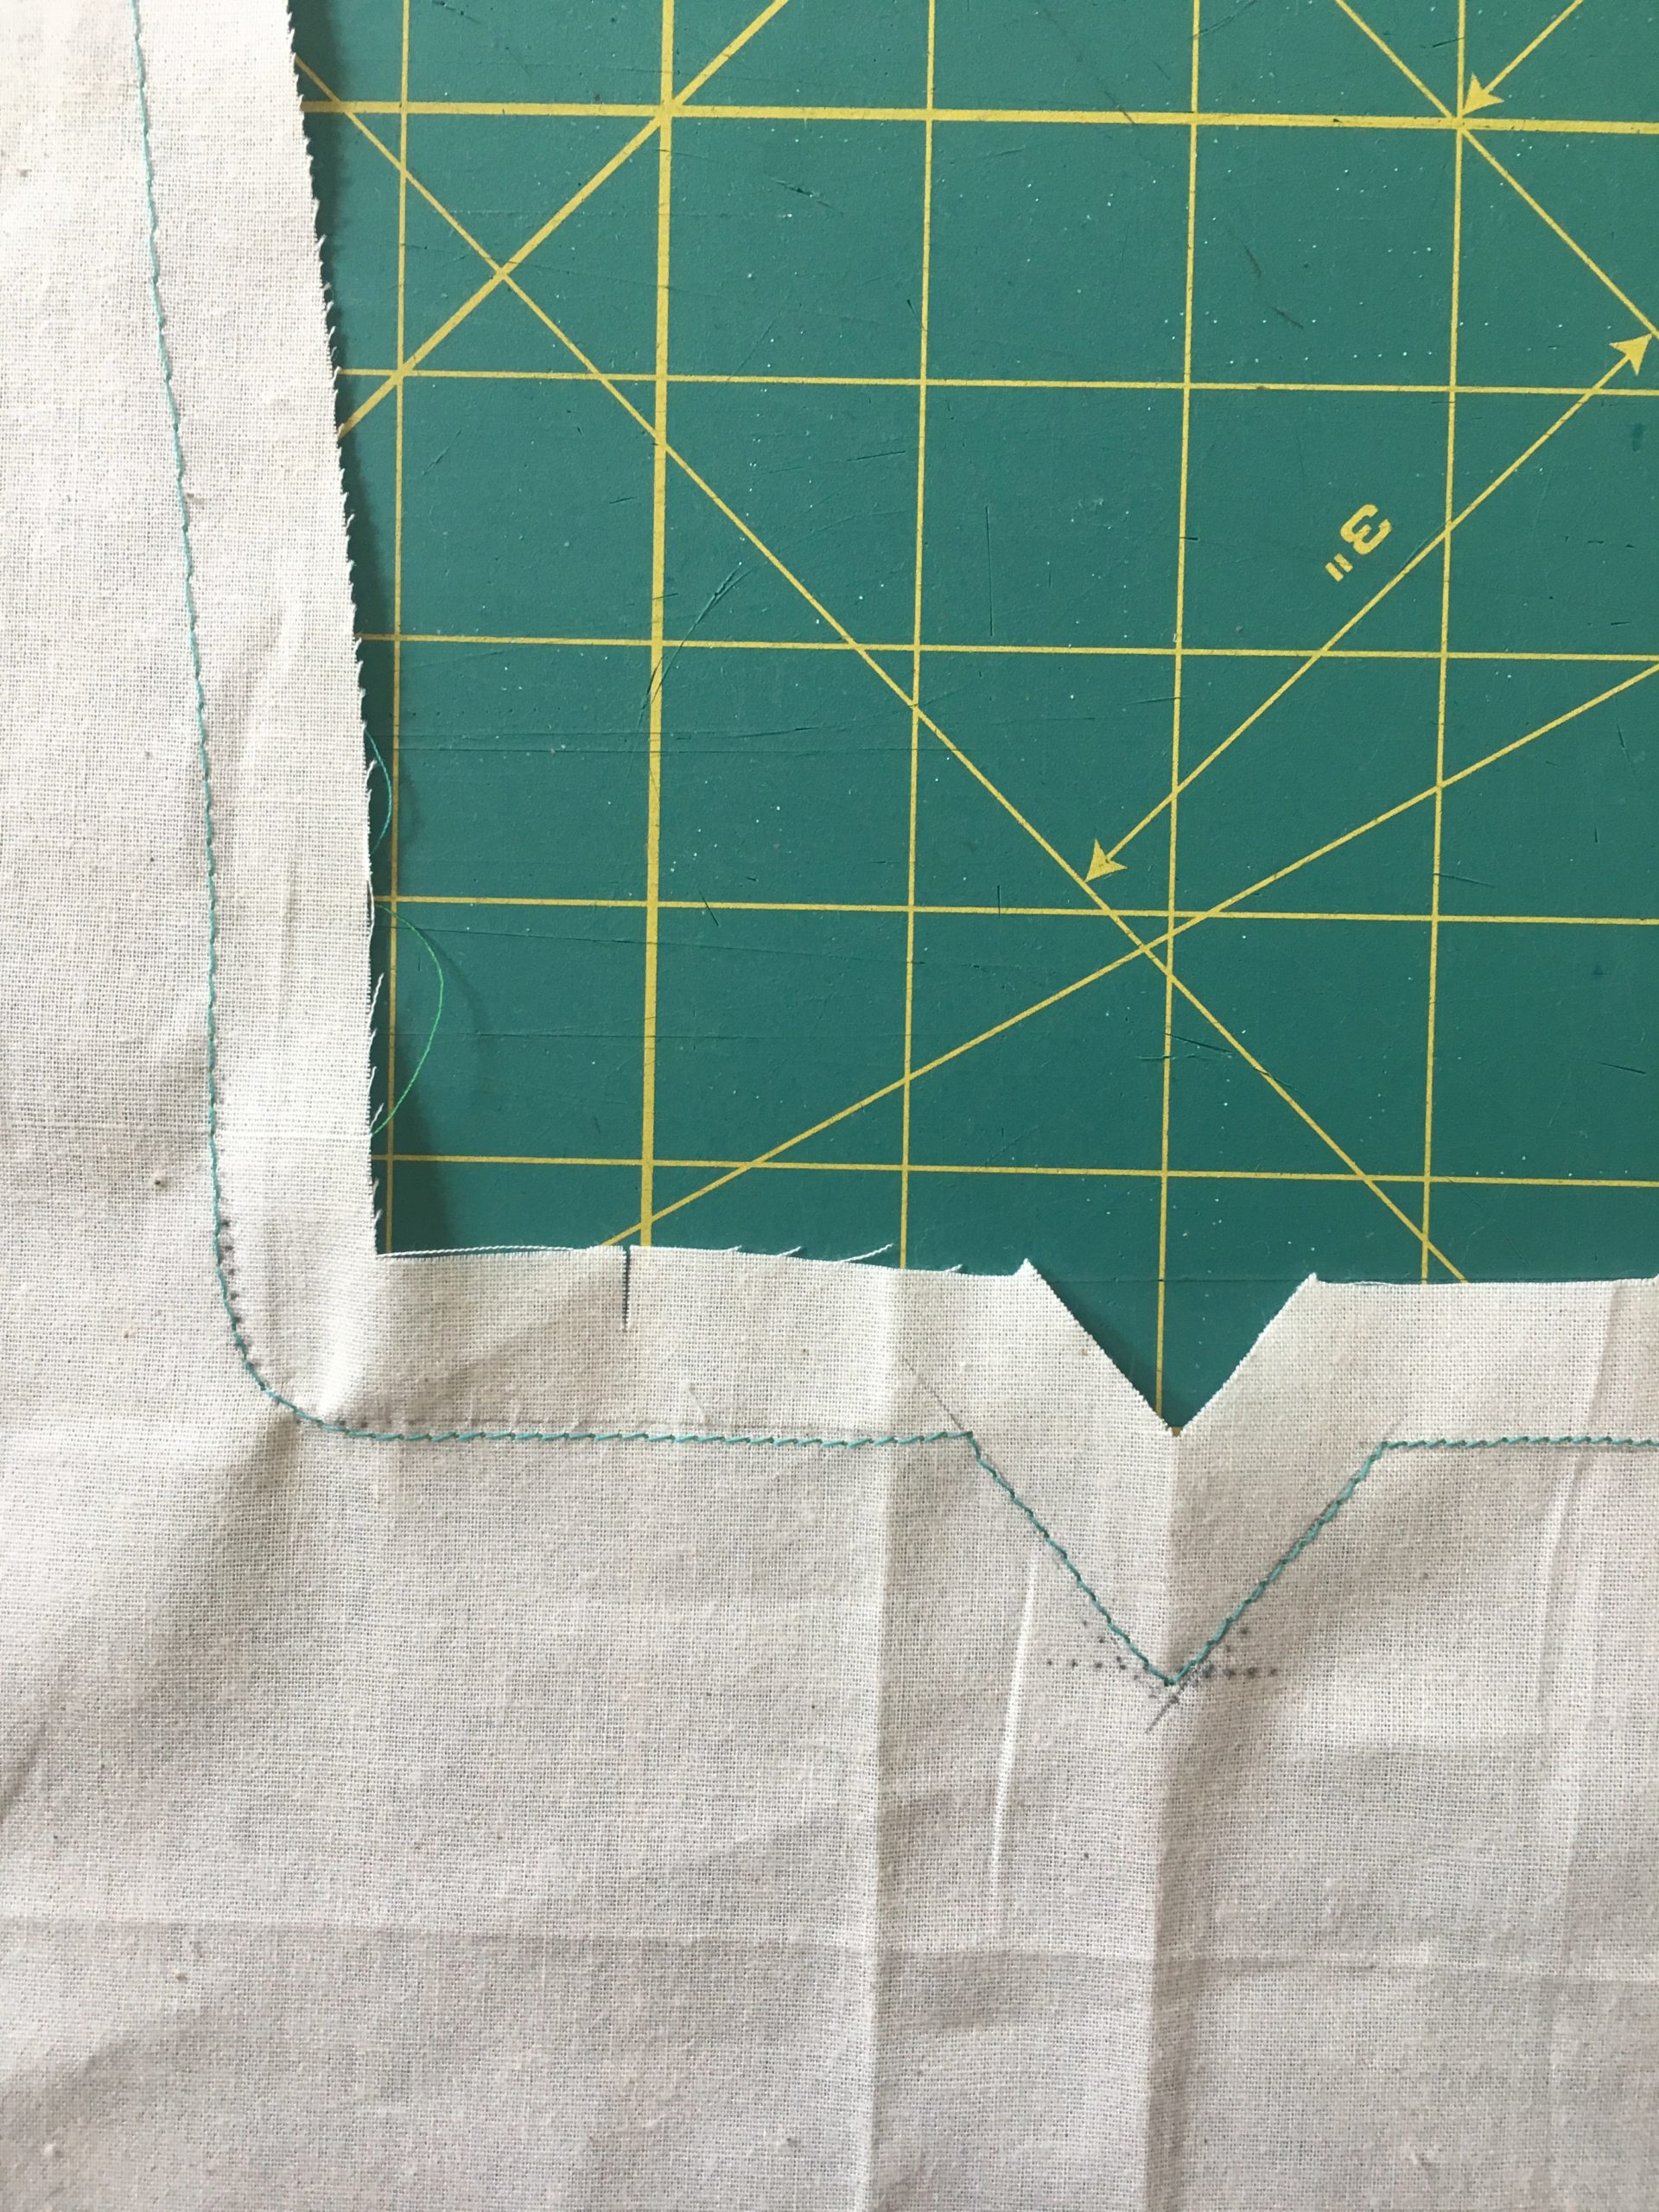
At this point, I recommend stitching around the waistline at 5/8″ and then pressing the seam allowance to the inside of the bodice. This will give you an accurate idea of where the waistline is and if it’s too long or short for your body.
Finally, baste in a dress-length zipper. You’ll have a long zipper “tail” since we’re only making the bodice. Use whatever zipper method is quickest and easiest for you. (Check out my quick and dirty centered zipper for a muslin on this post.) I almost always use lapped zippers (and that’s what we’ll use in the finished dress), so that’s what I did on my muslin.

Try On Your Muslin
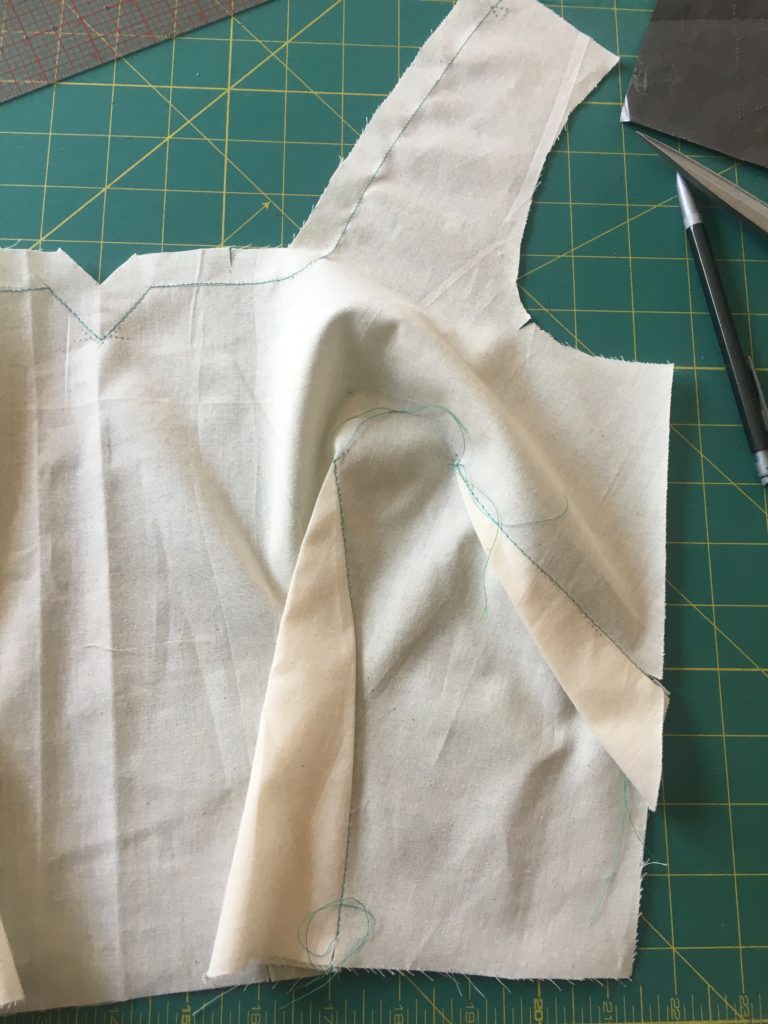
Now you can try it on! For my personal fit, the issues were pretty much what I anticipated: dart placement. The points of the darts should always radiate toward your apex (your nipple, to be blunt) and end 1/2″ to 1″ short of the apex. My bust dart point is too high and my waist dart point is too far to the side of my apex. My bust dart is also having some issues with a little flap of excess fabric. This could either be because it’s pointed in the wrong direction or because the dart itself is now too big. I’m going to start by lowering it to see if that helps. Plan B is to reverse the FBA slightly just on that dart, making it effectively smaller.
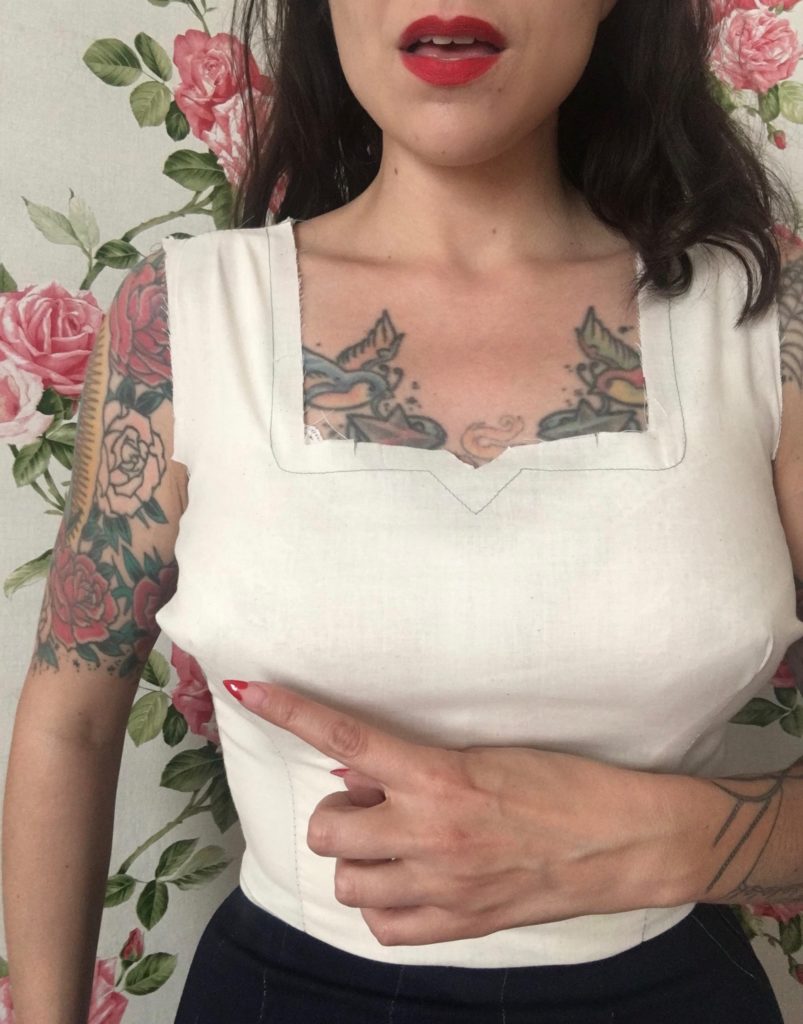
To change the point of a dart, just find its new position and re-draw the dart legs so they meet the new point. You can do this on the muslin to test before changing your paper pattern.
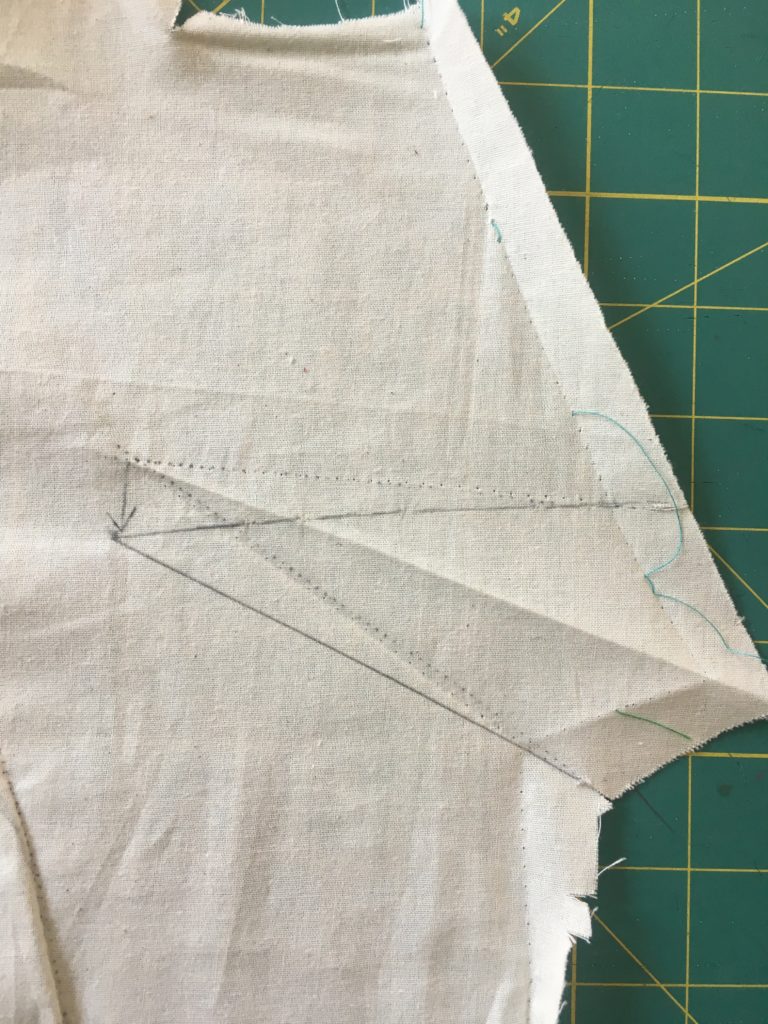
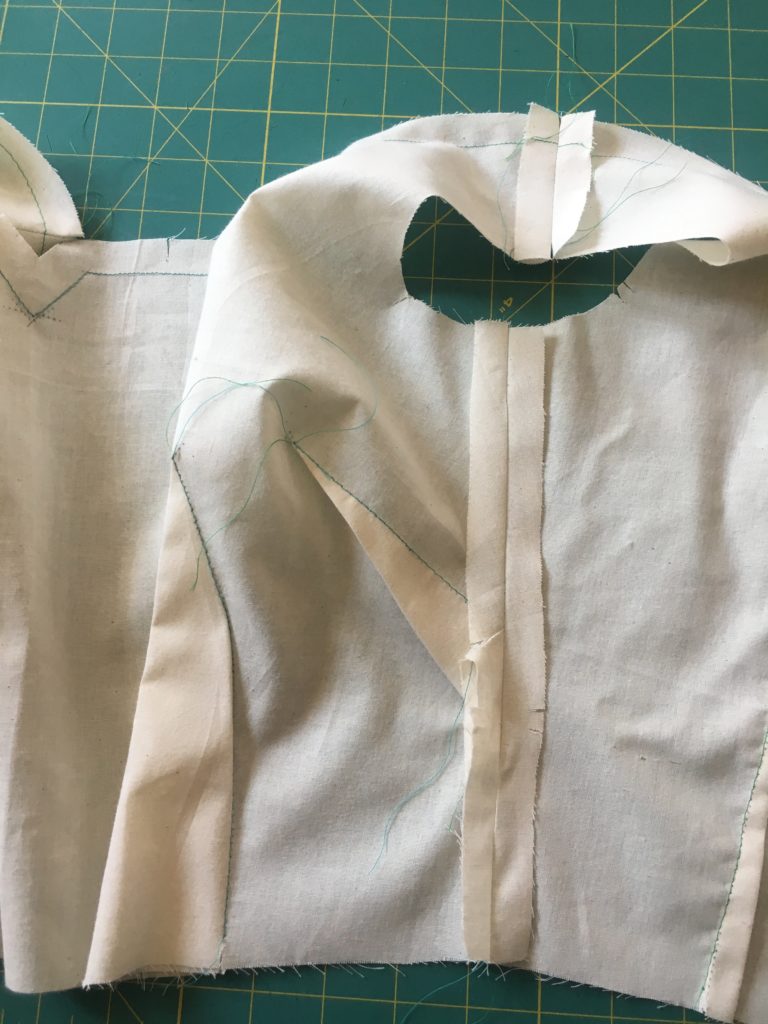
I changed my darts on one side only. My new fit is improved, but I do think that side dart is just too big.
How Is Your Fit?
Okay, there are a LOT of fitting issues that could potentially come up during the muslin fitting, more than I can write about here. I urge you to use the Facebook group to ask your personal fitting questions, as there is so much help to be had. If I see things that are issues or questions for a lot of people, I will write additional fitting posts as needed!
A Note on Sleeves
If you’re making the version with sleeves, don’t wait until sewing the dress to see if they fit! Check the finished bicep measurements on the sleeve tissue, and for extra insurance, make a test sleeve and set it into your bodice muslin.