Gertie Books, Tutorials
Tropical Knit Dress (Hack of the Gertie Sews Glam Knits Halter Top)
23
Jul
Jul
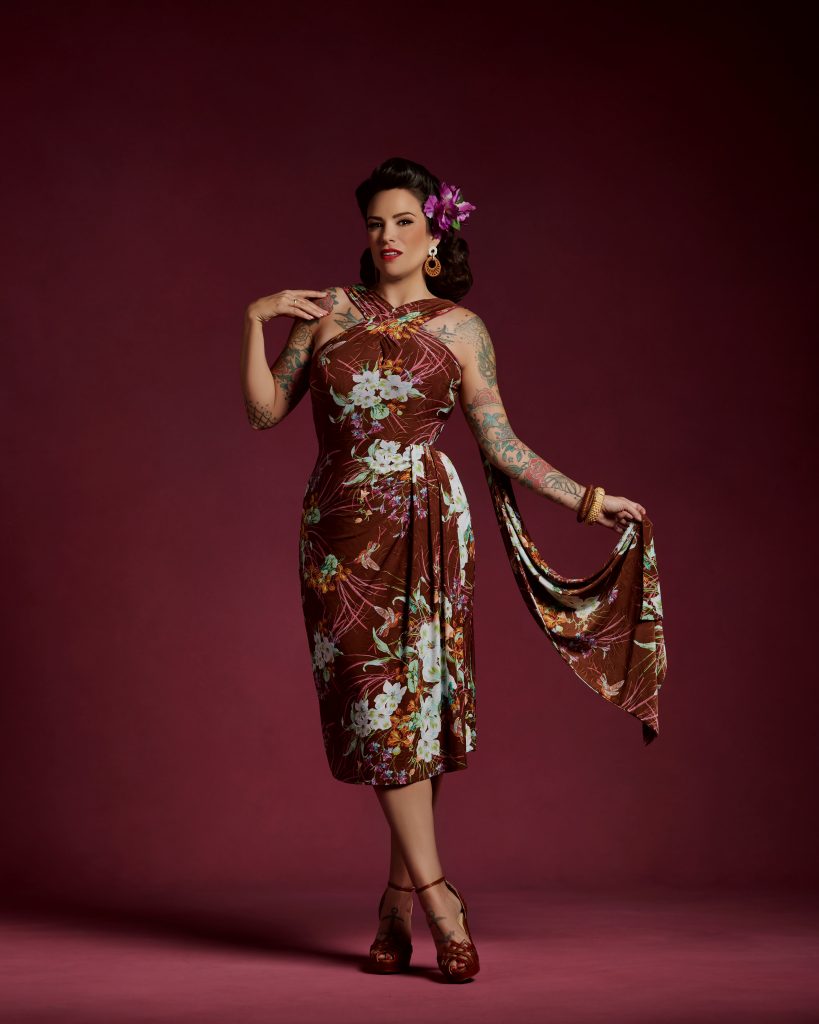
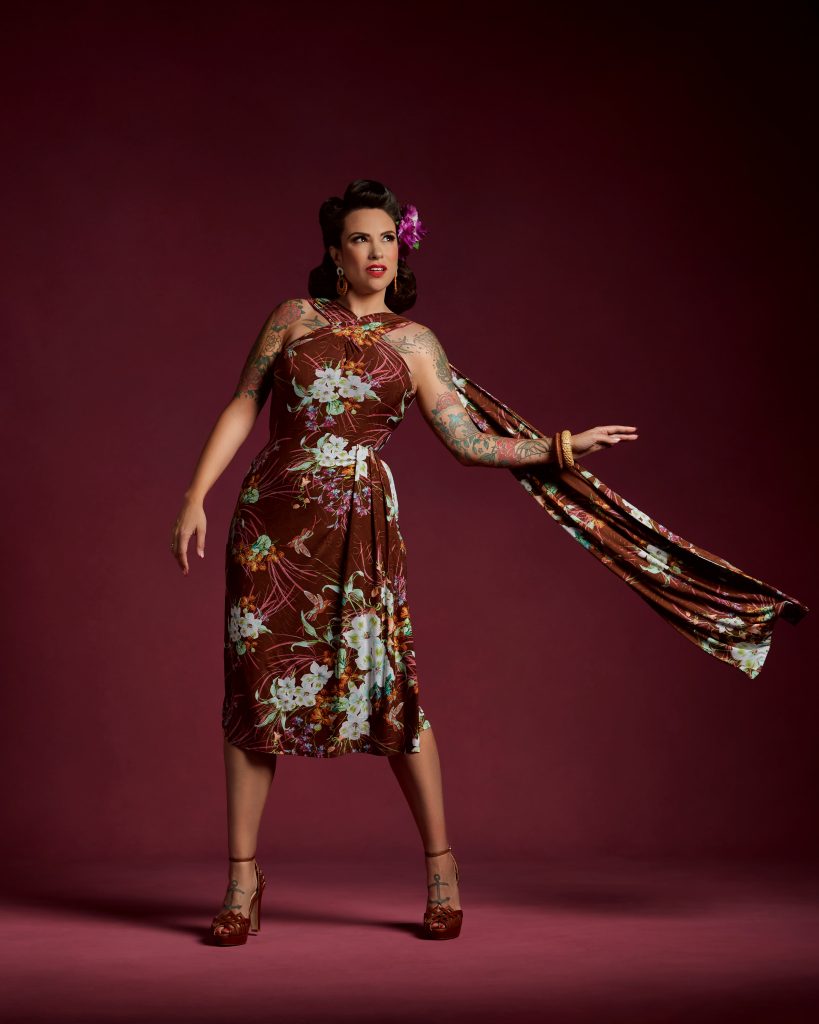
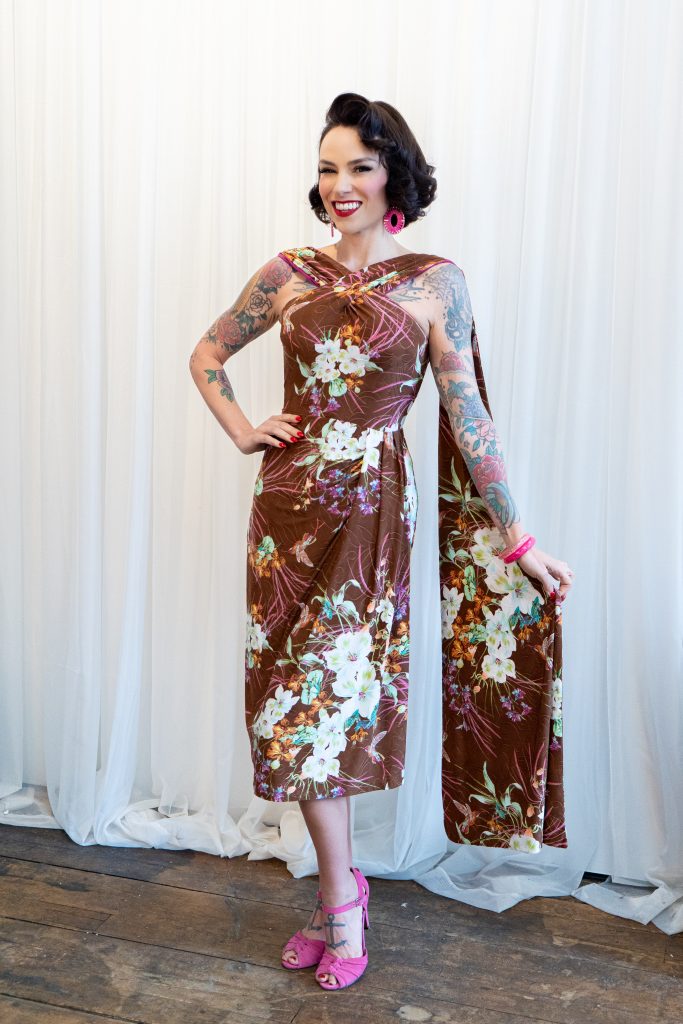
We came up with another hack using the Halter Top pattern from my latest book, Gertie Sews Glam Knits!
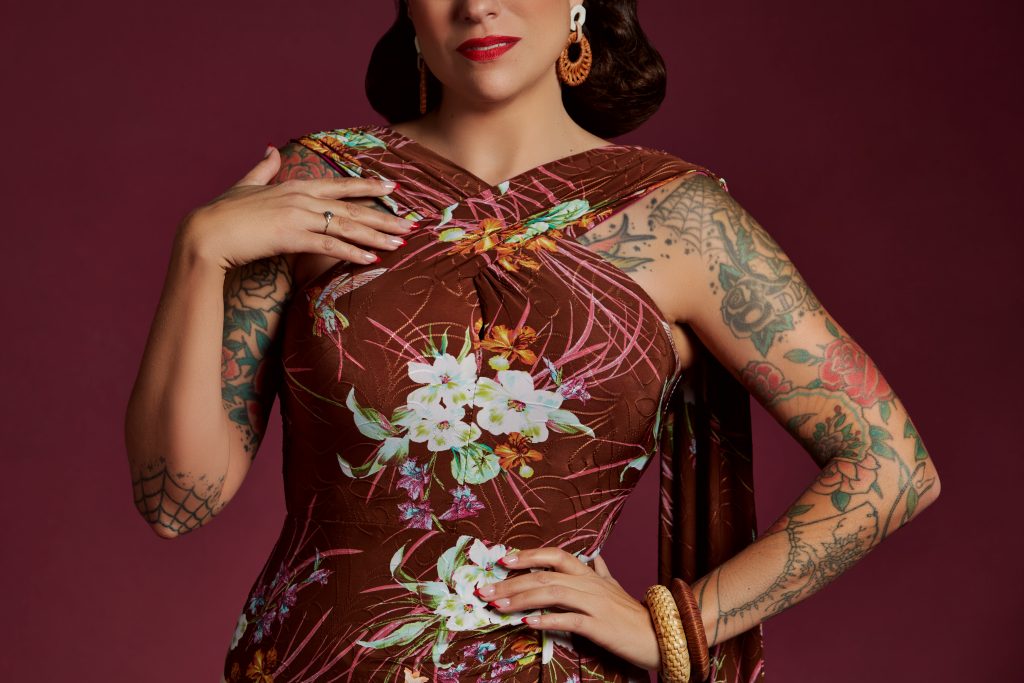
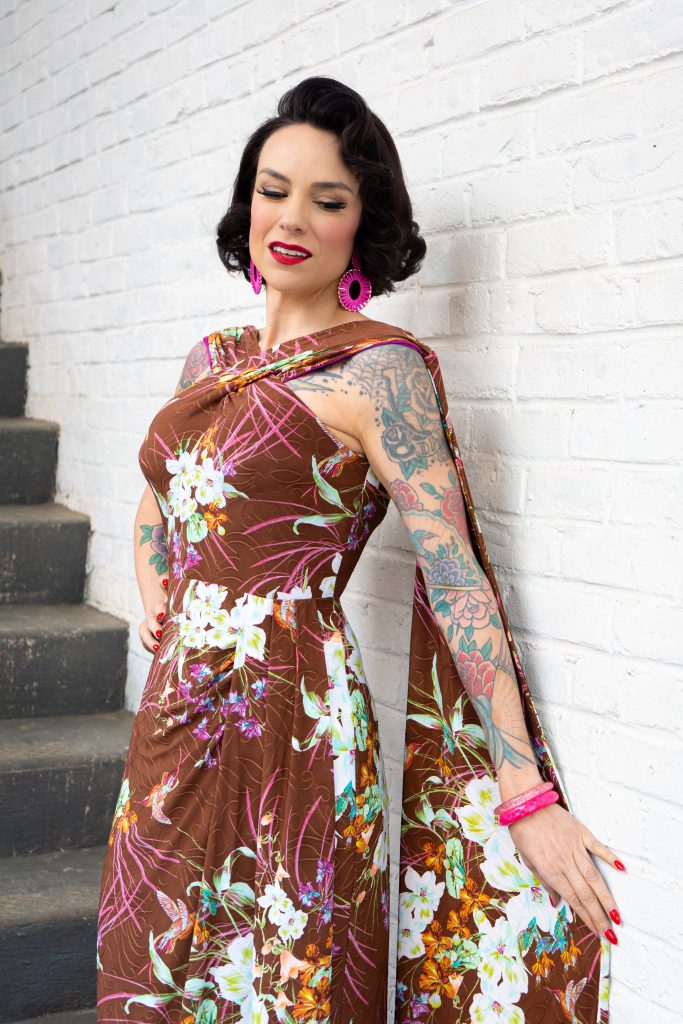
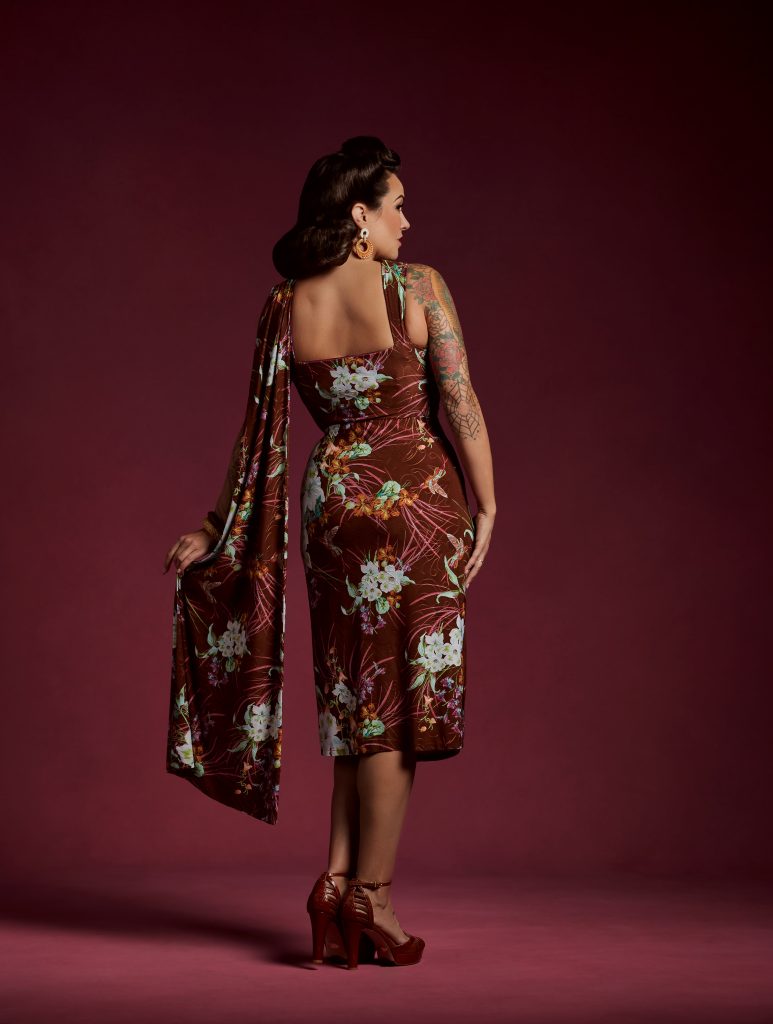
This pattern takes the classic halter and crosses the ties to create shoulder straps, with an added shoulder drape for drama. It’s paired with the Side Drape Skirt from the book to create this lovely floral jersey dress.
Resources
- Knit fabric with 50–70% two-way stretch for the dress. Because of the drapey nature of the skirt and shoulder drape, cotton and rayon jersey, synthetic jersey, and lightweight knit rayon blends will work best.
- Lining fabric with identical stretch as the fashion fabric. The bodice can be self-lined.
- Heavyweight power net with 50% two-way stretch
- Thread to match
Pattern Pieces Needed
- Self-drafted Halter Dress Front (cut 2 fabric, 2 lining)
- Self-drafted Halter Dress Back (cut 1 fabric on fold, 1 lining on fold)
- Halter Strap (cut 4 fabric)
- Draped Skirt Overlay (cut 1 fabric)
- Draped Skirt Underlay (cut 1 fabric)
- Skirt Back (cut 1 fabric on fold)
- Self-drafted Neckline Slit Facing (cut 2 fabric)
- Self-drafted Shoulder Drape (cut 2 fabric)
Pattern Drafting for the “Hack” Self-drafted Pattern Pieces
The easiest way to draft the front slit and back strap placement is to try on a Halter Top that you’ve already fitted to your body, then mark the desired alterations listed below with safety pins. Transfer these markings to your pattern pieces, making any additional alterations as needed.
- Prepare bodice for skirt attachment. Cut the Halter Top Front and Back pattern pieces at the waistline. Add seam allowance below the cut waistline. Trace new pattern pieces. Label as Halter Dress Front, cut 2 fabric and 2 lining, or Halter Dress Back, cut 1 fabric on fold and 1 lining on fold, maintaining the original direction-of-greatest-stretch (DOGS) line.
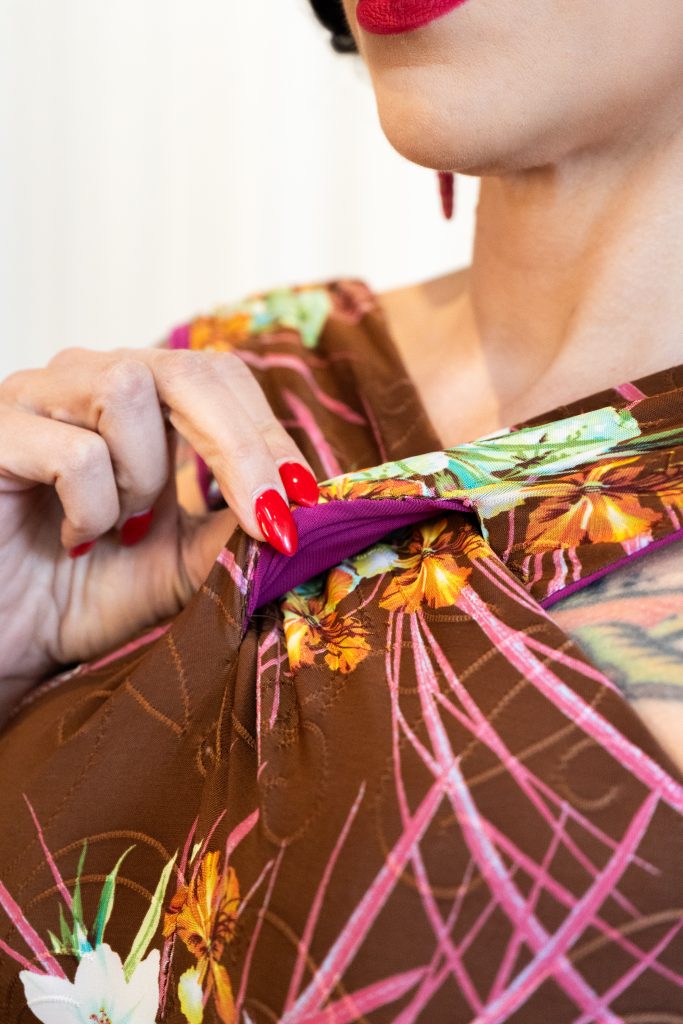
- Mark neckline slit. Extend the center front (CF) line of the halter top front 2¼” (5.7 cm) past the CF circle. Mark a circle ¼” (6 mm) to the left of the end of the line. This will be the lower edge of the slit opening. Starting at this circle, draw a line 3” (7.6 cm) long, parallel to the halter strap front edge, and mark a circle at the end of the line for the upper edge of the slit opening. The slit opening should be approximately 1½” (3.8 cm) from the halter strap front edge; adjust as needed.
- Draft neckline slit facing. Draw a rectangle 5” (12.7 cm) long by 2” (5 cm) wide. Draw a 3” (7.6 cm) long line, centered inside the rectangle for the slit opening. Mark each end of the slit opening with a circle. Label as Neckline Slit Facing, cut 2 fabric, with the DOGS running perpendicular to the slit opening.
- Draft new back halter strap. If you have marked the back strap placement and length adjustments using an existing Halter Top, transfer the strap placement marks to the halter top back and the strap length adjustments to the Halter Strap. Add seam allowances to the modified strap length. Trace new pattern pieces and label as Halter Strap, cut 4 fabric. If you are starting from scratch without an existing Halter Top that fits well, it is easier to skip this step and make the adjustments on the fly while sewing.
- Draft shoulder drape. Draw a line 40” (1 m) long for the shoulder drape centerline. At one end of the line, draw a line 5” (12.7) long, perpendicular to and centered on the centerline. At the other end of the centerline, draw a line 20” (50.8 cm) long, perpendicular to and centered on the centerline. Connect the corners to create a trapezoid shape. Add seam allowances to all four sides and label as Shoulder Drape, cut 2 fabric, with the DOGS running parallel to the centerline.
Sewing Instructions
- Cut out the pattern pieces and transfer pattern markings to the wrong side (WS) of the fabric. Before removing the pattern paper, make notches at the neckline and waistline center back (CB) on the top and skirt.
- Sew the shoulder drape right sides (RS) together along the three longest sides, pivoting at the corners. Trim corners and grade seam allowances. Turn RS out and press flat. Baste the short raw edge and then gather.
- Baste the gathered edge of drape to the notched edge of the right halter strap, RS together, evenly distributing gathers. The drape will attach to the right halter strap, but will fall over the left shoulder once the halter straps cross each other.
- Mark the slit opening and circles on the right halter dress front and right lining front. (The right halter dress front is the side with the shoulder drape attached.) Aligning circles and the marked slit opening, pin one neckline slit facing to each right front, RS together. Stitch a scant ⅛” (3 mm) on either side of the slit opening, using a narrow zigzag stitch, pivoting at circles. Cut the slit open, and trim excess seam allowances. Pull the facing through the slit and press flat, making sure there are no puckers at the corners.
- Stitch the halter dress fronts together at the CF seam from circle to hem, RS together. Clip into the seam allowances to the circle, being careful not to clip past your stitches.
- Gather the top front shoulder. Stitch the halter strap to the halter dress front at the shoulder, RS together, matching notches and circles, evenly distributing gathers, and stitching clear elastic along the seam as you sew. Grade seam allowances. Repeat for the lining, omitting the clear elastic.
- Stitch the halter dress front to the halter dress back at the side seams, RS together, matching notches. Repeat for the lining.
- If you have not already made the strap placement and length adjustments, try on the bodice and mark the strap placement location on the back neckline and shorten the straps as necessary. For mine, I placed my straps 2½” (6.4 cm) in from the side seam and shortened the strap by 5” (12.7 cm).
- Stitch the bodice to the lining along the neckline edge, RS together, beginning and ending at the CF circle, pivoting at each strap corner, and leaving an opening for each back strap. The drape will be sandwiched between the fashion fabric and the lining. Be careful not to catch the silicone elastic as you stitch. Grade seam allowances. Understitch the neckline, starting/stopping at each strap as necessary. On the WS of the lining, zigzag stitch clear elastic to the bodice front along the understitched seam allowance, from the side seam to the outer halter strap attachment point and from the CF circle to the inner strap attachment point. Hold the elastic taut, but do not stretch it as you sew.
- Thread the left (as worn) strap through the slit opening and insert halter straps into the unsewn openings at the back neckline. Stitch the back neckline openings closed, RS together, securing the straps. Turn the garment RS out and baste the bodice to the lining at the waist. Stitch slit opening facings together invisibly by hand.
- Follow the instructions to sew the Side Drape Skirt, omitting the waistband.
- Stitch the bodice to the skirt at the waistline, RS together, matching notches and side seams, and stitching clear elastic along the waistline as you sew. Hold the elastic taut but do not stretch. Grade seam allowances and press towards the bodice.