Gertie Books, Tutorials
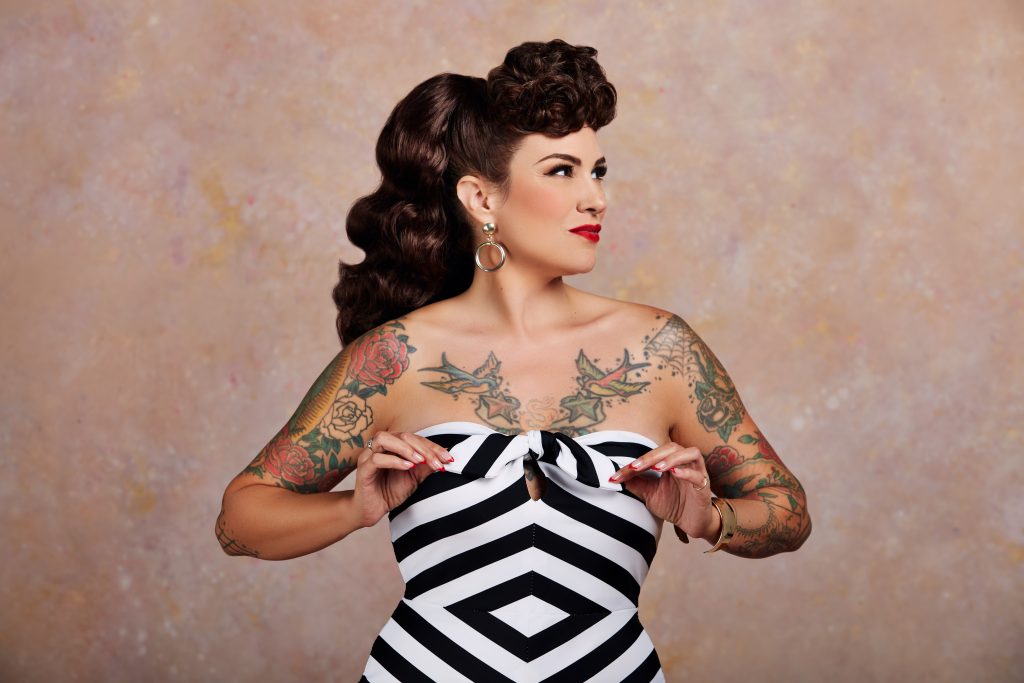
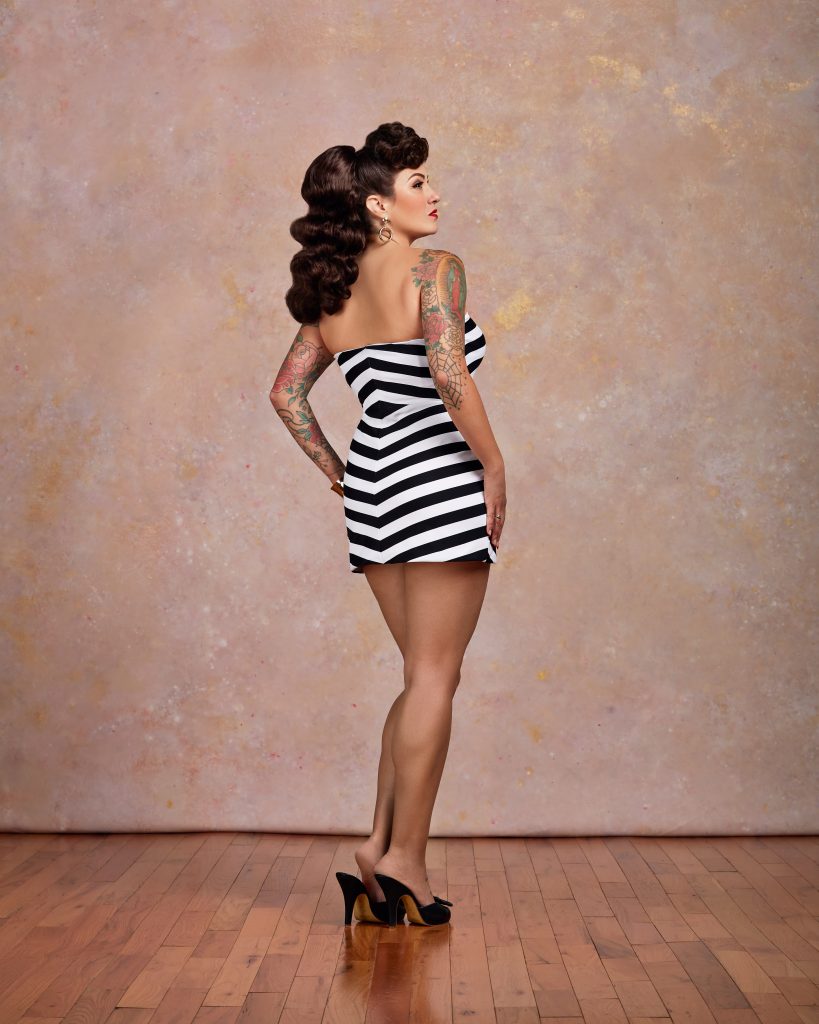
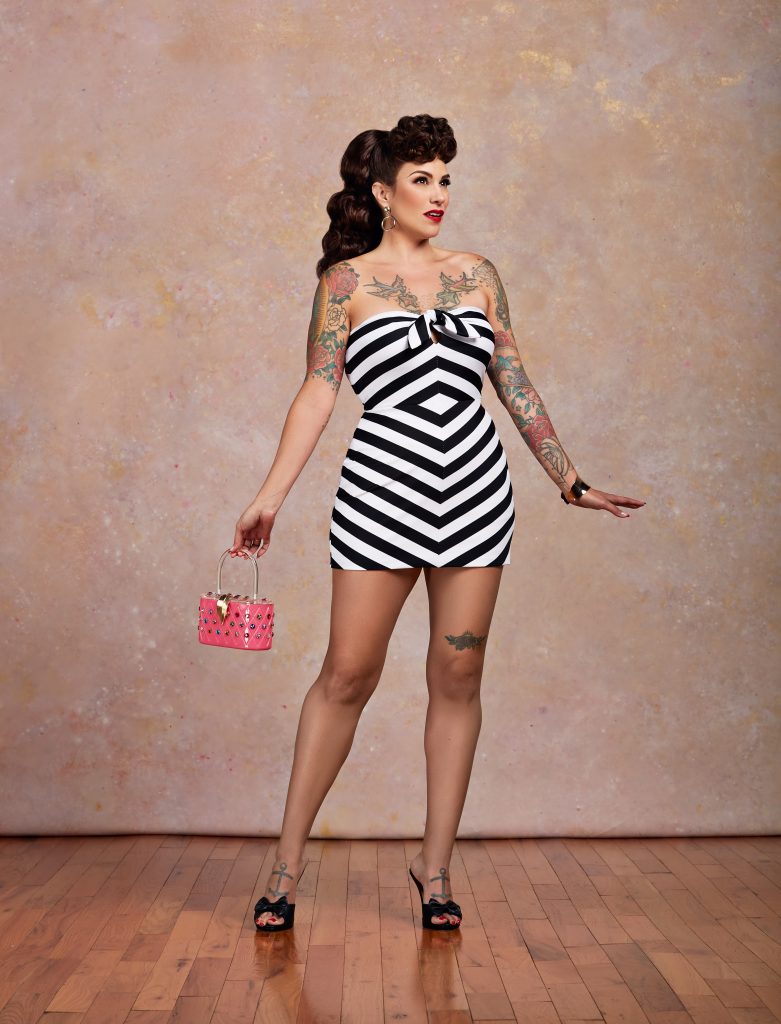
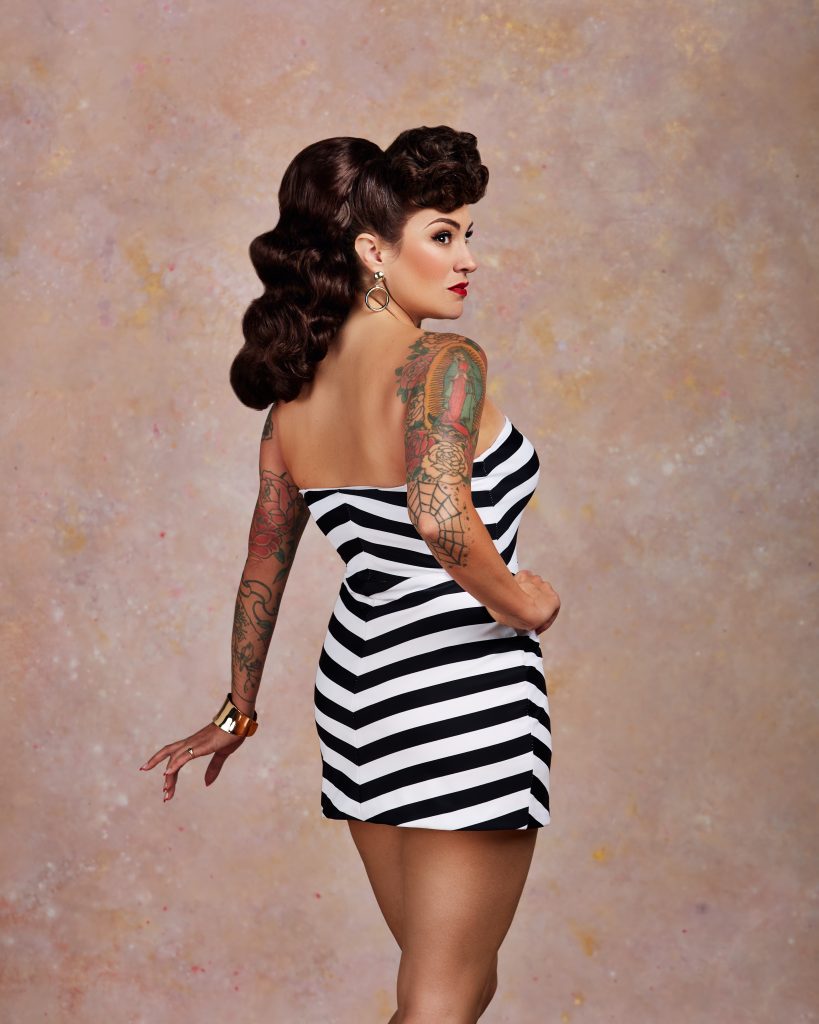
1959 Barbie Swimsuit Inspired Knit Dress (Hack of the Gertie Sews Glam Knits patterns)
04
Sep
Sep
We came up with another hack using the Halter Top and Pencil Skirt patterns from my latest book, Gertie Sews Glam Knits!
This mashup of the Halter Top and Pencil Skirt patterns pays homage to the original dream girl, Barbie, in her very first outfit. The straps of the top are altered and tied together to create a strapless bodice, and the skirt is shortened to a (very!) mini length.
Resources
- Knit fabric with 50–70% two-way stretch for the bodice, skirt, and bodice front lining. Cotton, rayon, and synthetic jersey will work well, as will swimsuit and spandex athletic fabrics. Extra fabric will be required when pattern matching stripes.
- Lining fabric with identical stretch as the fashion fabric for the skirt and bodice back.
- Thread to match
- ¼”-wide (6 mm) clear elastic to stabilize neckline and waist
- ¾”-wide (1.9 cm) silicone elastic for the back neckline
Pattern Pieces Needed
- Self-drafted Strapless Tie-Front Bodice Front (cut 4 fabric)
- Self-drafted Halter Bodice Back (cut 2 fabric, 2 lining)
- Self-drafted Mini Skirt Front (cut 2 fabric)
- Self-drafted Mini Skirt Back (cut 2 fabric)
Pattern Drafting for the “Hack” Self-drafted Pattern Pieces
Strapless Tie-front Bodice Pattern Drafting Instructions
- Prepare bodice for skirt attachment. Cut the Halter Top Front and Back pattern pieces at the waistline. Add seam allowance below the cut waistline.
- Lower the neckline. On the top front, draw a new center front (CF) neckline circle 1¼” (3.2 cm) below the one marked on the pattern.
- Create bow-ties. On the top front, mark 1½” in from the notched halter strap seamline to shorten the strap. Mark the long edges of the front halter strap 1” (2.5 cm) in from each seamline, then mark ⅜” (1 cm) in from this line. Following the illustration, draw a curved bow shape, starting from the underarm side seam and ending at the CF circle. The bow shape curves in 1⅜” (3.5 cm) from the halter strap edge, curves out to 1” (2.5 cm) from the edge, and ends at a point 1½” in from the short edge. Add seam allowances around both edges of the altered bow shape. Trace a new pattern piece and label the front as Strapless Tie-Front Bodice Front, cut 4 fabric, maintaining the original direction-of-greatest-sew (DOGS). If you are not sewing with stripes, trace and label the back as Halter Bodice Back, cut 1 fabric on fold and 1 lining on fold, maintaining the original DOGS.
- Prepare for stripe pattern matching (optional). Add seam allowances to the halter top back center back (CB) seam. Trace a new pattern piece. Label as Halter Bodice Back, cut 2 fabric and 2 lining, maintaining the original DOGS. Using the photographs as a guide, draw on the stripe alignment lines. The stripes align approximately 30 degrees from the DOGS line, creating a diamond shape at the CF/CB waistline and running roughly parallel to the underarm halter strap angle. Use this stripe alignment line when cutting out your fabric; do not use the DOGS line.
Mini Skirt Pattern Drafting Instructions
- Shorten the skirt. Mark 14½” (36.8 cm), or your desired length, down from the waistline on the Pencil Skirt Front CF. Draw a line perpendicular to the CF line to create the hem. Add ⅝” (1.5 cm) hem allowance. Repeat using the Skirt Back to create the Mini Skirt Back. If you are not sewing with stripes, trace new pattern pieces and label as Mini Skirt Front/Back, cut 1 fabric on fold and 1 lining on fold, maintaining the original DOGS.
- Prepare for stripe pattern matching (optional). Add seam allowances to the skirt CF and CB to create seams. Trace new pattern pieces and label as Mini Skirt Front/Back, cut 2 fabric and 2 lining, maintaining the original DOGS. Using the photographs and your bodice pieces as a guide, draw on the stripe alignment lines. The stripes align approximately 30 degrees from the DOGS line, creating a diamond shape at the CF/CB waistline. Use this stripe alignment line when cutting out your fabric; do not use the DOGS line.
Sewing Instructions
- Cut out the pattern pieces and transfer pattern markings to the wrong side (WS) of the fabric. If you have cut any pattern pieces on the fold, make a notch at the CF and CB neckline and waistline before removing the pattern paper. These notches will help align the skirt and linings.
- Stitch the top fronts together at the CF seam from circle to hem, right sides (RS) together. Clip into the seam allowance to the circle, being careful not to clip past your stitches. Stitch the CB seam. Repeat for the lining.
- On the RS of the top back, attach a length of ¾”-wide (1.9 cm) silicone elastic to the neckline edge, with the upper edge of the elastic aligned ⅝” (1.5 cm) from the raw edge. Zigzag stitch both the top and lower edge of the elastic, using a teflon foot if needed.
- Stitch the top front to the top back at the side seams, RS together, matching notches. Repeat for the lining.
- Stitch the neckline edge of the bodice to the lining, RS together, beginning and ending at the CF circle and pivoting at each bowtie point. Clip corners, grade seam allowances, and understitch the entire neckline, starting/stopping at the narrow section of each bowtie. On the WS of the lining, zigzag stitch clear elastic along the understitched seam allowance, from the outer edge of each bowtie to the side seam. Hold the elastic taut, but do not stretch it as you sew. Baste the bodice fabric and lining WS together at the waistline.
- Stitch the skirt CF and CB seams, RS together. Stitch the skirt front to the skirt back at the side seams. Repeat for the skirt lining.
- Stitch the skirt to the skirt lining at the hem, RS together. Understitch. Baste the skirt fabric and lining WS together at the waistline.
- Stitch the bodice to the skirt, RS together, matching seams and/or notches. Trim the waistline seam allowances and press towards the bodice.