Charm Christmas
Faux Fur Muff and Collar for Winter
20
Dec
Dec
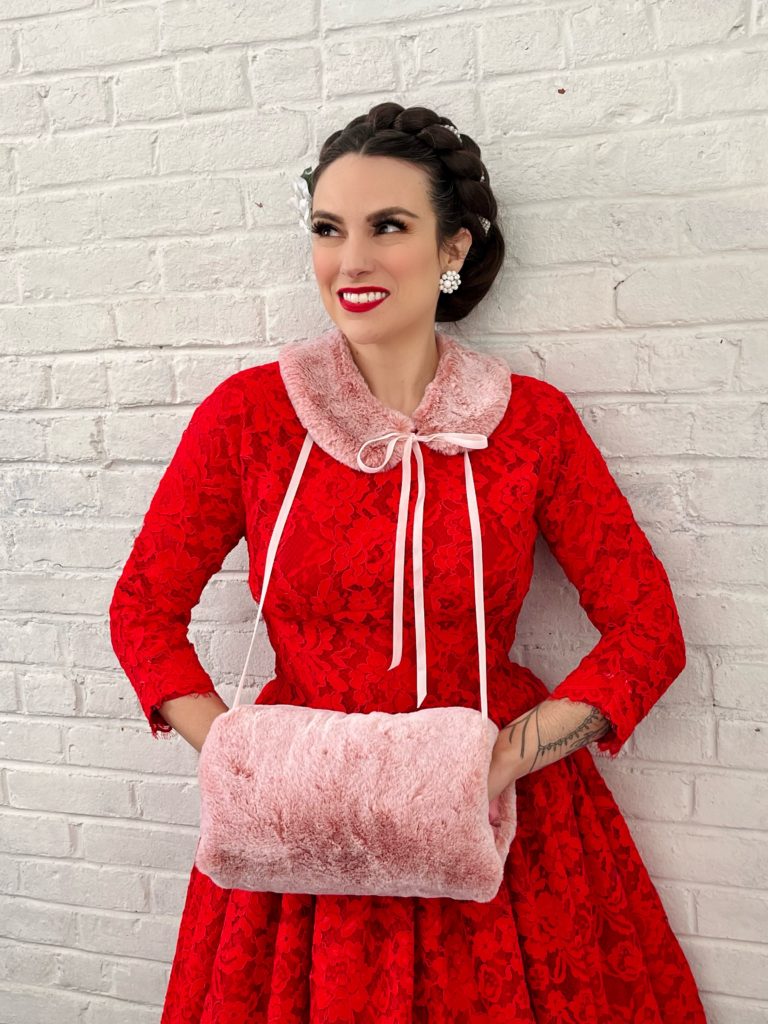
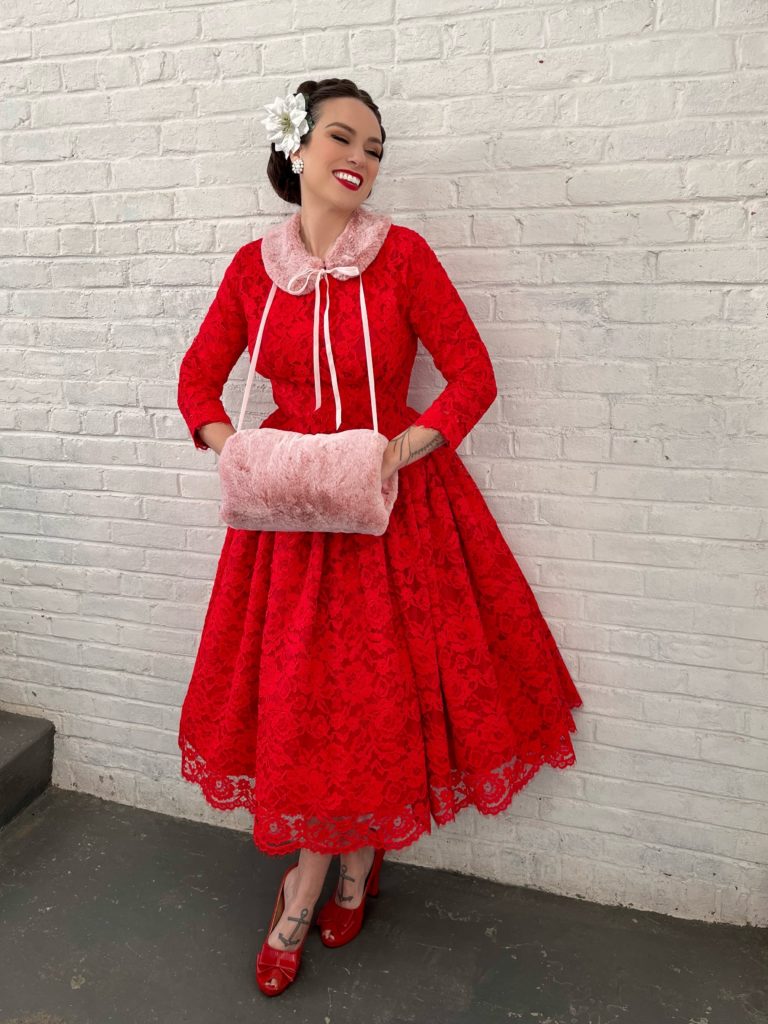
Brrrr, it’s cold outside! This winter collar and muff will keep you warm in style!
Make it in a faux fur like we did here, or play around with any warm-and-stable fabric like flannel, velvet, or fleece.
Resources
- Free detachable Peggy Collar pattern
- Faux fur fabric
- Lining fabric. We used some basic cotton from our stash.
- Ribbon for the collar ties and the muff
- Fusible interfacing
- Poly-fil batting to stuff your muff
Working with Faux Fur
- Faux fur has a nap, which is the direction the fur lays (just like on a real animal). Mark the nap on the back of the fur before cutting, and align the nap in the same direction on your pattern pieces. (Generally, you’ll want the nap running vertically, from your head to your toes.)
- Cutting the fur can be very messy, so you may want to wear a mask. Use small snips of your scissors to just cut the backing, trying not to cut the fur itself. Keep a lint roller on hand to pick up the loose fur, which will get everywhere!
- Try using a walking foot if your fur is very thick. You may need to increase your stitch length as well.
- After sewing a seam, use a pin or small knitting needle on the right side of the fabric to pull out the fur that is caught in the stitching. Trim your seam allowances, and trim the seam allowance’s fur as close to the backing as possible. This will help reduce the bulk in your seams.
Collar Instructions
Follow the instructions on the free Peggy Collar pattern as written. I used faux fur for the collar and cotton lining fabric (with fusible interfacing applied to the wrong side) for the underside.
Muff Instructions
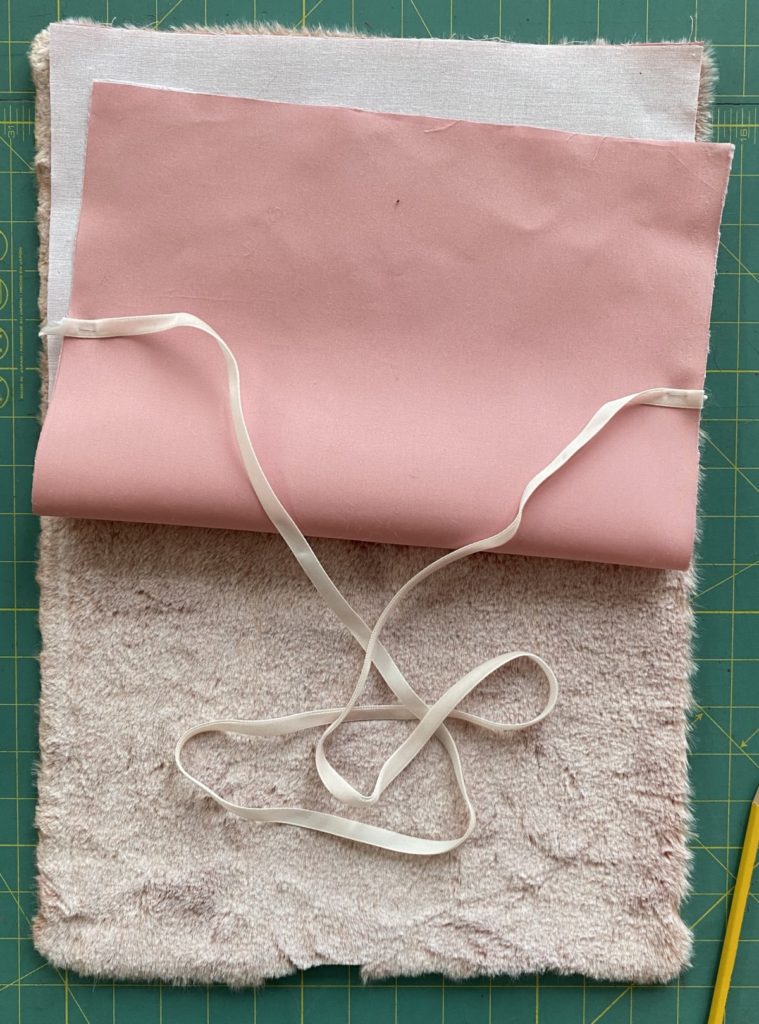
Cut the following:
- a rectangle of faux fur, 13 inches by 19 inches
- a rectangle of lining, 12-1/2 inches by 19 inches
- a rectangle of fusible interfacing, 12-1/2 inches by 19 inches
Sewing instructions:
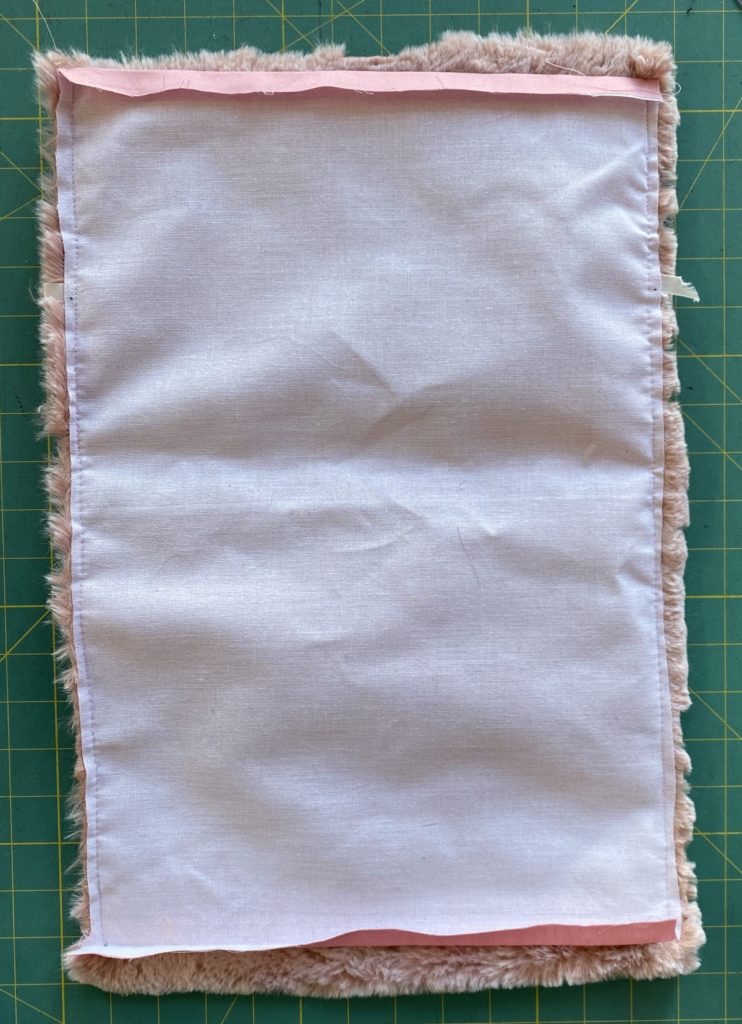
- Apply fusible interfacing to the wrong side of the lining fabric
- Baste the wrong side of the ribbon to the right side of the lining, approximately 5 inches from one short edge of the rectangle.
- Press the short edges of the lining 5/8-inches to the wrong side.
- Pin the long edges of the faux fur to the lining, right sides together, with the ribbon sandwiched inside. Stitch, starting and stopping 5/8 inches from the edge. Grade the seams. Turn muff right sides out.
- Pin the short edges of the faux fur right sides together. Stitch, being careful not to catch ribbon or lining in your seam.
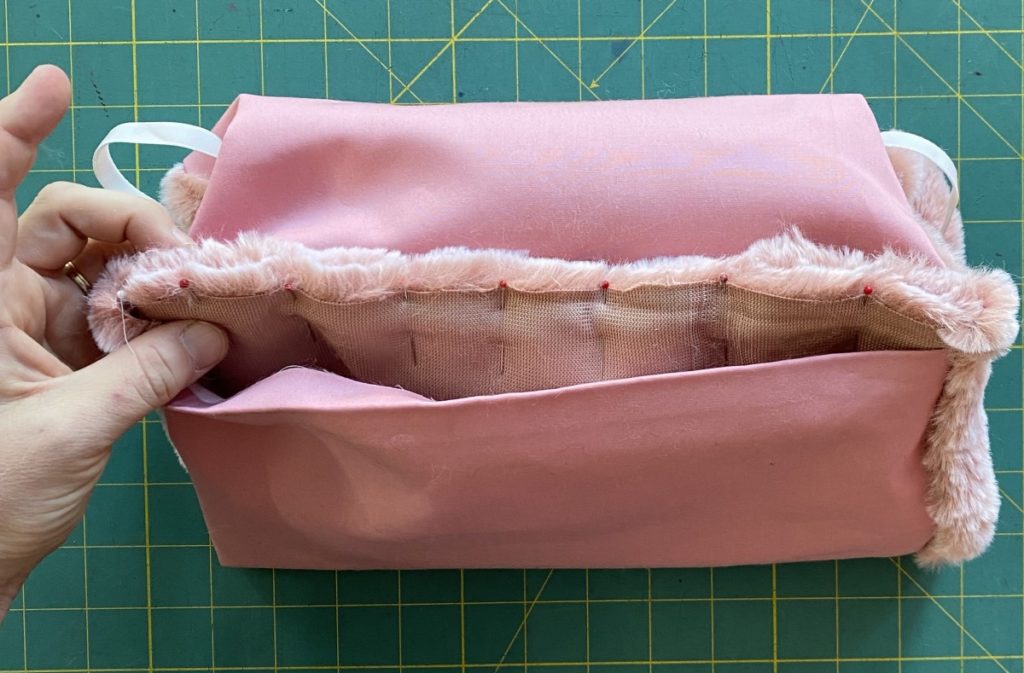
- Fill your muff with poly-fil stuffing until you reach your desired fullness.
- Pin lining to itself, being careful not to catch poly-fil or outer fabric. Whip stitch closed by hand.
- Turn muff right side out and bask in the cozy warmth.
