Sew Along
B6556 Sew Along #6: Sewing the Sleeves (Steps 13-17)
Jul
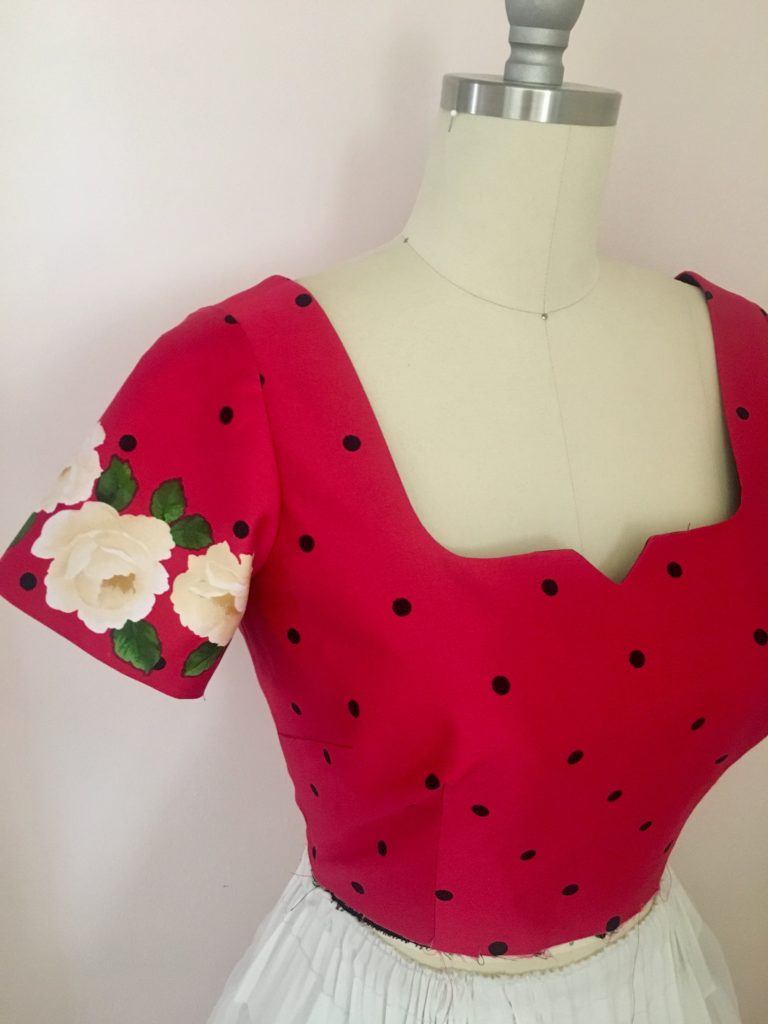
And we’re back! It’s time to set in the sleeves for view B. I’m going to show you some prep steps, and then I’ve made a video to help you through the process of pinning in the sleeves, since I know it can be a little tricky.
The last step you completed was understitching your neckline.

Next sew each side seam, right sides together, for both the outer bodice and lining. Press the seams open. With wrong sides together, pin the bodice and lining armholes together, matching side seams, shoulder seams, and notches.

Baste the armhole layers together, using a long machine stitch.
Next, I like to prep my sleeves by serging along the vertical sides. I also serged my hem, because I’m going to hand stitch my sleeve hems by turning up just once (I don’t want to have visible top stitching interrupting the border print.)

Next, stitch the underarm seam on the sleeves, right sides together. Press the seams open.

Note: now would be a good time to hem your sleeve! Since I’m hand stitching mine, I’ll do it at the end with the rest of the hand stitching. To machine stitch your hem, see step 16: press in the hem 5/8″ and then turn in the edge to meet the fold so you have a double-folded hem. Press again and edge stitch the fold.
Now, we’ll set the sleeves in. Set your machine stitch length to a long setting, 4mm is great. Starting at the double notch, stitch to the single notch on the sleeve at 1/2″ seam allowance. Repeat at 1/4″ seam allowance so you now have two rows of long stitches. This is called ease stitching.

Hold the bobbin threads securely and move the fabric along the threads to create ripples (not gathers). Next, we’re going to pin the sleeve into the bodice:
Once your sleeve is pinned in, you’ll put it around the free arm of your sewing machine like so:

Stitch at 5/8″ all the way around the sleeve. Check the outside of the sleeve to make sure that you don’t have any puckers or weird folds in your stitching. If everything looks smooth, repeat with the other sleeve!

I finish the seam allowances by serging everything together, trimming down to 3/8″. Press the seam out toward the sleeve.

To hem my sleeves, I just pressed in the hem 5/8″. I will hand stitch the hem in place as one of my last steps.

Next, we’ll be sewing the skirt!