Sew Along
B6556 Sew Along #8: Steps 26-29
Aug
Our final post! Believe it or not, we’ll be finishing the dress in the next few steps.
First, we’ll do the lapped zipper. Start by pressing in the seam allowances on the back zipper opening. The left side (as you’re looking at the dress, right side out) should be turned in the full 5/8″ seam allowance. This will be the overlap side of the lapped zipper.
The right side should be pressed in 1/2″. This is the underlap side of the zipper.

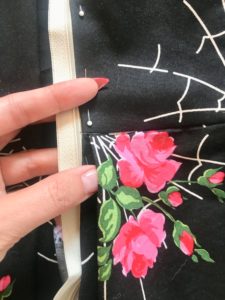
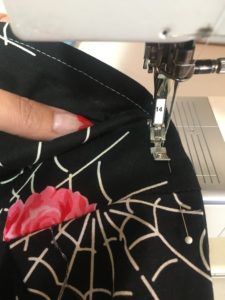
Start by pinning and sewing the underlap side. Place your zipper behind the pressed-in seam allowance, so that the fold is right next to the zipper teeth. Pin in place.

At the waistline, you’ll be pinning right next to a pleat, but because you only pressed in the seam allowance 1/2″, you’ll be able to pin and stitch right next to the pleat.
Open the zipper halfway. Using a zipper foot, stitch right next to the fold of fabric, securing the zipper in place.

When you get to the zipper pull, stop with your needle down, lift the presser foot, and close the zipper. Lower the presser foot and continue stitching until the bottom of the zipper opening.
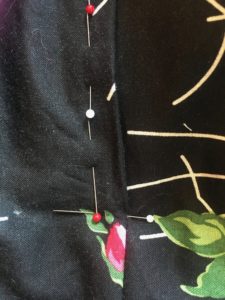
Next we’ll pin and then stitch the overlap side. Starting at the waist, match the horizontal seamline, lapping the seam allowance over the stitching you just did on the underlap side. It should just cover the stitching. Pin in place to the left of the zipper teeth, pinning through the seam allowance and the zipper tape underneath.

Go to the neckline and make sure it matches next, then continue to pin the entire overlap side. Below the waistline, you’ll notice that there is a pleat in your way. Lift up the pleat and pin underneath it.
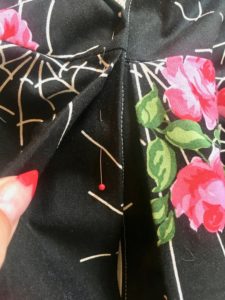
At the bottom of the zipper opening, place a horizontal pin–this is where you will pivot and secure the zipper at the base.
Open the zipper all the way. Now, you’ll stitch the overlap side, topstitching at 3/8″. Use your machine’s throat plate as a guide for straight stitching. When you get to the waistline, backstitch and break your stitching.

Lift up the pleat and start stitching again underneath it. (It’s a little awkward but totally doable.)
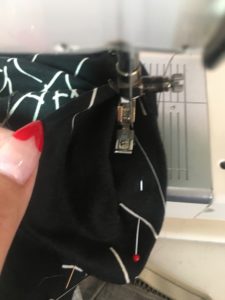
When you get to your zipper pull and can’t go any further, close the zipper as you did for the underlap side.

Continue stitching, and when you get to your horizontal pin, pivot (with the needle down and presser foot up) and stitch across base of the zipper.

Your zipper is done!

Next, we’ll hand stitch the bodice lining in place. I like to stay stitch around the waistline as a guide.
I also recommend clipping into the waistline seam allowance so that it will spread around the curves of the waist.

Press in the lining seam allowance around the waist and zipper openings. Then pin in place to the seam allowances and zipper tape.

Secure the lining by hand with a slipstitch, taking a stitch through the zipper tape or seam allowance and then sliding the needle through the fold of the pressed-in lining seam allowance next to it.

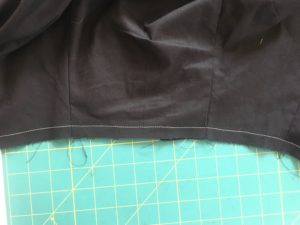
Last but not least: the hem! We’ll do a machine stitched narrow hem. A simple way to do this is to do a line of guide stitching all the way around the hem (through a single layer) at 5/8″.

Then, press in the 5/8″, using your stitching as a guide (your stitching should be turned just to the wrong side of the dress).
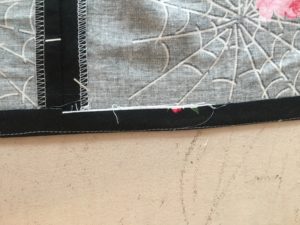
Then fold in the raw edge of the hem to meet the fold so that you have a doubled up narrow hem.

Stitch along the fold.

Give your dress a final press. That’s it! I hope you’ve enjoyed the sew along. Don’t forget to post your finished dresses in the Facebook group!
Pingback: Sew Over It 1940s Tea Dress Pattern Review | Kristin Sews