Sew Along
Rita Blouse Sew Along 6: Steps 9-13
Oct
Time to put in your sleeves and create those lovely elastic casings!
First, sew the sleeves at the underarm seams, right sides together.
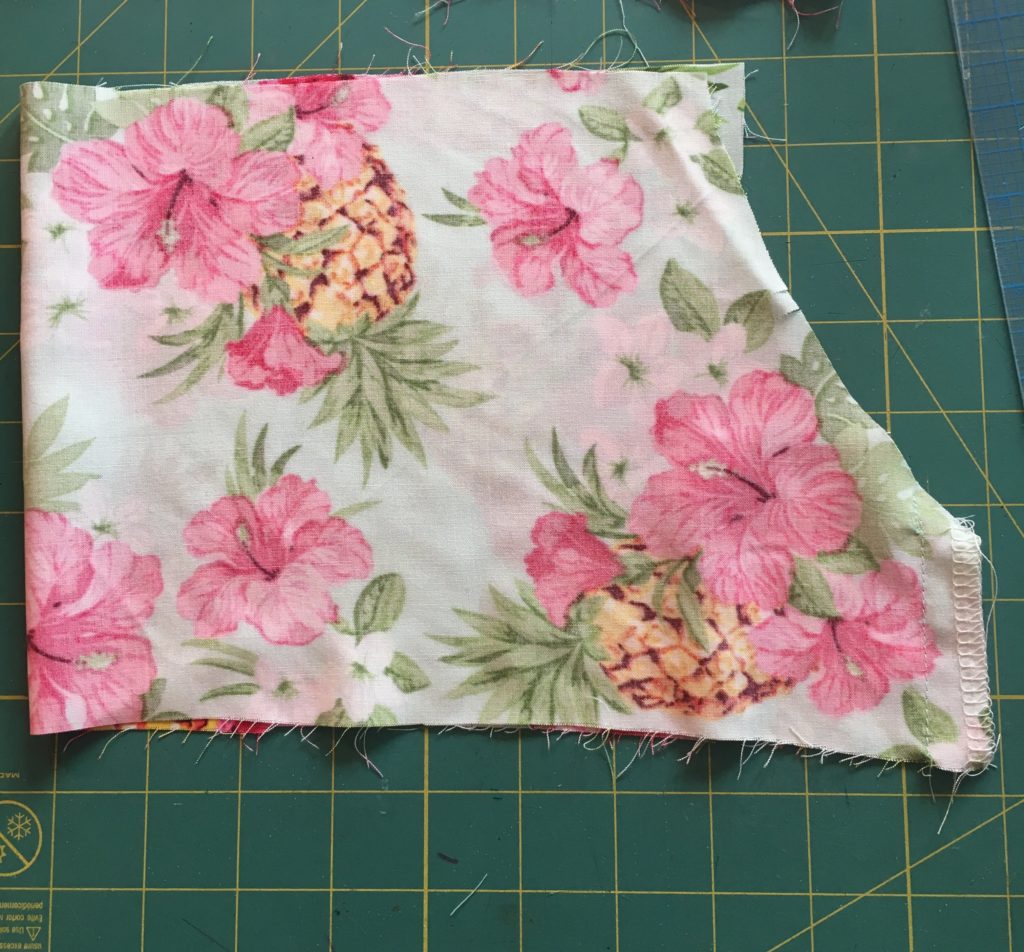
Press the seam open.
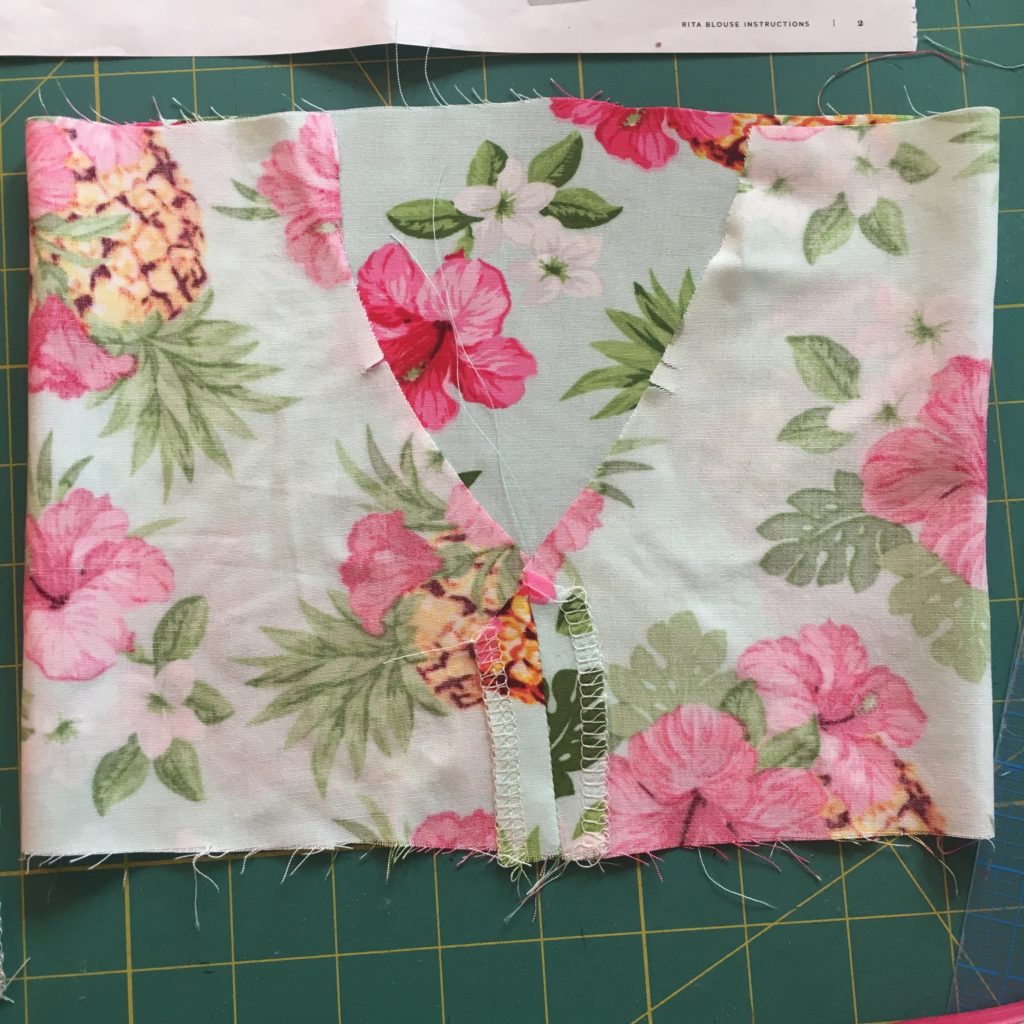
Now we’re going to sew the sleeves into the blouse. Keep in mind that on a sleeve pattern, a single notch always denotes the front of the sleeve, while the double notch indicates the back of the sleeve. Pin the sleeves into the blouse, matching the underarm seams and the notches on the armhole.

Stitch the sleeve seam, pivoting at the underarm.
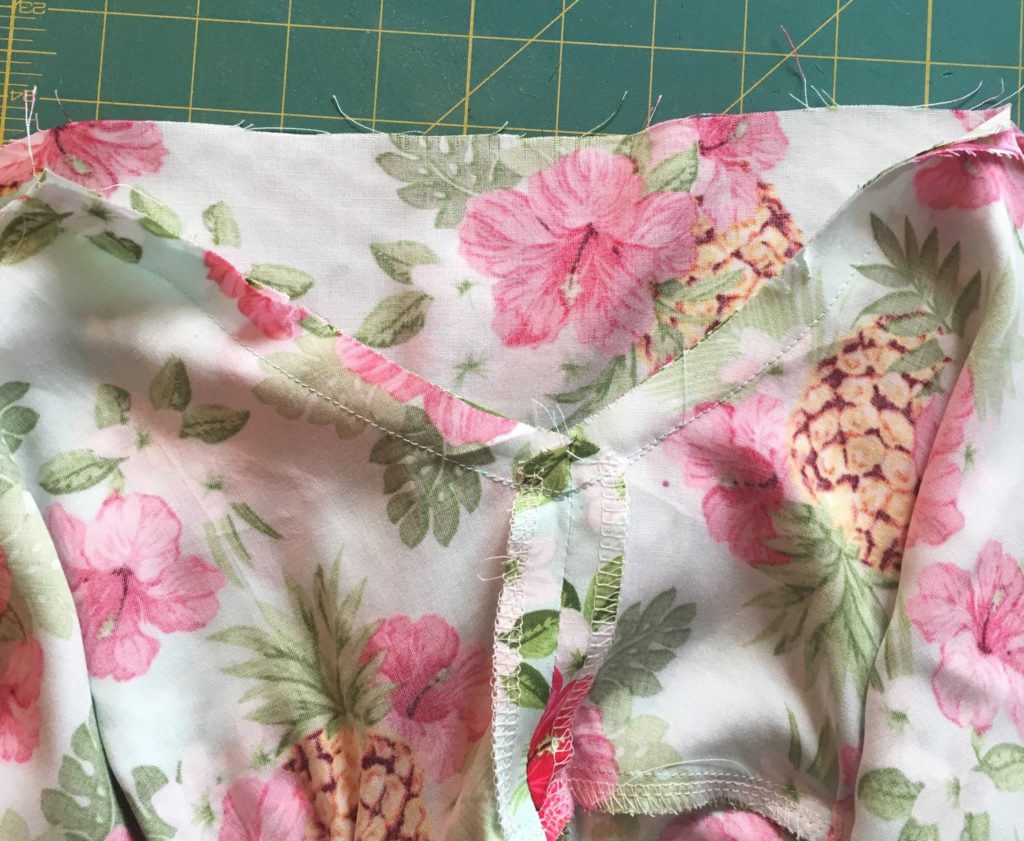
Finish the seam allowances as one (they won’t be pressed open), trimming to 3/8 in (1 cm) first if not using a serger (if serging, trim the seam allowances as you serge). Press the seam allowances down (toward blouse).
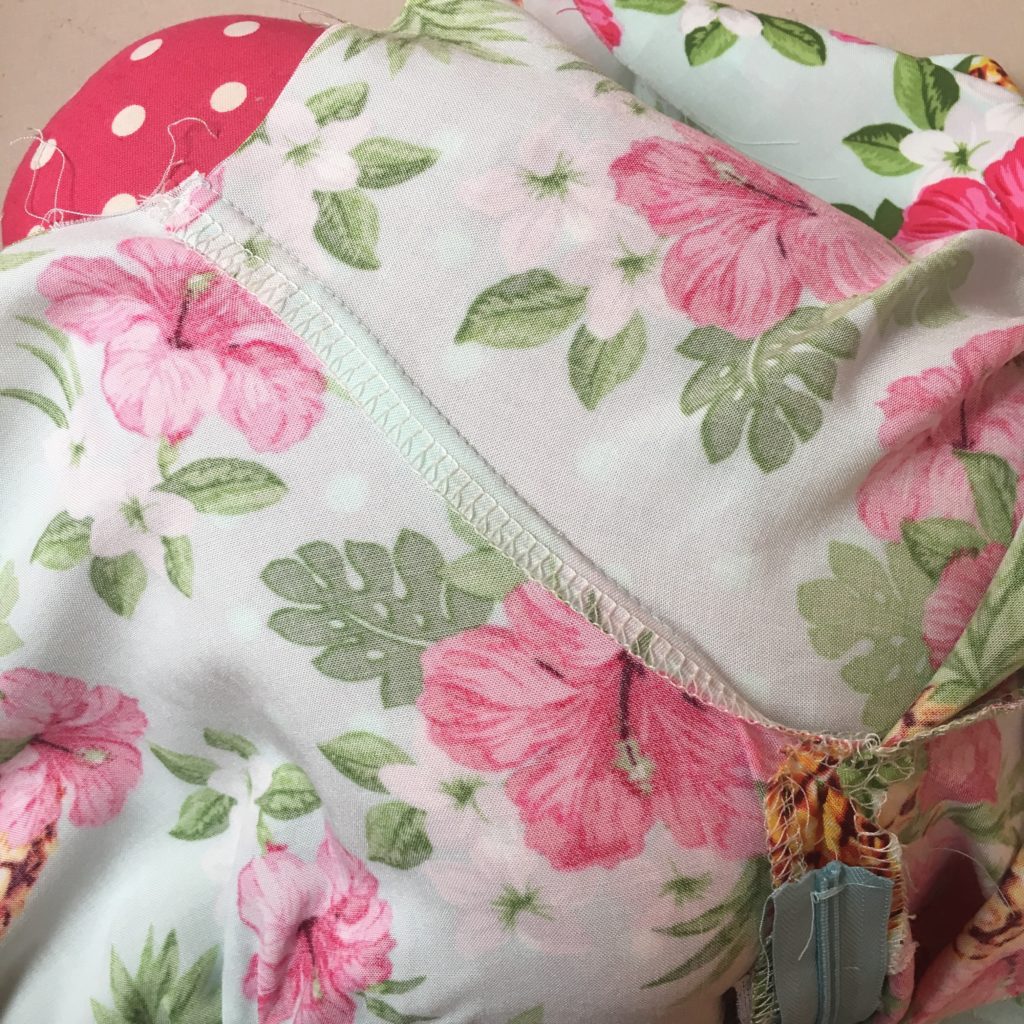
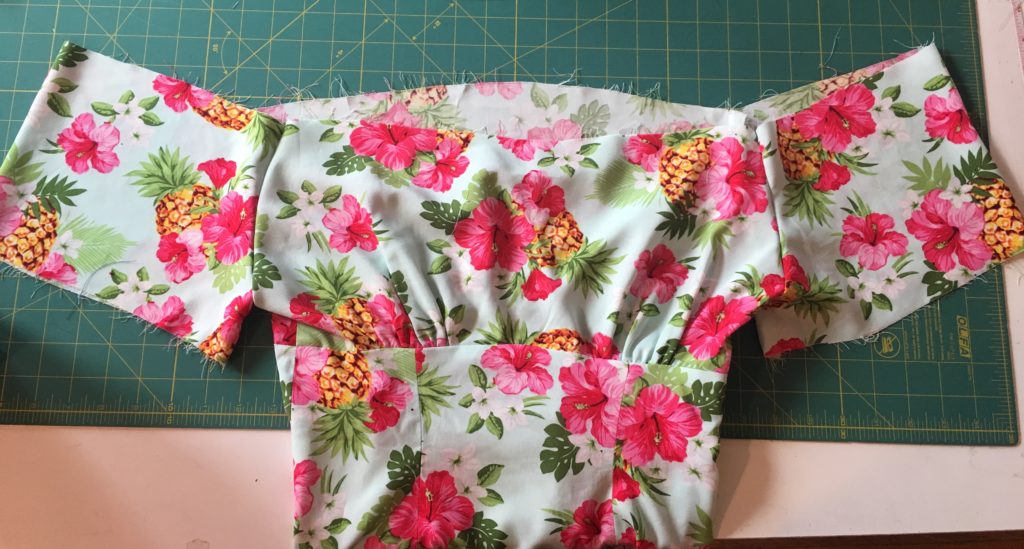
The whole top of the blouse looks a little funny at this point since it doesn’t have elastic yet!
Next, we’re going to create the casings around the neckline and the armholes. (Forgive me, I took a video of this next portion and then accidentally deleted it! I’m going to try to explain as best I can with the pattern illustrations, but do let me know if you have any questions.)
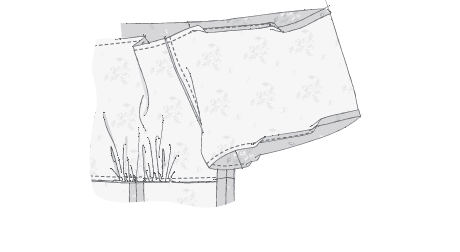
First you’re going to guide stitch at 1/4″ all the way around the neckline and sleeve hems. This is just a line of stitching through one layer using a 1/4″ seam allowance. Next, go to your ironing board and use the guide stitching to press in that 1/4″ seam allowance. The line of stitching should be turned just to the wrong side of the blouse.
Next, turn the edge in again, forming a double fold. BUT! This time you’re turning it in 3/8″, so check yourself with a ruler or seam gauge as you go.
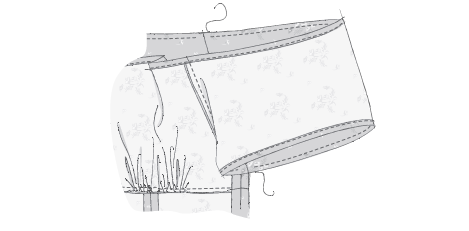
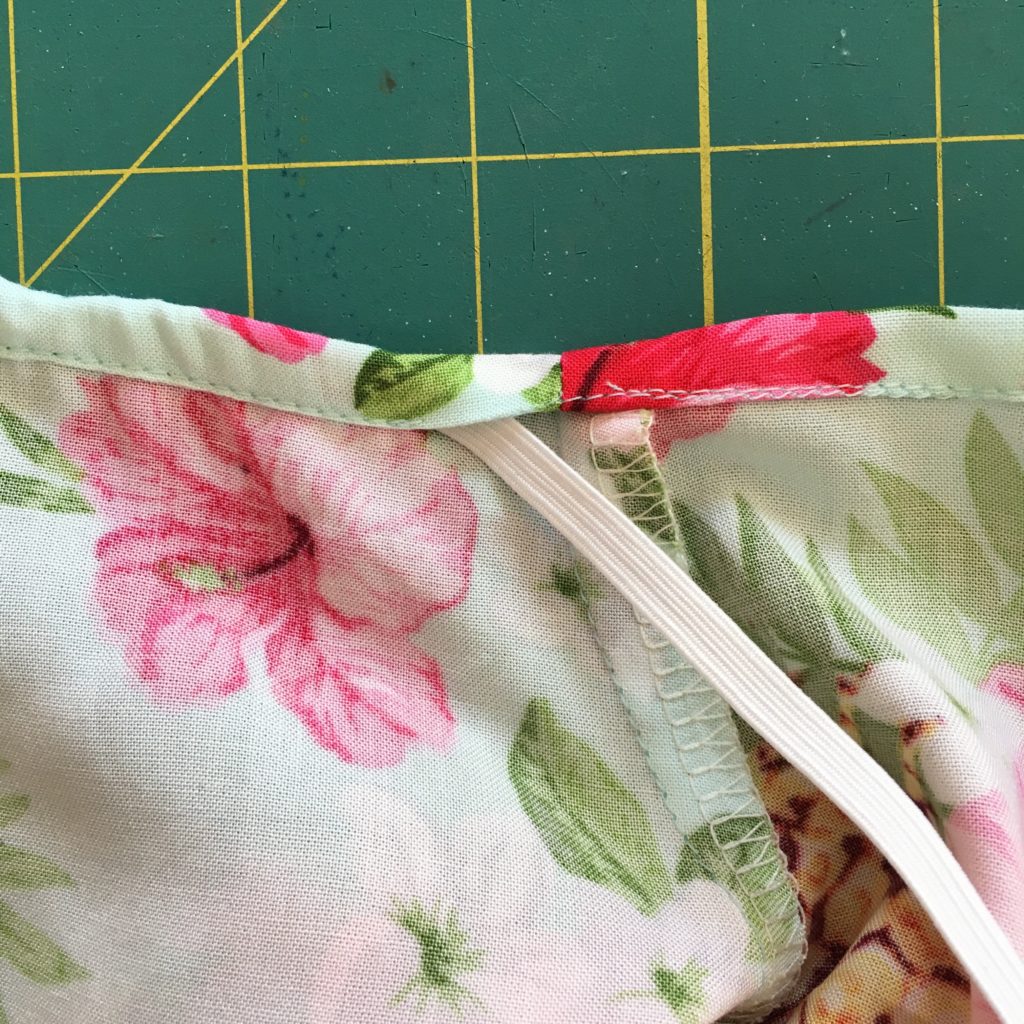
After you’ve created this double fold on the neckline and the sleeves, you will edge stitch the fold, leaving a 1/2″ gap in your stitching to feed the elastic through. NOTE! If you’re making the flutter sleeve version, do not leave a gap on the sleeves, stitch the hem all the way around. This will create the sleeve hem.
Next, cut your elastic to the lengths indicated in the chart for your size. Please note that these lengths are only a guideline! You may need to shorten them when we’re testing the fit in the next installment, especially if you have narrow shoulders. Better to have to shorten them than lengthen them though!
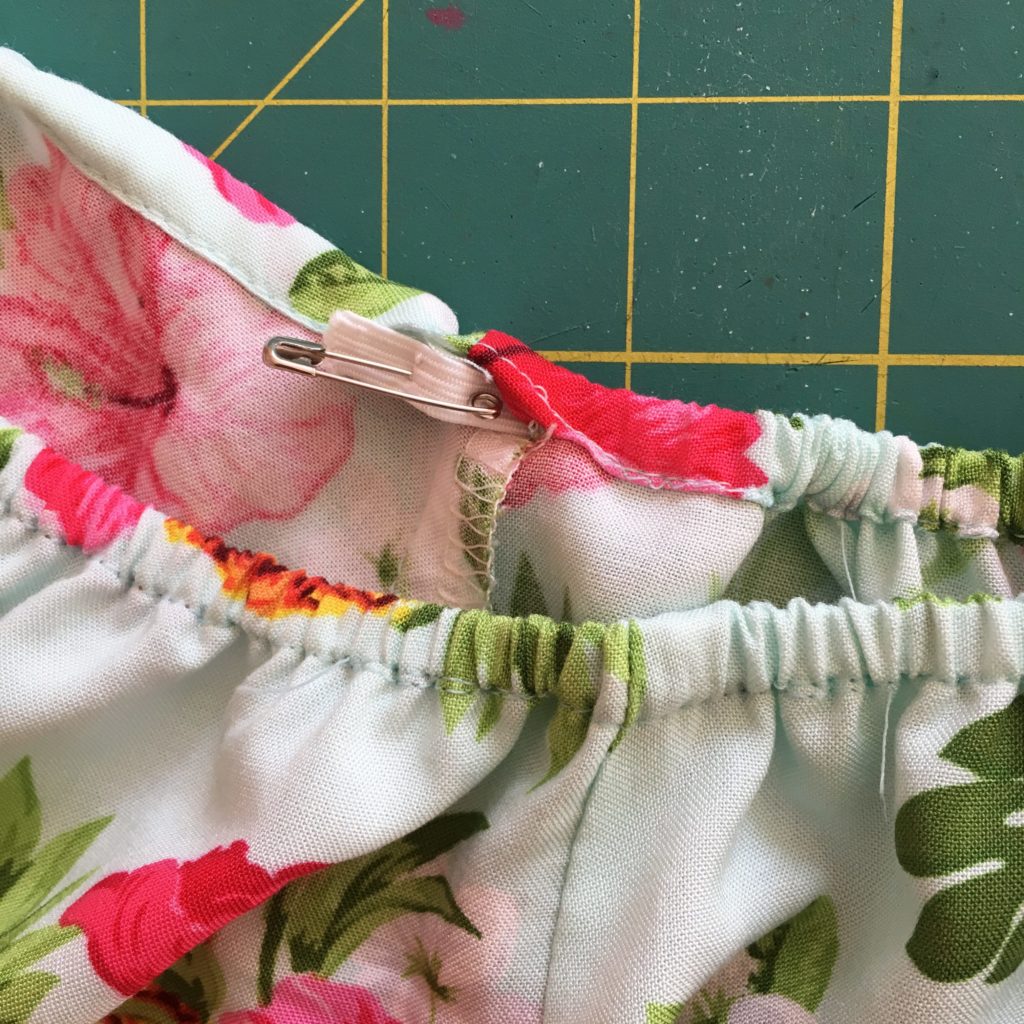
Starting with the neckline, secure one of your small safety pins through the end of the elastic. Guide the safety pin into the gap in the edge stitching and use the safety pin to slowly squish the elastic through the entire neckline.
It’s a good idea to pin the loose end of the elastic to the blouse so you don’t lose it in the casing. Be extra careful when you get to where the seams intersect. Do not try to force the pin through or back! You may tear your blouse (ask me how I know). If you get into a real bind, it’s better to remove the edge stitching in that small area, and feed the pin through, then go back and fix the edge stitching later.
When you get the elastic to the other side of the casing, pin the ends together.
Distribute the gathers all the way around the neckline; they will probably be bunched into one area.
Repeat this with the sleeves if you are making the elastic sleeve version.
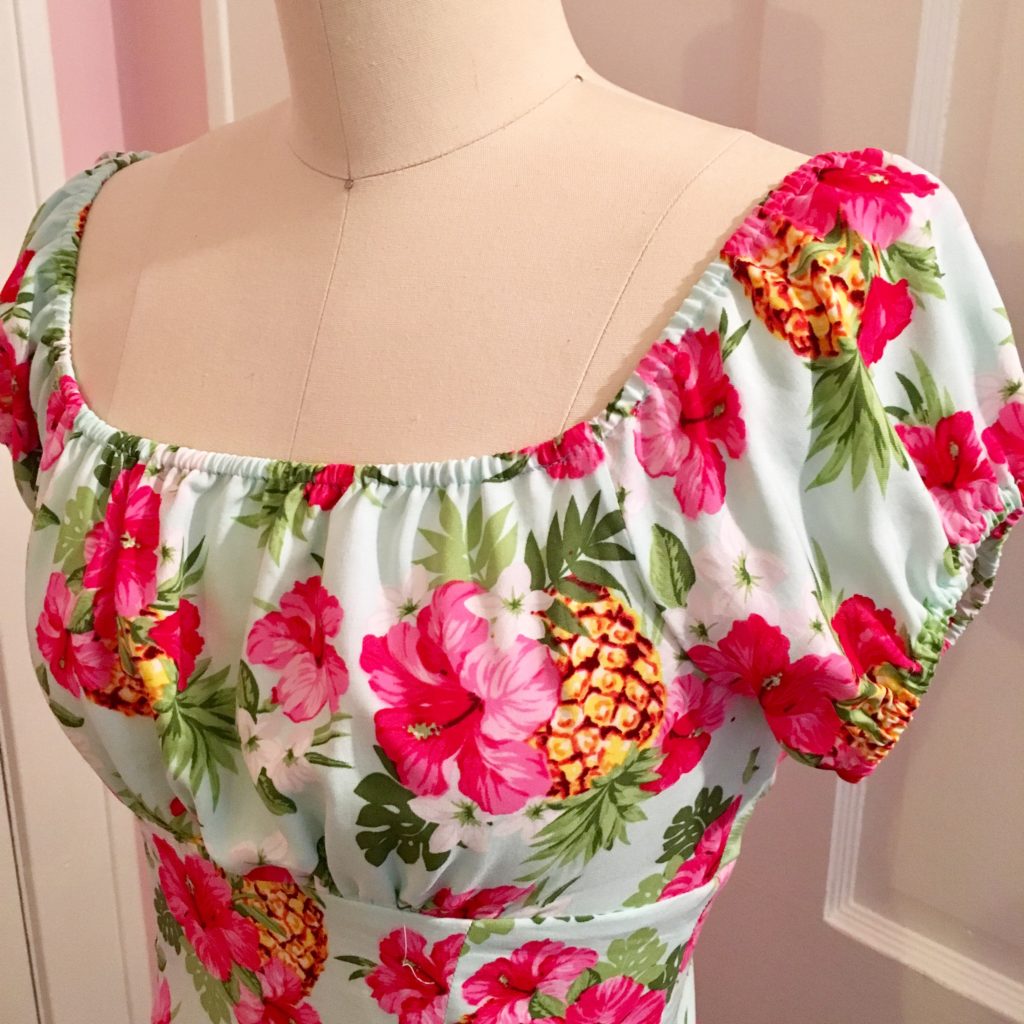
Now your blouse is ready to try on! We’ll be talking about the fit of the elastic in the next installment (spoiler alert: pulling the elastic too tight will create a bad fit in the bust, pulling the underbust up!).
Hope your blouses are going well! Feel free, as always, to post questions here or in the Facebook Group.